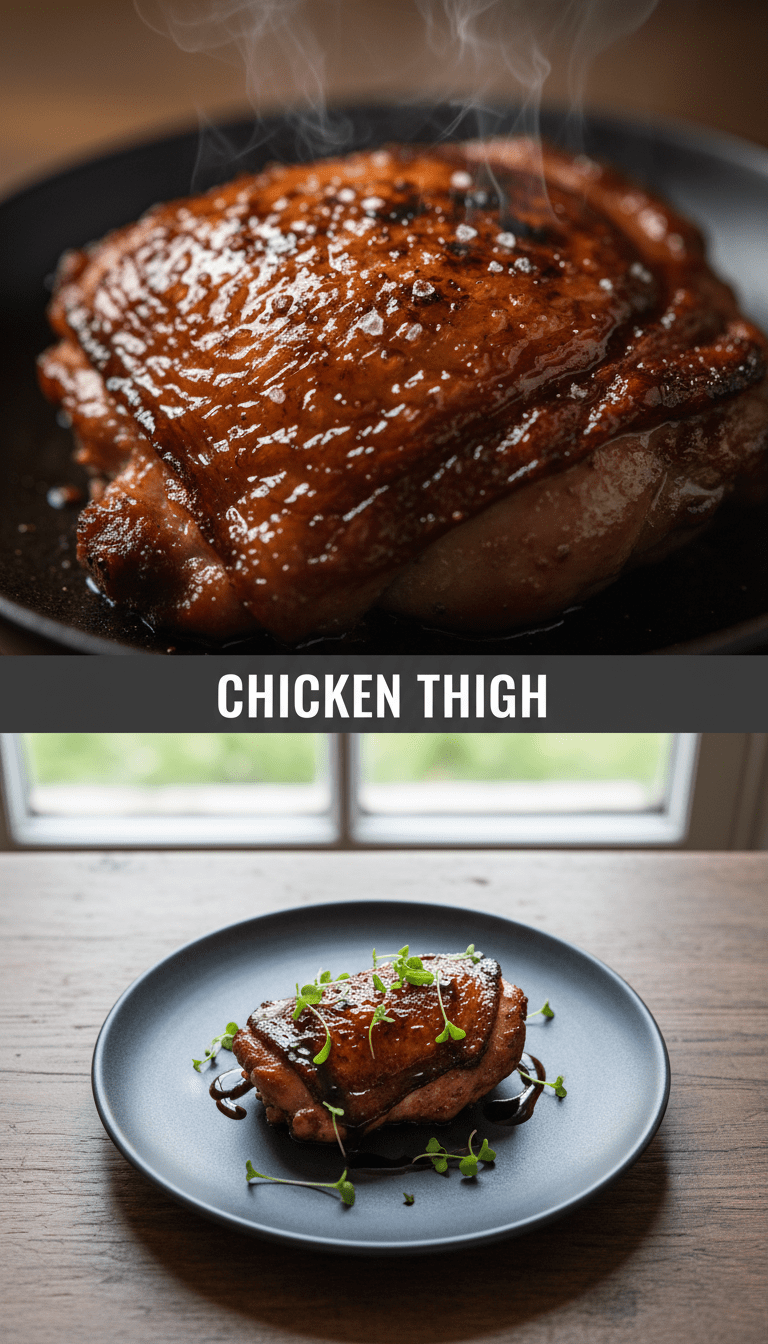
Hey food lovers! Welcome back to my kitchen. Today, we are diving headfirst into one of my absolute favorite cuts of poultry: the humble, yet mighty, chicken thigh. Forget dry, boring chicken breasts! Chicken thighs are packed with flavor, stay incredibly juicy thanks to that extra fat, and when cooked right? Oh boy, that crispy skin is pure magic.
I’ve perfected this method over years of trying everything from baking to pan-frying, and I promise this technique will give you restaurant-quality results right in your own home. Get ready to impress everyone!
Quick Facts About This Heavenly Dish
Here’s what you need to know before we start chopping and seasoning:
Prep time: 15 minutes
Cooking time: 35–40 minutes
Total time: About 55 minutes
Serving size: 4 people (using 4 bone-in, skin-on thighs)
Why You’ll Love This Recipe
This isn’t just any chicken thigh recipe; it’s the ultimate foolproof guide. Here’s why this will become your new weeknight staple:
1. Unbeatable Texture: We use a combination of oven heat and a quick sear to guarantee skin that shatters beautifully while keeping the meat impossibly tender.
2. Flavor Bomb: The simple spice rub penetrates deep, making every bite delicious without requiring hours of marinating.
3. Easy Clean-Up: Mostly cooked on a single sheet pan—less mess, more eating!
What You’ll Need: Ingredients List
The beauty of this dish lies in its simplicity. You probably have most of these things in your pantry already!
- 4 bone-in, skin-on chicken thighs (about 1.5 to 2 lbs total)
- 1 tablespoon olive oil (or avocado oil)
- 1 teaspoon kosher salt (or slightly less if using table salt)
- 1/2 teaspoon black pepper
- 1 teaspoon paprika (sweet or smoked, your choice!)
- 1/2 teaspoon garlic powder
- 1/4 teaspoon dried thyme
- Pinch of cayenne pepper (optional, for a tiny kick)
Step-by-Step Instructions: Crispy Skin Secrets Revealed!
Follow these steps carefully, especially the drying part—that’s the real secret weapon for crispiness!
Step 1: The Crucial Drying Process
Pat the chicken thighs aggressively dry using paper towels. Seriously, get them as dry as you possibly can. Moisture is the enemy of crispy skin! Once dry, place them on a wire rack set over a plate or baking sheet and let them sit in the fridge, uncovered, for at least 30 minutes, or up to 4 hours. This air-dries the skin even more.
Step 2: Seasoning Like a Pro
In a small bowl, mix together the salt, pepper, paprika, garlic powder, thyme, and cayenne (if using). Take the dried thighs out of the fridge. Rub them all over with the olive oil first. Then, generously sprinkle the seasoning mix over the skin side and the underside. Don’t skimp!
Step 3: The Sear for Color and Crunch (Stovetop Magic)
Preheat your oven to 400°F (200°C). While it heats up, place an oven-safe skillet (cast iron is perfect) over medium-high heat. Add a tiny splash more oil if your skillet seems dry.
Carefully place the chicken thighs skin-side down into the hot, dry skillet. Let them sear undisturbed for 5 to 7 minutes. You want the skin to achieve a deep golden-brown color. This is where most of your crispiness starts!
Step 4: Oven Finishing for Juiciness
Once the skin is beautifully browned, flip the thighs over so they are now breast-side down (or bone-side down). Immediately transfer the entire skillet into the preheated 400°F oven.
Bake for 25 to 30 minutes, or until an instant-read thermometer inserted into the thickest part (avoiding the bone) reads 170°F to 175°F.
Step 5: The Mandatory Rest
Remove the skillet from the oven. Transfer the chicken thighs to a clean cutting board and let them rest for 5 to 10 minutes before serving. This allows the juices to redistribute, guaranteeing maximum tenderness.
Serving Suggestions
These versatile thighs pair wonderfully with almost anything! Try them alongside:
- Creamy mashed potatoes (the sauce from the pan is incredible spooned over these!)
- Roasted asparagus or green beans.
- A fresh, simple side salad with a sharp vinaigrette to cut through the richness.
Tips for Customization or Variations
Want to mix it up? Chicken thighs are game!
- Lemon Herb: Add the zest of one lemon and a tablespoon of fresh rosemary to your spice rub.
- Asian Glaze: Skip the dry rub. Right before the last 5 minutes of oven cooking, brush the thighs with a mixture of soy sauce, honey, and grated ginger.
- Bone-In vs. Boneless: If using boneless, skinless thighs, reduce the oven cooking time by about 10–15 minutes, and skip the initial stovetop sear entirely.
Nutritional Information (Estimated per Thigh)
Please remember these are rough estimates and depend heavily on the size of your thighs and how much fat renders off:
Calories: 350–400
Protein: 30g
Fat: 25g
Carbohydrates: <1g
Frequently Asked Questions (FAQs)
Q1: Can I skip the stovetop searing step?
A1: You can, but I highly advise against it! Searing creates the Maillard reaction, which is responsible for that deep, savory flavor and the initial crispiness. If you skip it, the skin will likely be pale and chewier.
Q2: Why is my chicken thigh still pink inside?
A2: Chicken thighs are safe to eat at 165°F, but they taste much better (and are juicier) when cooked slightly higher, around 170°F to 175°F. If it’s pink, it just needs more time. Keep it in the oven! Remember the resting period will raise the internal temperature slightly as well.
Q3: Can I use aluminum foil instead of a wire rack?
A3: For the initial drying step, yes, a plate works fine. However, for the final baking, I recommend a wire rack placed on a baking sheet, even if you are searing first. This allows air to circulate under the chicken so the underside doesn’t steam when resting in the rendered fat.
Happy cooking, everyone! Let me know in the comments how your crispy thighs turned out!