Hey there, fellow bakers!Can you smell that? That wonderful, warm aroma of butter, vanilla, and a hint of cinnamon? That means it’s officially Christmas cookie season! Every year, my kitchen transforms into a little North Pole workshop, and I wouldn’t have it any other way.
Today, I’m sharing my absolute favorite, foolproof recipe. These aren’t just any Christmas cookies; these are the ones that disappear the fastest from the platter, the ones that taste exactly like childhood nostalgia. They’re soft, slightly chewy, and perfect for decorating. Get ready to make some magic!
Quick Facts
Here’s the rundown so you can plan your baking session:
Prep time: 25 minutes (plus 30 minutes chilling time)
Cooking time: 8-10 minutes per batch
Total time: About 1 hour 15 minutes
Serving size: Makes approximately 3 dozen cookies
Why You’ll Love This Recipe
This recipe is a winner for so many reasons:
- Simple Ingredients: You likely have everything needed in your pantry right now! No fancy extracts or complicated techniques required.
- Perfect Texture: These cookies stay delightfully soft even days later. They are the ideal canvas for royal icing or sprinkles.
- Freezer Friendly: You can mix the dough, chill it, and freeze it for baking whenever a holiday craving hits!
What You’ll Need: The Ingredient List
This recipe makes a wonderfully balanced, vanilla-forward sugar cookie base.
For the Cookies:
- 2 3/4 cups all-purpose flour
- 1 teaspoon baking soda
- 1/2 teaspoon salt
- 1 cup (2 sticks) unsalted butter, softened to room temperature
- 1 1/2 cups granulated sugar
- 1 large egg
- 2 teaspoons pure vanilla extract
For Rolling and Decorating (Optional):
- Extra flour for dusting
- Your favorite holiday sprinkles, colored sugar, or basic royal icing
Step-by-Step Instructions: Baking Bliss
Follow these steps closely, and you’ll have beautiful cookies in no time!
Step 1: Dry Meets Wet (Creaming Magic)
1. In a medium bowl, whisk together the flour, baking soda, and salt. Set this aside.
2. In a large mixing bowl (or the bowl of your stand mixer), beat the softened butter and sugar together until the mixture is light and fluffy—this usually takes about 3 to 4 minutes. This step is crucial for texture!
3. Beat in the egg and vanilla extract until just combined. Don’t overmix here.
Step 2: Bringing the Dough Together
1. Gradually add the dry ingredients (the flour mixture) to the wet ingredients. Mix on low speed until just combined. Stop mixing as soon as you no longer see streaks of dry flour. Overmixing develops the gluten and leads to tough cookies.
2. Divide the dough into two equal discs, wrap each tightly in plastic wrap, and flatten them slightly.
3. Chill Time: Refrigerate the dough for at least 30 minutes. This prevents the cookies from spreading too much when baking.
Step 3: Rolling, Cutting, and Baking
1. Preheat your oven to 375°F (190°C). Line two large baking sheets with parchment paper.
2. Lightly dust a clean countertop or large cutting board with flour. Remove one disc of dough from the fridge.
3. Roll the dough out to about 1/4-inch thickness.
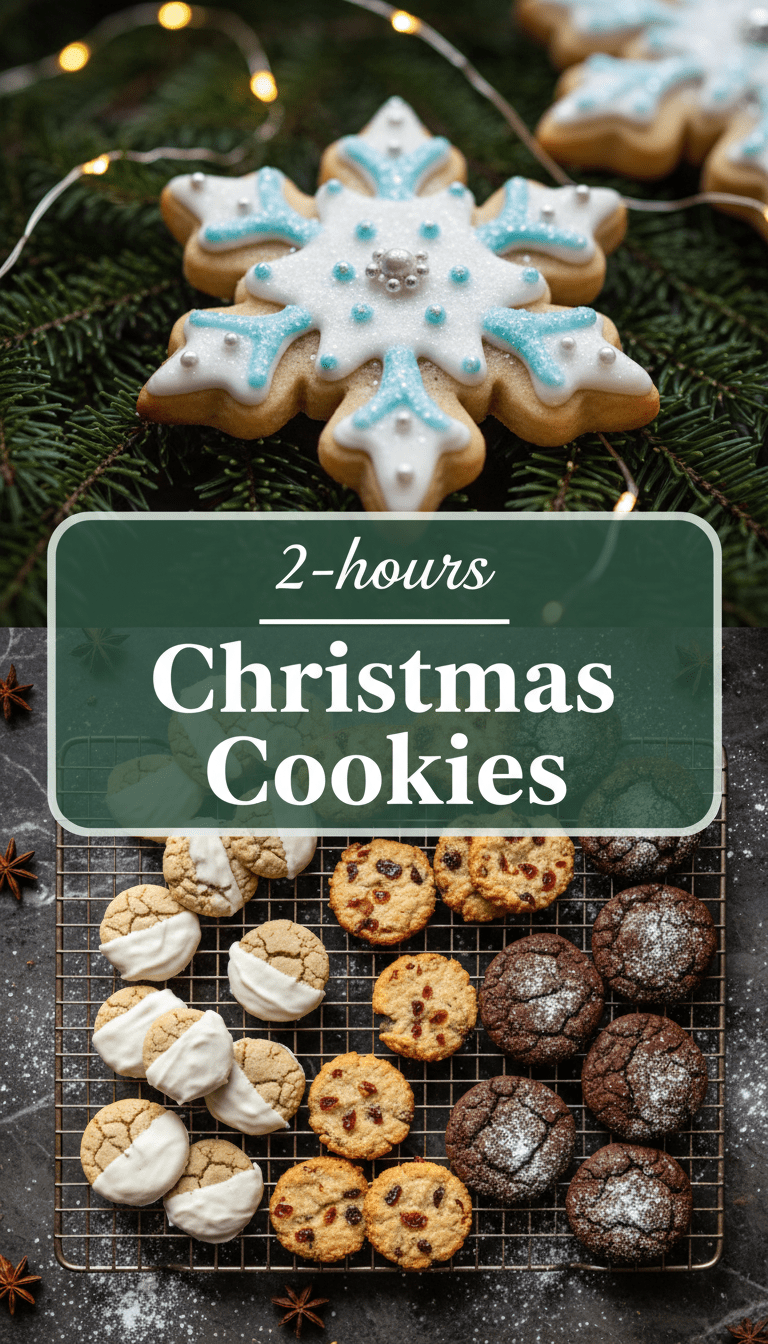
4. Use your favorite holiday cookie cutters (stars, trees, gingerbread men—you name it!) to cut out shapes. Gently transfer the cutouts to your prepared baking sheets, leaving about 1 inch between them.
5. Bake for 8 to 10 minutes, or until the edges are just starting to look lightly golden. They should still look pale on top!
6. Let the cookies cool on the baking sheet for 5 minutes before carefully transferring them to a wire rack to cool completely before decorating.
Serving Suggestions: Making it Festive
These simple sugar cookies are delicious on their own, but presentation is half the fun of Christmas cookies!
- Classic Icing: Once fully cooled, flood them with simple vanilla royal icing and cover them in festive sanding sugars.
- Cookie Stacks: Make small versions and stack them high, tied with a festive ribbon.
- Cookie Truffles: Crumble leftover cookies, mix with cream cheese frosting, roll into balls, and dip in melted white chocolate!
Tips for Customization & Variations
Want to switch things up? Here are a few easy twists:
- Citrus Zest: Add the zest of one lemon or orange to the butter/sugar mixture for a bright, surprising flavor.
- Spice It Up: Swap 1/2 teaspoon of the flour for ground cardamom or ginger for a warmer, cozier taste.
- Chocolate Chip Twist: Reduce the vanilla to 1 teaspoon and add 1 cup of mini chocolate chips to the dough for a holiday chocolate chip cookie hybrid!
Estimated Nutritional Information
Please note: This is a general estimate and will vary based on the exact size of your cookies and decorations used.
Per cookie (plain, estimated): Approximately 120 calories, 6g fat, 16g carbohydrates, less than 1g protein.
Frequently Asked Questions (FAQs)
Q1: Can I skip the chilling step?
A: I highly advise against it! Chilling the dough solidifies the butter. If the butter is too soft when it hits the hot oven, the cookies will spread into thin puddles instead of holding their cute cutout shapes.
Q2: How do I store my decorated Christmas cookies?
A: Store fully decorated cookies in an airtight container at room temperature. If you used a lot of hard royal icing, you can layer them with parchment paper in between layers to prevent sticking. They stay fresh for about a week!
Q3: My cookies are tough. What did I do wrong?
A: Toughness almost always comes from overmixing the flour, or sometimes from using cold eggs or butter. Ensure your butter is truly soft (not melted!) and mix the flour in just until the dough comes together. Happy baking!