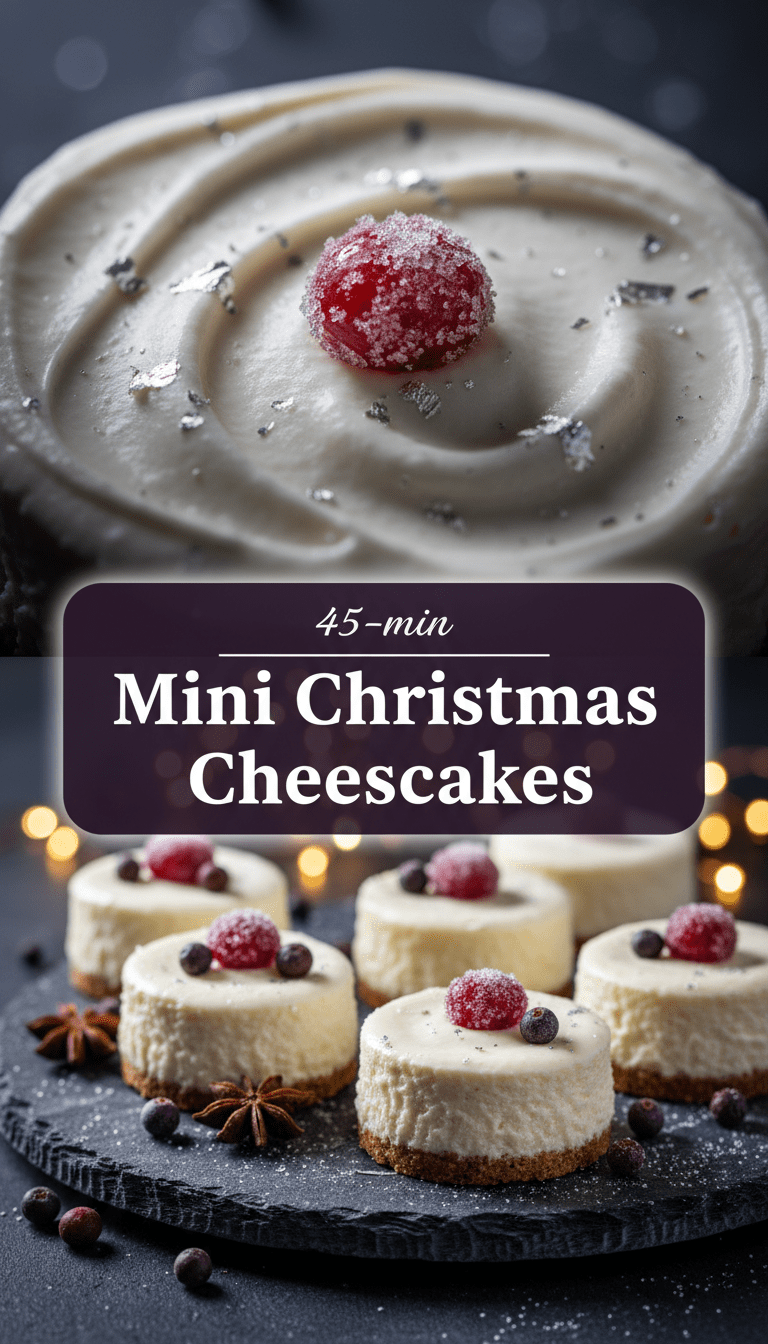
Hello, fellow food lovers! Can you smell that? It’s the unmistakable scent of the holidays creeping in, and you know what that means—it’s time for cozy bakes and irresistible treats! Today, I’m sharing my absolute favorite shortcut to holiday dessert heaven: Mini Christmas Cheesecakes.
These little beauties are everything you love about a classic cheesecake—creamy, tangy, and utterly delicious—but served up in perfect, single-serving portions. No slicing required, less mess, and they look absolutely stunning dusted with festive sprinkles. Trust me, these will disappear faster than Santa’s cookies!
Quick Facts
Here’s the lowdown on how quickly you can whip up these festive delights:
Prep time: 25 minutes
Cooking time: 18–20 minutes
Total time: Approximately 45 minutes (plus chilling time)
Serving size: 12 mini cheesecakes
Why You’ll Love This Recipe
Forget the stress of baking a giant cheesecake that might crack in the oven. These mini versions are practically foolproof!
- Perfect Portions: Individual servings mean no messy slicing, making them ideal for holiday parties or a cozy night in.
- Festive Flair: They are wonderfully versatile, allowing you to decorate them simply with red and green toppings for instant Christmas cheer.
- Make-Ahead Marvel: They taste even better the next day after chilling!
- Easy Peasy: The crust uses simple melted butter, and the filling whips up in minutes.
Ingredients You’ll Need
We’re keeping things simple for maximum holiday enjoyment!
For the Gingersnap Crust:
- 1 ½ cups gingersnap cookie crumbs (about 18–20 cookies)
- ¼ cup granulated sugar
- 6 tablespoons unsalted butter, melted
For the Creamy Filling:
- 24 ounces (3 standard blocks) full-fat cream cheese, softened to room temperature
- ¾ cup granulated sugar
- 1 teaspoon vanilla extract
- ½ teaspoon ground cinnamon
- Pinch of ground nutmeg
- 2 large eggs, room temperature
For the Festive Topping (Optional):
- Whipped cream or sour cream topping
- A dusting of powdered sugar
- Red and green sprinkles or crushed candy canes
Step-by-Step Instructions
Ready to bake? Preheat that oven and let’s get started!
Step 1: Prepare Your Muffin Tin
Preheat your oven to 325°F (160°C). Line a standard 12-cup muffin tin with paper liners. If you want extra stability, you can place the paper liners inside a standard muffin tin, or use silicone liners.
Step 2: Mix the Crust
In a medium bowl, combine the gingersnap crumbs and ¼ cup of sugar. Pour in the melted butter and mix thoroughly until the crumbs are evenly moistened. Press about 1 ½ tablespoons of the mixture firmly into the bottom of each muffin liner. Use the back of a small spoon or the bottom of a shot glass to compact it well.
Step 3: Bake the Crusts Briefly
Bake the crusts for 5 minutes. This helps them set up nicely. Remove them from the oven and let them cool slightly while you prepare the filling. Keep the oven running!
Step 4: Make the Creamy Filling
In a large bowl, use an electric mixer (handheld or stand mixer) to beat the softened cream cheese until it is completely smooth and lump-free. This is the secret to a silky cheesecake!
Gradually add the ¾ cup of sugar, vanilla, cinnamon, and nutmeg. Beat until just combined. Scrape down the sides of the bowl.
Add the eggs one at a time, mixing on low speed until each egg is just incorporated. Do not overmix once the eggs are added, as this introduces too much air and can cause cracks.
Step 5: Fill and Bake
Divide the batter evenly among the 12 crusts. They should be almost full.
Carefully place the muffin tin back into the 325°F (160°C) oven. Bake for 18 to 20 minutes. The edges should look set, but the very centers should still have a slight jiggle when gently nudged.
Step 6: Cool and Chill
Turn off the oven, but leave the cheesecakes inside with the oven door propped open slightly (using a wooden spoon works perfectly) for 30 minutes. This slow cool-down prevents sudden temperature changes that cause cracking.
Remove the cheesecakes from the oven and let them cool completely on a wire rack at room temperature. Once cool, transfer the entire tin (or just the liners) to the refrigerator and chill for at least 4 hours, but preferably overnight.
Step 7: Decorate and Serve!
Once fully chilled, remove the paper liners. Top each mini cheesecake with a dollop of whipped cream, a sprinkle of powdered sugar, or some festive sprinkles. Enjoy your perfectly portioned holiday treat!
Serving Suggestions
These are fantastic as a standalone dessert, but here are a few ways to elevate the presentation:
1. Cranberry Drizzle: Top with a spoonful of tart cranberry sauce or a fresh cranberry compote.
2. Chocolate Swirl: Before baking, swirl a teaspoon of melted dark chocolate into the batter in each cup.
3. Peppermint Crunch: Crush some peppermint candies and press them onto the top after the cheesecakes have chilled and been topped with white frosting.
Tips for Customization & Variations
Want to switch up the flavor profile? Try these simple swaps!
- Crust Change: Swap the gingersnaps for graham crackers, shortbread cookies, or even vanilla wafers for a milder base.
- Zesty Note: Add the zest of one small orange to the cream cheese filling for a subtle citrus lift that pairs beautifully with the ginger.
- No Eggs? No Problem (Sort of): While traditional, if you struggle with the eggs, you can sometimes substitute with Greek yogurt mixed with a little cornstarch for stability, though the texture will be slightly different (more like a dense mousse).
Nutritional Information (Estimated)
Please remember this is an estimate and will vary based on exact ingredients used.
Per Mini Cheesecake (without heavy topping):
Calories: Approximately 220–250 kcal
Fat: 14g
Carbohydrates: 22g
Protein: 4g
Frequently Asked Questions (FAQs)
Q1: Can I make these dairy-free or vegan?
A: Yes, but it requires specialized ingredients. You will need vegan cream cheese substitutes (like Kite Hill brand or Kite Hill blocks) and vegan butter for the crust. The texture might be slightly softer than traditional cheesecake.
Q2: Why did my cheesecakes sink in the middle?
A: This is usually due to two main reasons: either the oven door was opened too early during baking or cooling, or the eggs were overmixed, incorporating too much air. Always cool them slowly in the turned-off oven!
Q3: How long do these last in the fridge?
A: Because they are small and don’t rely on complex gelatin setting, these mini cheesecakes keep wonderfully! Store them in an airtight container in the refrigerator for up to 5 days.
There you have it! My simple, stress-free guide to Mini Christmas Cheesecakes. They bring big holiday flavor in a tiny, perfect package. Happy baking, and Merry almost-Christmas! Let me know in the comments if you try them!