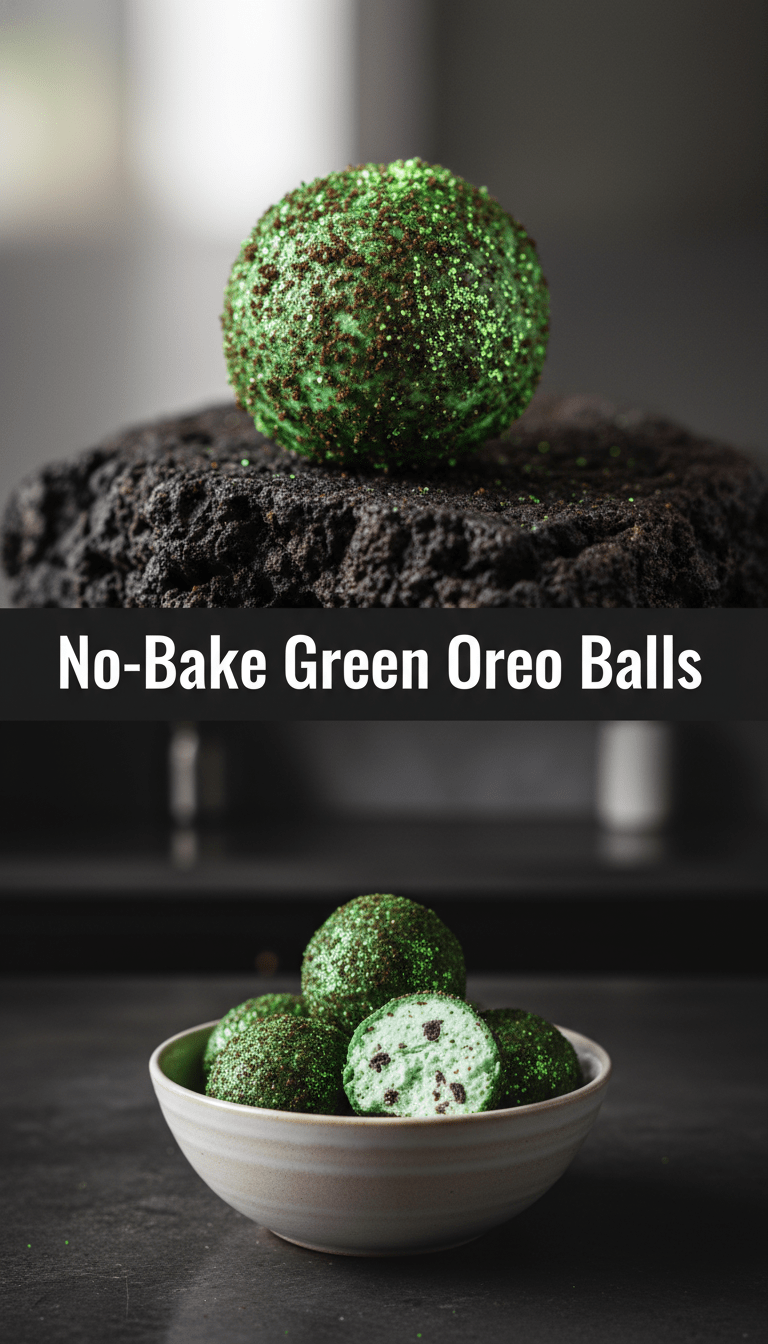
Hey everyone! Welcome back to the kitchen. Today, we are diving headfirst into a treat that is vibrant, ridiculously easy, and requires absolutely zero oven time. If you love those classic chocolate sandwich cookie truffles but want a fun, bright twist, get ready for my No-Bake Green Oreo Balls. They are perfect for St. Patrick’s Day, Christmas, or just brightening up a gloomy Tuesday! Seriously, these things are addictively good.
Quick Facts
Here’s the lowdown on how fast you can whip these beauties up:
Prep time: 20 minutes
Cooking time: 0 minutes (Woohoo!)
Total time: 20 minutes + chilling time (about 1 hour)
Serving size: Approximately 24 balls
Why You’ll Love This Recipe
These Green Oreo Balls are a guaranteed crowd-pleaser for several reasons:
- Ultimate Simplicity: If you can crush cookies, you can make these! No complicated techniques involved.
- Vibrant Color: That gorgeous green hue makes them look festive and fun, perfect for holidays.
- Instant Gratification: They are no-bake, meaning once they chill, they are ready to devour!
- Portion Perfection: They are perfectly bite-sized sweet treats.
Ingredients You’ll Need
Gather your crew, because this list is short and sweet!
- One standard package (about 14.3 oz or 36 cookies) of Green or regular Chocolate Sandwich Cookies (Oreos, St. Patrick’s Day specific ones, or even mint Oreos work great!)
- 8 oz Cream Cheese, softened to room temperature
- 1 teaspoon Vanilla Extract
- About 12 oz Melting Wafers or White Chocolate Chips (for dipping)
- 1-2 tablespoons Vegetable Shortening or Coconut Oil (optional, helps thinning the coating)
- Green food coloring (if using regular Oreos, optional for a deeper shade)
- Sprinkles (optional, for decoration)
Step-by-Step Instructions: Making the Magic Happen
Let’s get rolling! Remember, the most important thing here is patience during the chilling phases.
Step 1: Crushing the Cookies
Place all the green sandwich cookies (filling and all!) into a food processor. Pulse until you have fine crumbs. If you don’t have a food processor, put them in a sturdy Ziploc bag and use a rolling pin to crush them finely. You want the texture to be like wet sand. Transfer the crumbs to a medium mixing bowl.
Step 2: Mixing the Dough
In the bowl with the cookie crumbs, add the softened cream cheese and vanilla extract. Using a sturdy spoon or your clean hands, mix everything thoroughly until a uniform, thick dough forms. If you are using regular Oreos and want a brighter green, now is the time to mix in 2-3 drops of green food coloring until the color is even.
Step 3: Rolling and Chilling
Roll the dough into small, one-inch balls. Place them on a parchment-lined baking sheet. This next step is crucial: Refrigerate the balls for at least 30 minutes. This helps them firm up so they don’t fall apart when dipped!
Step 4: Melting the Coating
While the balls are chilling, prepare your dipping chocolate. Place your melting wafers (or white chocolate chips) and the optional shortening/coconut oil into a microwave-safe bowl. Microwave in 30-second intervals, stirring well between each interval, until the chocolate is completely smooth and fully melted. Be careful not to overheat it!
Step 5: Dipping Time!
Take the chilled balls out of the fridge. Dip each ball completely into the melted coating using a fork or a candy dipping tool. Gently tap the fork on the side of the bowl to allow excess chocolate to drip off.
Place the coated ball back onto the parchment-lined baking sheet. If you are using sprinkles, add them immediately before the coating sets.
Step 6: Final Set
Allow the chocolate coating to set completely. You can leave them at room temperature if your kitchen is cool, but for a faster set, pop the tray back into the refrigerator for about 15–20 minutes until the chocolate is hard.
Serving Suggestions
These little gems are fantastic served chilled alongside coffee or hot chocolate. They also look stunning arranged on a tiered platter for parties. If you used mint Oreos, they pair wonderfully with dark chocolate accents!
Tips for Customization and Variations
Want to switch things up? Here are a few ideas:
- Peppermint Twist: Use Mint Oreos instead of standard green ones, and add 1/4 teaspoon of peppermint extract to the cream cheese mixture.
- Peanut Butter Power: Add 2 tablespoons of creamy peanut butter to the dough mixture for an extra layer of richness.
- Chocolate Base: If you aren’t a fan of white chocolate coating, use milk or dark chocolate melting wafers for a beautiful contrast.
- Drizzle Delight: After dipping them in white chocolate, wait until they are set, then melt a small amount of contrasting colored chocolate (like brown or gold) and drizzle it over the top.
Nutritional Information (Estimated)
Please note: This is a rough estimate and will vary significantly based on the exact type of cookie and chocolate used.
Per ball (based on 24 servings): Roughly 150-180 calories, 8g fat, 18g carbohydrates, 1g protein. Enjoy responsibly!
Frequently Asked Questions (FAQs)
Q1: Can I make these without Oreos?
A: Yes! You can substitute any similar chocolate sandwich cookie. If you use cookies that are not green, you will definitely need to add green food coloring to the dough mixture for the intended effect.
Q2: How long do No-Bake Green Oreo Balls last?
A: Stored in an airtight container in the refrigerator, these will stay fresh and delicious for up to two weeks!
Q3: My chocolate coating is too thick. What should I do?
A: This is a common issue! Stir in about half a teaspoon of vegetable shortening or coconut oil at a time until the chocolate loosens up and becomes smooth enough to easily coat the balls.
Q4: Can I freeze these?
A: Absolutely! Place the finished, set balls in a freezer-safe container separated by parchment paper. They freeze beautifully for up to 3 months. Thaw them in the refrigerator before serving.
Happy baking (or, well, no-baking)! Let me know in the comments how your Green Oreo Balls turn out!