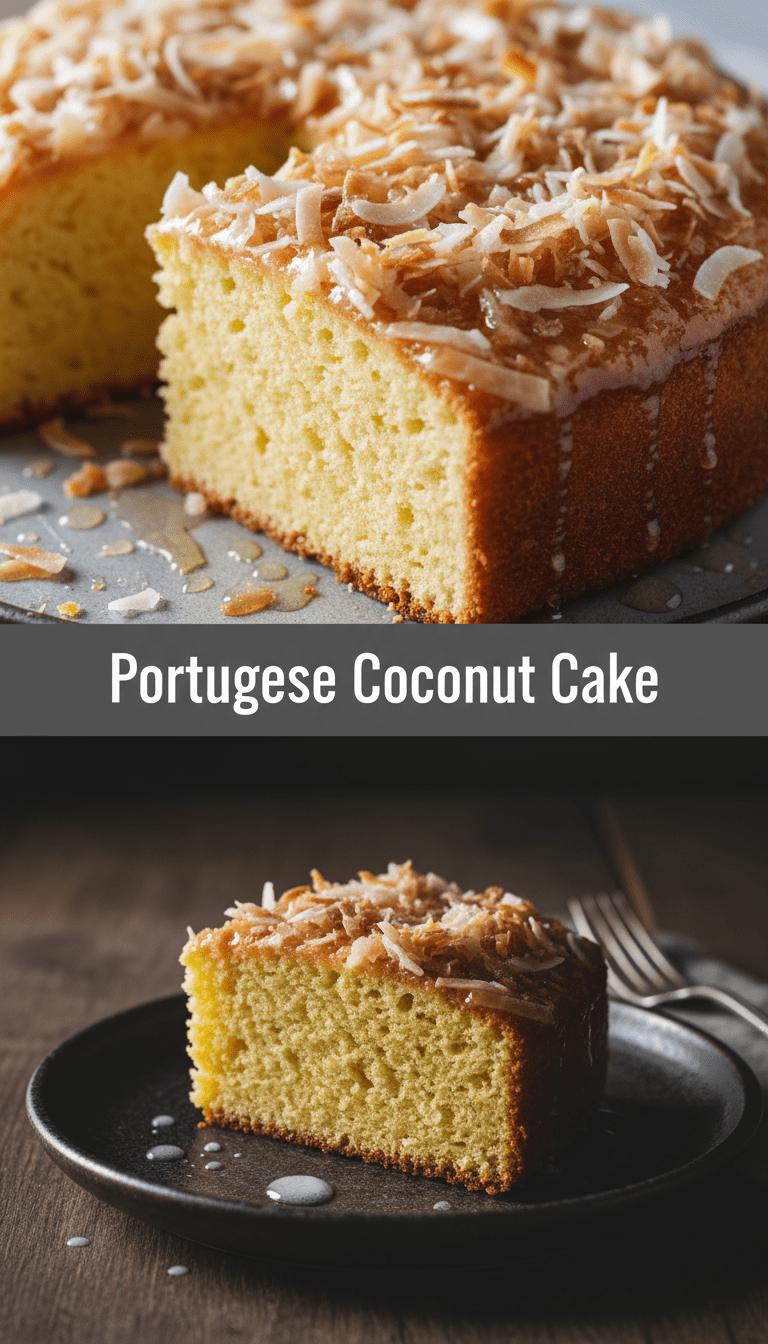
Hey there, fellow baking enthusiasts! If you’re anything like me, you probably have a soft spot for desserts that are both comforting and transportive. Today, I’m taking you on a little culinary trip to Portugal with a recipe that is absolutely divine: the Bolo de Coco—Portuguese Coconut Cake!
This cake isn’t overly complicated, but it packs a massive flavor punch. It’s wonderfully moist, thanks to a lovely soak, and bursting with that unmistakable, sweet coconut flavor. Forget those dry, crumbly coconut cakes you might have had; this one is pure indulgence. Let’s get baking!
Quick Facts
Here’s what you need to know before you preheat that oven:
Prep time: 20 minutes
Cooking time: 35-40 minutes
Total time: About 1 hour (plus cooling)
Serving size: 10-12 slices
Why You’ll Love This Recipe
This isn’t just any coconut cake. Here’s why it’s going straight into your regular rotation:
- Incredibly Moist: The secret lies in the simple milk and coconut milk soak that keeps the crumb tender long after it cools.
- Simple Ingredients: You likely have most of what you need in your pantry right now—no exotic items required!
- Tropical Comfort: It’s sunshine in a slice. Perfect for afternoon tea or a simple weeknight treat.
- Beginner-Friendly: The steps are straightforward, making it a great bake for novice bakers.
Ingredients You’ll Need
We are making one standard 9-inch round cake. Make sure your eggs and milk are at room temperature for the best results!
For the Cake Batter:
- 1 and 3/4 cups all-purpose flour
- 1 and 1/2 teaspoons baking powder
- 1/2 teaspoon salt
- 1 cup unsalted butter, softened
- 1 and 3/4 cups granulated sugar
- 4 large eggs
- 1 teaspoon vanilla extract
- 1/2 cup whole milk
- 1/2 cup unsweetened shredded coconut (plus extra for topping)
For the Coconut Soak (Calda):
- 1/2 cup canned full-fat coconut milk
- 1/4 cup whole milk
- 1/4 cup granulated sugar
- 1/2 teaspoon coconut extract (optional, but recommended!)
Step-by-Step Instructions: Creating Magic
Follow these easy steps, and you’ll have the best Portuguese Coconut Cake ready in no time.
Step 1: Preparation Station
1. Preheat your oven to 350°F (175°C).
2. Grease and flour a 9-inch round cake pan, or line the bottom with parchment paper.
3. In a medium bowl, whisk together the flour, baking powder, and salt. Set aside.
Step 2: Creaming the Good Stuff
1. In a large bowl (or stand mixer), beat the softened butter and sugar together until the mixture is light and fluffy—this usually takes about 3 to 4 minutes.
2. Add the eggs one at a time, beating well after each addition. Stir in the vanilla extract.
Step 3: Mixing the Batter
1. Gently mix half of the dry ingredients into the wet ingredients until just combined.
2. Pour in the 1/2 cup of whole milk and mix briefly.
3. Add the remaining dry ingredients and mix on low speed until just incorporated. Be careful not to overmix! Overmixing develops gluten and leads to a tougher cake.
4. Fold in the 1/2 cup of shredded coconut by hand using a rubber spatula.
Step 4: Baking Time
1. Pour the batter evenly into your prepared cake pan.
2. Bake for 35 to 40 minutes, or until a toothpick inserted into the center comes out clean.
Step 5: Creating the Tropical Soak
While the cake is baking, prepare the calda (soak):
1. In a small saucepan, combine the coconut milk, whole milk, sugar, and coconut extract (if using).
2. Heat over medium heat, stirring constantly, until the sugar is completely dissolved. Do not bring it to a rolling boil; you just want it warm. Remove from heat.
Step 6: The Soaking Secret
This is the key to moistness!
1. As soon as the cake comes out of the oven, poke holes all over the top surface using a skewer or a fork (about 15-20 holes).
2. Slowly and evenly pour the warm coconut soak over the entire surface of the hot cake. You’ll see the liquid sink right in!
3. Let the cake cool completely in the pan on a wire rack. The cake will absorb all the liquid as it cools.
Step 7: Finishing Touches
1. Once completely cool, gently run a knife around the edge of the pan and carefully invert the cake onto a serving plate.
2. Sprinkle generously with extra shredded coconut for a beautiful finish.
Serving Suggestions
This cake is fantastic on its own, but if you want to dress it up:
- Serve a slice with a dollop of freshly whipped cream that has been lightly sweetened.
- A side of fresh tropical fruit like pineapple or mango slices makes a wonderful pairing.
- For an extra Portuguese touch, serve it alongside a strong espresso.
Tips for Customization and Variations
Want to make this recipe your own? Try these simple twists:
- Lime Zest Magic: Add the zest of one lime to the cake batter for a bright, citrusy counterpoint to the sweet coconut.
- Rum Infusion: Add a tablespoon of light rum to the coconut soak for an adult version.
- Glazed Topping: If you prefer a less moist cake, skip the soak and top it instead with a simple glaze made from powdered sugar and a few tablespoons of coconut milk mixed together.
Nutritional Information (Estimated)
Please remember these are rough estimates based on standard ingredient amounts, serving 12 people. Actual values will vary based on specific brands and measurements used.
Estimated Calories per serving: 350-400 kcal
Estimated Fat per serving: 18g
Estimated Carbohydrates per serving: 45g
Estimated Protein per serving: 5g
Frequently Asked Questions (FAQs)
Q1: Can I use fresh coconut instead of shredded?
A1: Yes! Freshly grated coconut provides amazing flavor. If using fresh, you may want to lightly toast it before folding it into the batter for an even deeper flavor.
Q2: My cake seems a bit dense after soaking. What went wrong?
A2: This usually happens if the cake was removed from the oven too soon or if the soak was too cold. Ensure the cake is fully baked, and always pour a warm soak over a hot cake.
Q3: How long will this Portuguese Coconut Cake keep?
A3: Because of the soak, this cake stays wonderfully moist! Store it covered at room temperature for up to 3 days, or in the refrigerator for up to 5 days. Bring it to room temperature before serving for the best texture.
Happy baking, everyone! Let me know in the comments how your Bolo de Coco turned out!