Hey everyone, and welcome back to my kitchen! If you’ve been following my baking adventures, you know I have a serious soft spot for anything red velvet. That classic, slightly tangy chocolate flavor paired with impossibly creamy cream cheese frosting? Pure magic!
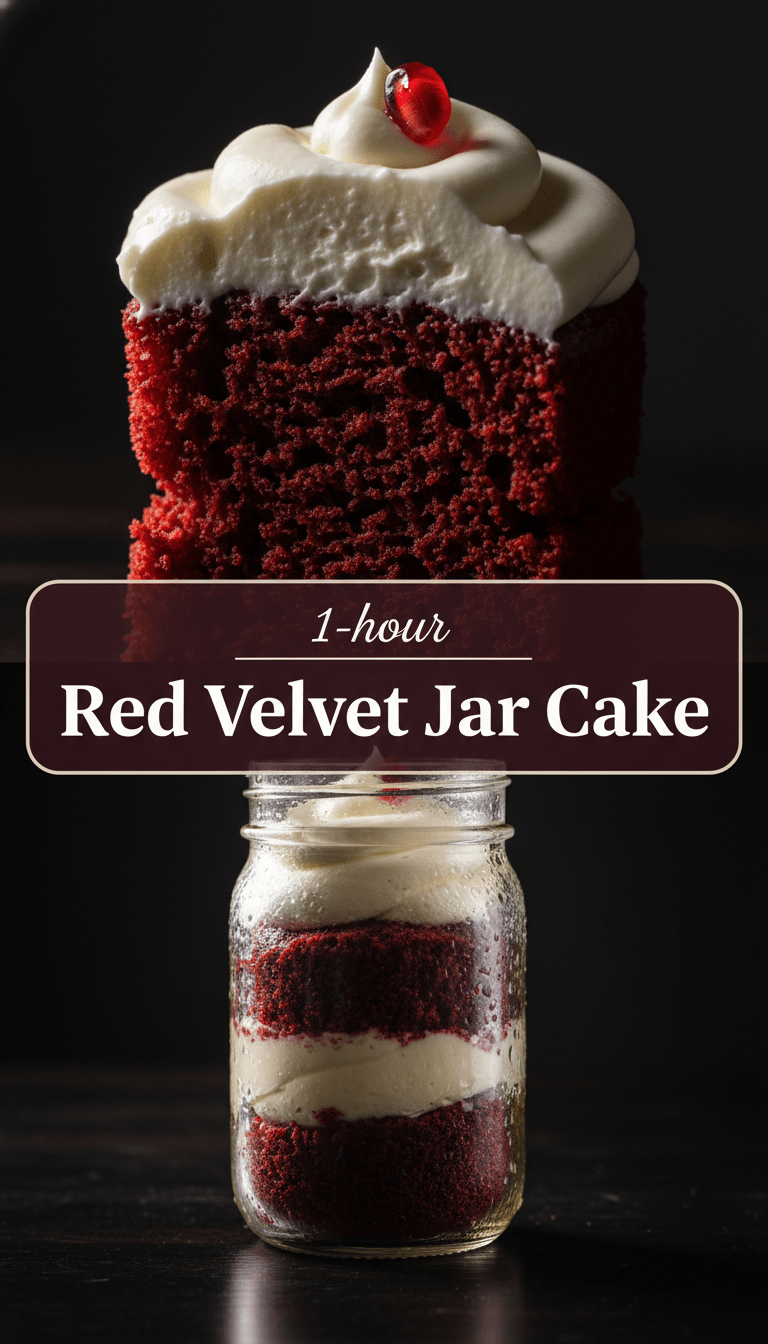
Today, we’re taking that magic and shrinking it down into the cutest, most convenient little packages: Red Velvet Jar Cakes! These aren’t just pretty; they are perfect for portion control (or pretending you’re only having one serving!). They travel beautifully, too. Let’s get baking!
Quick Facts About Your Jar Delight
Here’s the lowdown on how quickly you can have this treat ready to enjoy:
Prep time: 25 minutes
Baking time: 18-20 minutes (for the cake layers)
Total time: About 45 minutes (plus cooling time)
Serving size: Makes 4 standard-sized mason jars (8 oz capacity)
Why You’ll Love This Recipe
Honestly, what’s not to love?
- Perfect Portions: No slicing a whole cake! Grab a jar and dig in.
- Stunning Presentation: Serving dessert in a jar just elevates any occasion, even if the occasion is “Tuesday night.”
- Ultimate Cream Cheese Frosting: We are using a rich, tangy, stabilized frosting that pipes like a dream.
- Moisture Locked In: Baking and storing in the sealed jar keeps the cake incredibly moist for days!
Gathering Your Goodies: Ingredients List
We need two main components: the moist red velvet cake and the dreamy frosting.
For the Red Velvet Cake Layers:
- 1 ½ cups all-purpose flour
- 1 teaspoon baking soda
- 1 teaspoon unsweetened cocoa powder (Dutch-process works best for color!)
- ½ teaspoon salt
- ½ cup (1 stick) unsalted butter, softened
- 1 cup granulated sugar
- 2 large eggs
- 1 teaspoon vanilla extract
- 1 teaspoon white vinegar
- 1 teaspoon red liquid food coloring (or 2 teaspoons gel coloring)
- ½ cup buttermilk
- 2 tablespoons vegetable oil
For the Cream Cheese Frosting:
- 8 ounces cream cheese, softened
- ½ cup (1 stick) unsalted butter, softened
- 3 to 3 ½ cups powdered sugar, sifted
- 1 teaspoon vanilla extract
- Pinch of salt
Let’s Bake! Step-by-Step Instructions
We’ll bake the cake first, then assemble our jars!
Part 1: Baking the Red Velvet Cake
1. Preheat & Prep: Preheat your oven to 350°F (175°C). Grease and flour an 8-inch round cake pan. You can also line the bottom with parchment paper for easy removal.
2. Mix Dry Ingredients: In a medium bowl, whisk together the flour, baking soda, cocoa powder, and salt. Set aside.
3. Cream Butter & Sugar: In a large bowl (or stand mixer), beat the softened butter and sugar together until light and fluffy—this takes about 3 minutes.
4. Add Wet Ingredients (Part 1): Beat in the eggs one at a time, ensuring each is fully incorporated before adding the next. Mix in the vanilla extract.
5. The Color Magic: In a small bowl, combine the buttermilk, oil, vinegar, and red food coloring. Mix well until you have a vibrant red color.
6. Combine: Gradually add the dry ingredients to the wet ingredients, alternating with the buttermilk mixture. Start and end with the dry ingredients. Mix only until just combined. Do not overmix!
7. Bake: Pour the batter into your prepared cake pan. Bake for 18 to 20 minutes, or until a toothpick inserted into the center comes out clean.
8. Cool Completely: Let the cake cool in the pan for 10 minutes, then invert it onto a wire rack to cool completely. Crucial step: The cake must be totally cool before assembling the jars.
Part 2: Making the Frosting
1. Beat Fats: In a clean bowl, beat the softened cream cheese and butter together until perfectly smooth and creamy, scraping down the sides frequently.
2. Sweeten Up: Gradually add the sifted powdered sugar, beating on low speed until incorporated, then increase speed to medium. Add the vanilla and salt.
3. Whip: Beat on medium-high for 2 minutes until the frosting is light and fluffy. If it seems too soft, chill for 15 minutes before using.
Part 3: Assembling the Jar Cakes
1. Prep the Cake: Once the cake is cool, use a round cookie cutter slightly smaller than your jar opening, or simply break the cake into small, bite-sized pieces.
2. Layer One (Cake): Place a layer of crumbled or cut cake pieces into the bottom of each clean, dry jar (about ¼ of the jar filled).
3. Layer Two (Frosting): Pipe or spoon a generous layer of cream cheese frosting over the cake crumbs.
4. Repeat: Add another layer of cake, followed by a final layer of frosting. Repeat until the jar is nearly full, leaving about half an inch headspace.
5. Garnish & Seal: You can pipe a fancy swirl on top, or just smooth the top layer. Optional: Sprinkle a few red velvet cake crumbs on top for texture. Screw on the lids if you plan to store them immediately!
Serving Suggestions
These jar cakes are fantastic served chilled straight from the fridge. For an extra special treat, serve with a small, crisp shortbread cookie balanced on the rim, or a side of fresh raspberries!
Tips for Customization & Variations
- Nutty Addition: Fold ½ cup of finely chopped pecans or walnuts into the cake batter before baking for a lovely crunch.
- Boozy Kick: Add 1 tablespoon of dark rum or bourbon to the buttermilk mixture for an adult version.
- Chocolate Chips: Fold ½ cup of mini chocolate chips into the cooled cake crumbs before layering.
- Don’t Have Jars? This recipe works wonderfully as a standard 8-inch layer cake or as cupcakes!
Estimated Nutritional Information
Please remember this is a general estimate and can vary based on exact ingredient measurements and frosting amounts.
Per Serving (1 Jar): Approximately 450-550 calories, 8g protein, 65g carbohydrates, 25g fat. Enjoy responsibly!
Frequently Asked Questions (FAQs)
Can I make these ahead of time?
Yes! This is one of the best parts. Sealed, refrigerated jar cakes will stay wonderfully moist for up to 4 days. Bring them to room temperature for about 30 minutes before serving for the best texture.
Do I have to use red food coloring?
Nope! If you skip the red coloring, you’ll have a delicious, moist “Chocolate Vinegar Cake.” The texture remains the same, you just lose the signature hue.
What size jars work best?
I prefer standard 8-ounce wide-mouth mason jars. They offer enough space for at least two layers of cake and two layers of frosting, which is the perfect ratio!
Happy baking, friends! Let me know in the comments how your Red Velvet Jar Cakes turned out!