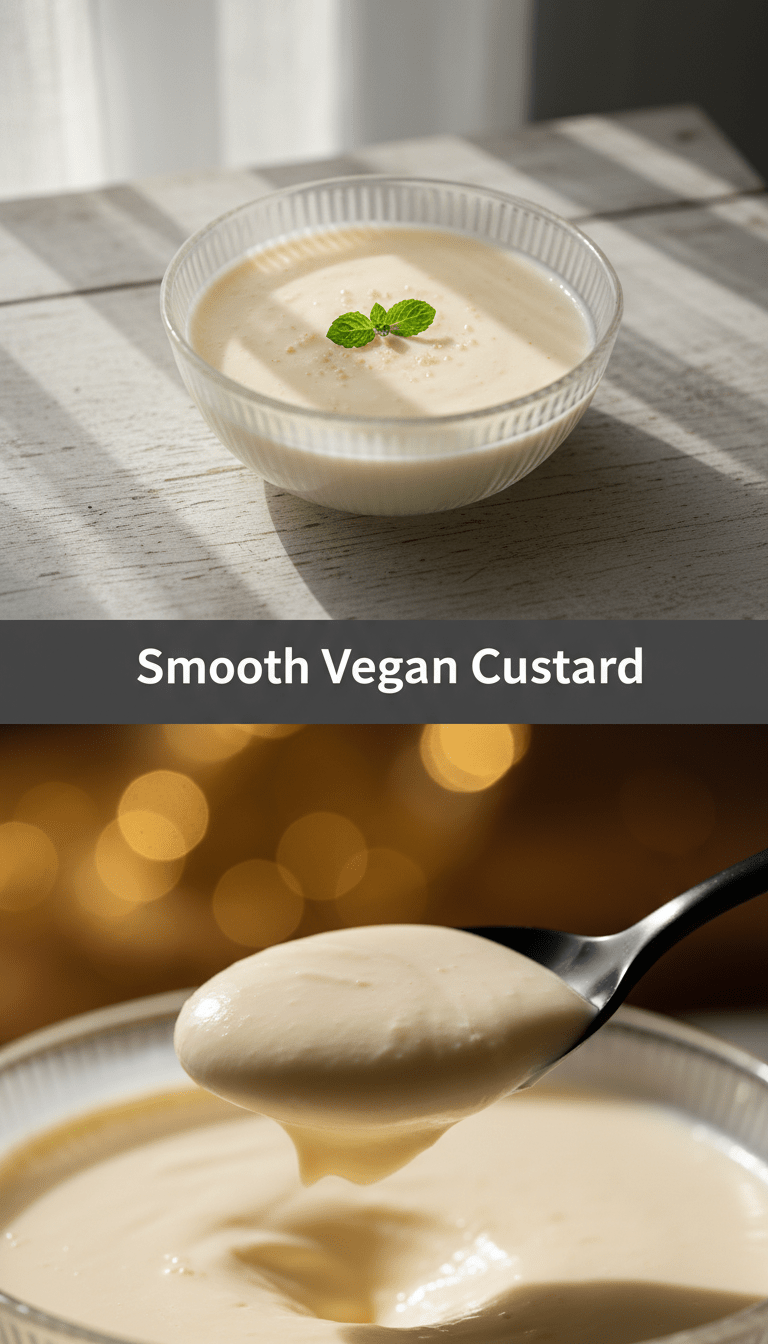
Hey lovely foodies! Welcome back to the kitchen. Today, we are tackling a classic comfort food and giving it a magnificent vegan makeover. Forget everything you thought you knew about dairy-free desserts being complicated or grainy. I’ve perfected this Smooth Vegan Custard recipe, and I promise you, it is unbelievably creamy, rich, and tastes exactly like the nostalgic hug in a bowl you remember.
It’s perfect for topping apple crumble, spooning over fresh berries, or just eating straight from the saucepan (guilty as charged!). Let’s dive into this unbelievably simple recipe!
Quick Facts
Here’s what you need to know before you start whisking:
Prep time: 10 minutes
Cooking time: 15 minutes
Total time: 25 minutes
Serving size: 4 generous portions
Why You’ll Love This Recipe
Seriously, why wouldn’t you?
- Incredibly Smooth Texture: Thanks to a clever use of cornstarch (or arrowroot), this custard sets beautifully without any lumps.
- Rich Vanilla Flavor: We’re using high-quality vanilla extract to make the flavor pop.
- Simple Ingredients: Most of these items are probably already in your pantry! No weird, hard-to-find substitutes here.
- Completely Dairy-Free & Egg-Free: A satisfying dessert for everyone at the table.
Ingredients You’ll Need
Gather these essentials. Measurements are key for that perfect texture!
- 3 cups Unsweetened Plant Milk (Soy or Oat milk work best for richness)
- 1/2 cup Granulated Sugar (Adjust to taste)
- 1/4 cup Cornstarch (This is our thickening superhero)
- 1/2 teaspoon Turmeric Powder (Optional, but it gives that classic pale-yellow custard color!)
- 1/2 teaspoon Salt (A tiny pinch enhances the sweetness)
- 1 teaspoon High-Quality Vanilla Extract
- 1 tablespoon Vegan Butter or Coconut Oil (For extra richness at the end)
Step-by-Step Instructions: Crafting Your Creamy Dream
Don’t be intimidated by the whisking; it’s the best part!
Step 1: Create the Dry Mix
In a medium saucepan (before turning on the heat!), whisk together the sugar, cornstarch, turmeric powder (if using), and salt. Whisking these dry ingredients first ensures the cornstarch won’t clump when the liquid hits it.
Step 2: Tempering with Cold Milk
Measure out about 1 cup of your plant milk and slowly pour it into the dry mixture while continuously whisking. Keep whisking until you have a completely smooth, thin slurry with absolutely no lumps remaining. This step is crucial for smoothness!
Step 3: Adding the Rest of the Milk
Pour in the remaining 2 cups of plant milk. Give it one final good whisk to ensure everything is combined evenly.
Step 4: Cooking Until Thick
Place the saucepan over medium heat. Now, you must whisk constantly! Seriously, do not walk away. As the mixture heats up, you will notice it start to bubble and thicken. Keep whisking gently but persistently, ensuring you scrape the bottom and corners of the pan.
After about 5 to 8 minutes of whisking over medium heat, the mixture will come to a rapid boil and thicken significantly—it should coat the back of a spoon heavily. Once it’s thick enough to hold a shape briefly when drizzled from the whisk, remove it immediately from the heat.
Step 5: Finishing Touches
Immediately stir in the vanilla extract and the vegan butter/coconut oil until the butter has melted completely and the custard is glossy.
Step 6: Cooling and Setting
Pour the custard into individual serving dishes or a single bowl. To prevent a skin from forming on top, cover the surface directly with plastic wrap (press the wrap right onto the surface of the custard). Let it cool on the counter for about 30 minutes, then chill in the refrigerator for at least 2 hours until completely set.
Serving Suggestions
This custard is versatile! Try it:
1. Classic Style: Serve chilled in a small bowl with a sprinkle of cinnamon or nutmeg on top.
2. Pie Filling: Use it as the base for a stunning vegan lemon meringue or fruit pie.
3. Topping Heaven: Spoon generously over warm fruit crumbles, baked apples, or vegan sticky toffee pudding.
4. Breakfast Boost: Stir a dollop into your morning oatmeal or overnight oats for a luxurious texture.
Tips for Customization & Variations
Want to take your custard on an adventure? Try these swaps!
- Chocolate Dream: Reduce the sugar slightly and whisk in 2 tablespoons of unsweetened cocoa powder along with the dry ingredients. Add 1/4 cup of vegan chocolate chips at the end for extra decadence.
- Coconut Delight: Substitute 1 cup of the plant milk with full-fat canned coconut milk for an incredibly rich, tropical flavor.
- Flavor Infusion: Before heating the milk (Step 3), steep a cinnamon stick or a few strips of lemon zest in the cold milk for 15 minutes. Remove the zest/stick before cooking.
- Gluten-Free Thickener: If you prefer not to use cornstarch, substitute with an equal amount of arrowroot powder.
Estimated Nutritional Information
Please note: This is a rough estimate based on using unsweetened oat milk and standard sugar amounts. Actual values will vary based on specific brands used.
Calories: Approximately 250 per serving
Fat: 5g
Carbohydrates: 45g
Protein: 5g
Frequently Asked Questions (FAQs)
Q1: Can I use almond milk? Will it still be creamy?
You can, but almond milk is quite thin. For the creamiest result, I highly recommend using oat milk or soy milk. They have the fat and protein content needed to mimic traditional dairy custard texture.
Q2: Why did my custard curdle or get lumpy?
This usually happens for two reasons: either you didn’t whisk the cornstarch into the cold milk thoroughly enough (leaving dry clumps), or you didn’t whisk constantly while it was heating. Once it hits the heat, the starch needs constant movement to gelatinize smoothly.
Q3: How long does this vegan custard last in the fridge?
Stored properly (covered directly with plastic wrap), this custard will keep beautifully in the refrigerator for up to 4 days. The texture might firm up slightly when fully chilled, but it softens nicely when allowed to sit at room temperature for 10 minutes before serving.
Enjoy every smooth, creamy bite! Happy baking (or, well, cooking)!