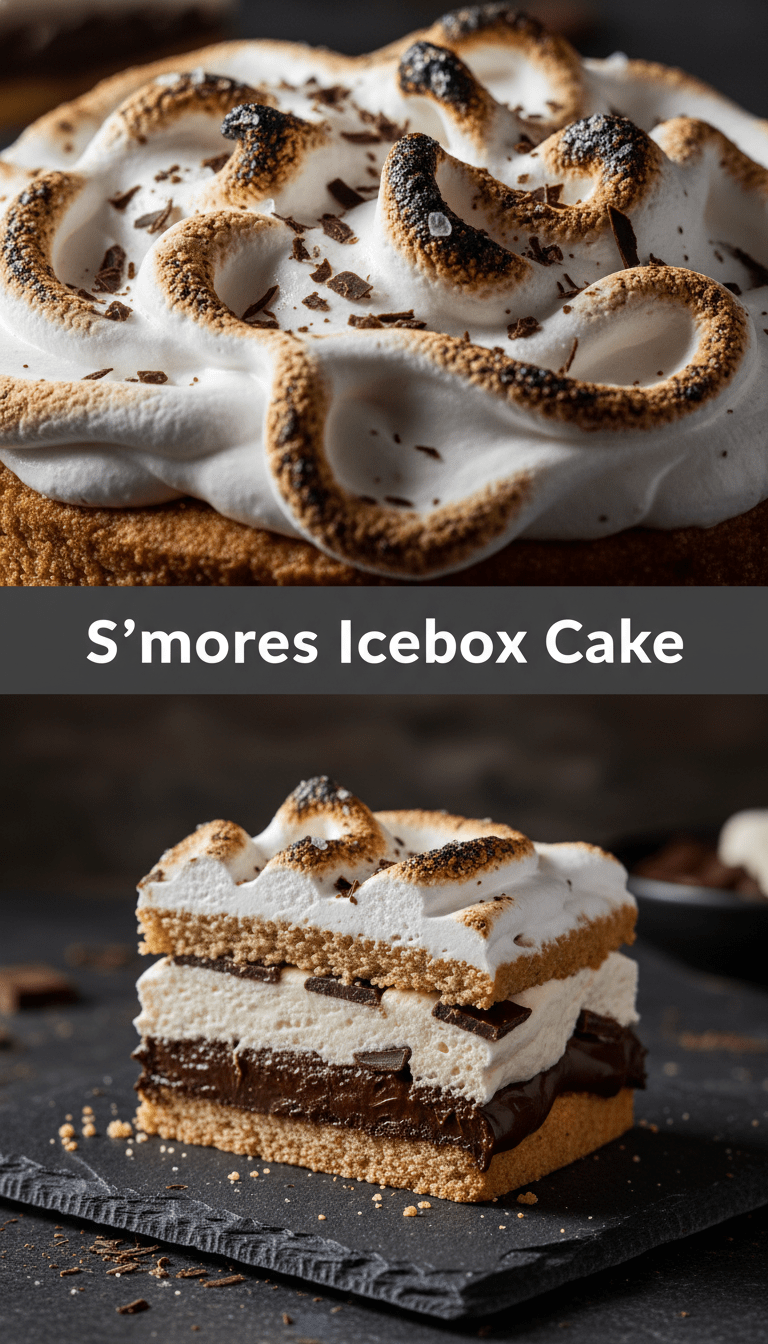
Hello, dessert lovers! Are you ready for a treat that tastes like a summer campfire but requires absolutely zero grilling? Today, I’m sharing my absolute favorite, ridiculously easy, and incredibly decadent recipe: the S’mores Icebox Cake!
This cake is pure magic. It takes those classic, comforting flavors—graham crackers, creamy chocolate, and fluffy marshmallow—and transforms them into a show-stopping, sliceable dessert that sets up right in your fridge. Forget baking; this is the ultimate no-bake superstar. Let’s dive into making this dreamy creation!
Quick Facts
Here’s everything you need to know about how fast this beauty comes together:
Prep time: 20 minutes
Chilling time: Minimum 6 hours (Overnight is best!)
Total time: About 6 hours 20 minutes (mostly inactive chilling)
Serving size: 8 to 10 generous slices
Why You’ll Love This Recipe
This S’mores Icebox Cake is a guaranteed crowd-pleaser for so many reasons:
- No Oven Required: Perfect for hot days or when your oven is already full.
- Kid-Friendly Assembly: Kids absolutely love layering the ingredients!
- Incredible Texture: The graham crackers soften just enough from the whipped cream mixture to become cake-like, while the chocolate and marshmallow layers provide irresistible gooeyness.
- Ultimate Nostalgia: It tastes exactly like sitting around a bonfire, but in cake form!
Ingredients You’ll Need
Gather these simple components. You probably have most of them already!
- One box (about 14.4 ounces) of regular graham crackers
- Two large tubs (about 16 ounces total) of frozen whipped topping (like Cool Whip), thawed in the refrigerator
- One large container (about 12 ounces) of milk chocolate fudge topping (the thick, pourable kind)
- One jar (about 7 ounces) of marshmallow fluff or marshmallow creme
- Optional Garnish: Extra mini marshmallows and chocolate chips
Step-by-Step Instructions: Building Your Dream Cake
The beauty of an icebox cake is its simplicity. We are just layering!
Step 1: Preparing the Layers
First, line a standard 9×5 inch loaf pan (or an 8×8 inch square pan for a shallower cake) with plastic wrap, leaving plenty of overhang on the sides. This overhang will be your lifesaver when unmolding the cake later!
Step 2: The Whipped Base
In a large bowl, gently fold the thawed whipped topping and the entire jar of marshmallow creme together until they are just combined and fluffy. You don’t want to deflate the air too much. This mixture acts as our creamy “frosting” and binder.
Step 3: Building the Tower
Now for the fun part—layering! Think of this like building a crunchy, sweet fortress.
1. Spread a very thin layer of the marshmallow-whipped mixture on the bottom of your prepared pan. This stops the first layer of crackers from sticking.
2. Arrange a single layer of graham crackers tightly side-by-side over the cream. You might need to break a few to fit the edges.
3. Drizzle about one-third of the chocolate fudge topping evenly over the graham cracker layer.
4. Spread about one-third of the remaining marshmallow-whipped mixture over the chocolate.
5. Repeat the layers: Graham crackers, chocolate drizzle, and whipped mixture. Do this twice more until you have used up all the fudge topping and most of the whipped mixture.
6. Top with one final layer of graham crackers. Spread the very last bit of the whipped mixture on top of these final crackers.
Step 4: The Essential Chill Time
Cover the top of the cake loosely with the plastic wrap overhang. Place the entire pan in the refrigerator and let it chill for a minimum of 6 hours. Honestly, overnight is my recommendation! This chilling time is crucial because it allows the whipped topping to soften the crackers, turning them into that perfect, soft, cake-like texture.
Step 5: The Grand Reveal
When you are ready to serve, use the plastic wrap overhang to gently lift the cake out of the pan and place it on a serving platter. If you like, you can now drizzle the remaining chocolate fudge topping (if you saved any) over the top. Garnish with mini marshmallows or chocolate chips if desired. Slice, and enjoy the applause!
Serving Suggestions
Because this cake is rich, a little goes a long way!
Serve chilled slices alongside a tall glass of ice-cold milk or a hot cup of coffee to balance the sweetness. For an extra decadent touch, you can lightly toast the top layer of marshmallow creme with a kitchen torch right before serving for that authentic roasted flavor!
Tips for Customization & Variations
Want to make this recipe your own? Try these easy tweaks:
- Peanut Butter Twist: Swirl a few tablespoons of creamy peanut butter into the marshmallow mixture for a chocolate-peanut butter s’mores experience.
- Dark Chocolate Lovers: Swap the milk chocolate fudge for a dark chocolate ganache for a deeper flavor.
- Cookie Crunch: Instead of graham crackers, try using chocolate wafers or even thin shortbread cookies for a different texture profile.
- Bourbon Kick: For adult-only gatherings, add a teaspoon of bourbon or rum extract to the whipped mixture for a subtle, sophisticated warmth.
Nutritional Information (Estimated Per Serving)
Please remember these are estimates as ingredient brands vary widely! A single serving of this rich dessert will generally be high in sugar and fat, making it an indulgent treat:
Calories: Approximately 350-400
Fat: 20g
Carbohydrates: 45g
Protein: 4g
Frequently Asked Questions (FAQs)
Q: Can I use homemade whipped cream instead of the frozen topping?
A: Yes, you absolutely can! If using homemade stabilized whipped cream (whipped with a little powdered sugar and perhaps a splash of vanilla), the texture will be slightly lighter. However, the frozen topping tends to hold up better against the moisture of the fudge, so if you use homemade, chill it for the full overnight period for the best structure.
Q: My graham crackers are still crunchy after chilling overnight. What went wrong?
A: This usually means you didn’t have enough moisture interaction. Make sure that every single graham cracker is touching either the chocolate fudge or the marshmallow cream layer. If you have any dry gaps, the cracker won’t soften. Also, ensure your fudge topping wasn’t too thick straight out of the jar; a slightly runnier topping incorporates better.
Q: How long does this cake last in the fridge?
A: Because it relies heavily on the whipped topping, it’s best eaten within 3 to 4 days. After that, the crackers can get overly soggy, and the overall texture starts to degrade.
Enjoy this incredible, no-fuss dessert! Happy layering!