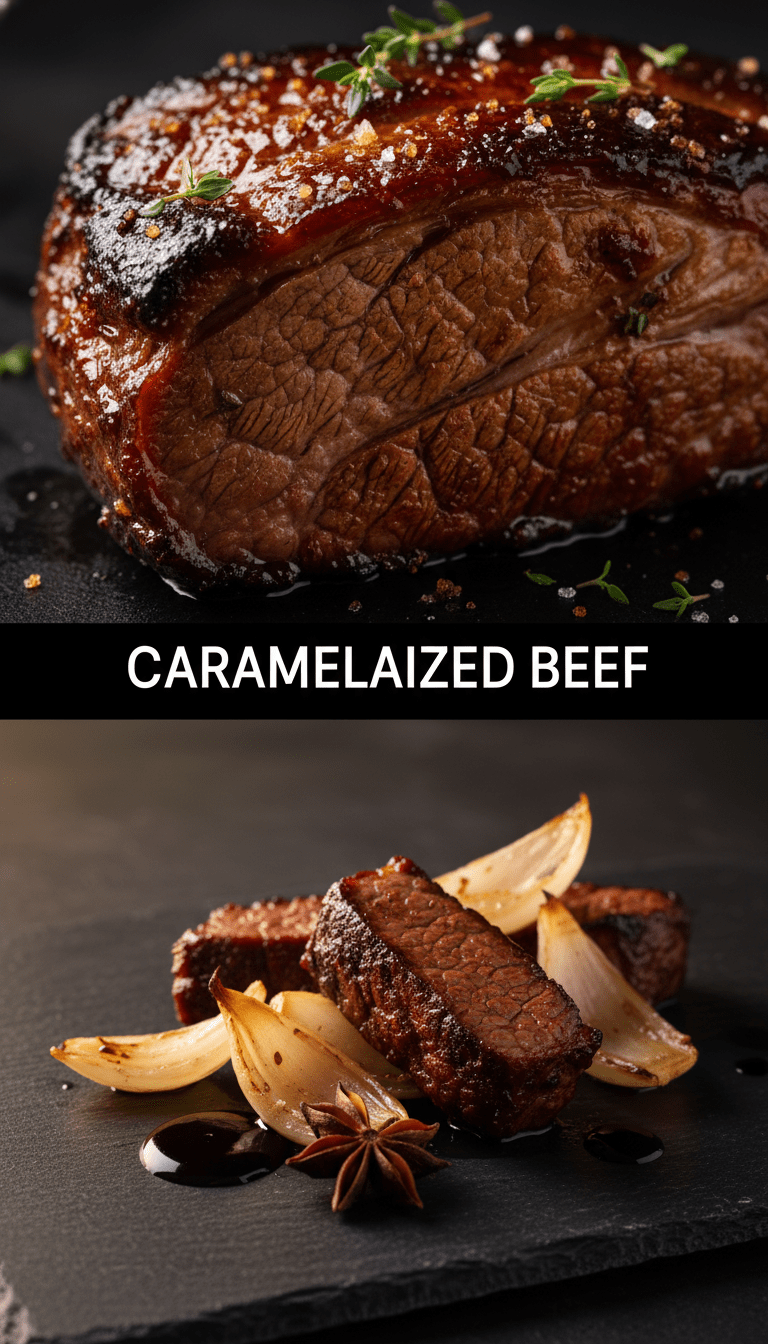
Hey everyone, and welcome back to the kitchen! If you’re anything like me, you crave those deeply flavorful dishes that seem like they took hours to prepare, but secretly come together in under an hour. Today, we are unlocking the magic of Caramelized Beef. Forget boring, one-note stews; this recipe is all about that perfect sticky, sweet, and salty glaze hugging tender slices of beef. It’s ridiculously addictive and guaranteed to become a family favorite. Let’s dive in!
Quick Facts
Prep time: 15 minutes
Cooking time: 30 minutes
Total time: 45 minutes
Serving size: 4 happy people
Why You’ll Love This Recipe
This isn’t your average stir-fry. What makes this caramelized beef special is the technique—we’re building layers of flavor by letting the sugars in the sauce truly caramelize around the beef. It creates a thick, glossy coating that is just heavenly. Plus, it’s incredibly versatile and forgiving, making it perfect for busy weeknights when you need a big flavor payoff with minimal fuss. It’s comfort food dressed up in a gorgeous, sticky glaze!
What You’ll Need: Ingredients List
Here’s what you need to gather for this flavor explosion. Make sure your beef is thinly sliced for the best results!
- For the Beef:
* 1.5 lbs sirloin, flank steak, or stewing beef, cut into thin strips (about 1/4 inch thick)
* 2 tablespoons cornstarch
* 1 tablespoon vegetable oil (or canola oil)
- For the Caramelizing Sauce:
* 1/4 cup soy sauce (low sodium preferred)
* 1/4 cup packed light brown sugar
* 2 tablespoons rice vinegar (or apple cider vinegar)
* 1 tablespoon Worcestershire sauce
* 1 teaspoon ground ginger
* 3 cloves garlic, minced
* 1/2 cup beef broth (or water)
* 1 tablespoon sesame oil
* 1 teaspoon fresh black pepper
Step-by-Step Instructions: Creating Caramelized Perfection
Follow these steps closely, especially when building that caramelized crust—that’s where the flavor lives!
Step 1: Prep the Protein
In a medium bowl, toss your thinly sliced beef strips with the cornstarch until they are lightly coated. This light dusting helps create a slightly crisp exterior and also thickens our sauce later. Set the beef aside.
Step 2: Whisk Up the Glaze
In a separate small bowl, whisk together all the sauce ingredients: soy sauce, brown sugar, rice vinegar, Worcestershire sauce, ginger, minced garlic, beef broth, sesame oil, and pepper. Make sure the brown sugar is mostly dissolved.
Step 3: Sear the Beef
Heat the vegetable oil in a large skillet or wok over medium-high heat until shimmering. Add the coated beef in a single layer (you might need to do this in two batches to avoid overcrowding the pan—overcrowding steams the meat instead of searing it!). Cook for 2-3 minutes per side until nicely browned. Remove the beef from the skillet and set it aside on a clean plate.
Step 4: The Caramelization Magic
Reduce the heat to medium. Pour the prepared sauce mixture into the hot skillet. Let the sauce simmer gently. As it heats up, the brown sugar will start to dissolve and then thicken. Keep stirring gently. You want the sauce to reduce by about one-third and become syrupy—this is the caramelization happening! This usually takes about 4 to 6 minutes.
Step 5: Bring It All Together
Once the sauce is thick and glossy, return the seared beef strips to the skillet. Toss quickly and continuously for about 1 minute, ensuring every piece of beef is completely coated in that sticky, dark glaze. Turn off the heat immediately once coated; you don’t want to cook the beef further, or it might get tough.
Serving Suggestions
This rich, deeply flavored beef shines when paired with something simple to soak up that incredible sauce!
- Serve immediately over fluffy white rice or brown rice.
- Pair with steamed broccoli or green beans for a fresh, crunchy contrast.
- For an Asian-inspired twist, serve alongside quick-seared noodles or even cauliflower rice.
Tips for Customization & Variations
Want to switch things up next time? I love playing with this base recipe!
1. Spice it Up: Add 1/2 teaspoon of red pepper flakes or a dash of Sriracha to the sauce mixture for a spicy kick.
2. Citrus Brightness: Stir in the zest of one orange along with the sauce for a “Caramelized Orange Beef.”
3. Vegetable Boost: Toss in sliced onions and bell peppers during Step 3 (after you remove the beef), sauté them until tender-crisp, and then add the beef back in with the sauce.
4. Thicker Sauce: If your sauce isn’t thickening enough, mix 1 teaspoon of cornstarch with 1 tablespoon of cold water (a slurry) and whisk it into the simmering sauce in Step 4.
Nutritional Information (Estimated)
Please note: These figures are estimates based on the ingredients listed and will vary depending on the exact cuts of beef and quantities used.
Per serving (approx. 1/4 of the recipe): Calories: 380-420, Protein: 30g, Fat: 15g, Carbohydrates: 30g.
Frequently Asked Questions (FAQs)
Q1: Can I use frozen beef for this recipe?
A: I strongly advise against it. For the best caramelization and texture, the beef must be completely thawed and patted very dry before coating with cornstarch. Freezing can change the meat structure and result in a tougher texture.
Q2: What is the best cut of beef to use if I want tender results?
A: Flank steak or sirloin are excellent choices because they slice thinly against the grain. If you use a tougher cut like chuck, make sure you slice it very thin after searing, or use a meat tenderizer before you begin cooking.
Q3: How far in advance can I prepare the sauce?
A: You can whisk the sauce together up to 2 days in advance and store it covered in the refrigerator. Just give it a good stir before using, as the brown sugar may settle.
Q4: Can I make this gluten-free?
A: Yes! Simply substitute the regular soy sauce with tamari or a certified gluten-free soy sauce alternative.
Happy cooking, everyone! Enjoy diving into this sticky, savory goodness! Let me know how yours turns out in the comments below!