Hey food lovers! Welcome back to the kitchen. Today, we are diving headfirst into a truly special Indian sweet that screams celebration but is surprisingly simple to make at home: Carrot Burfi!
Forget those complicated desserts that require hours of labor. This vibrant, orange confection, often known as Gajar ki Burfi, is rich, fudgy, and packed with the natural sweetness of carrots. It’s the perfect guilt-free indulgence or a stunning addition to your festive platter. Trust me, once you try this homemade version, you’ll never look back!
Quick Facts About This Recipe
Ready to see how fast this treat comes together?
Prep time: 15 minutes
Cooking time: 30-35 minutes
Total time: About 50 minutes (plus setting time)
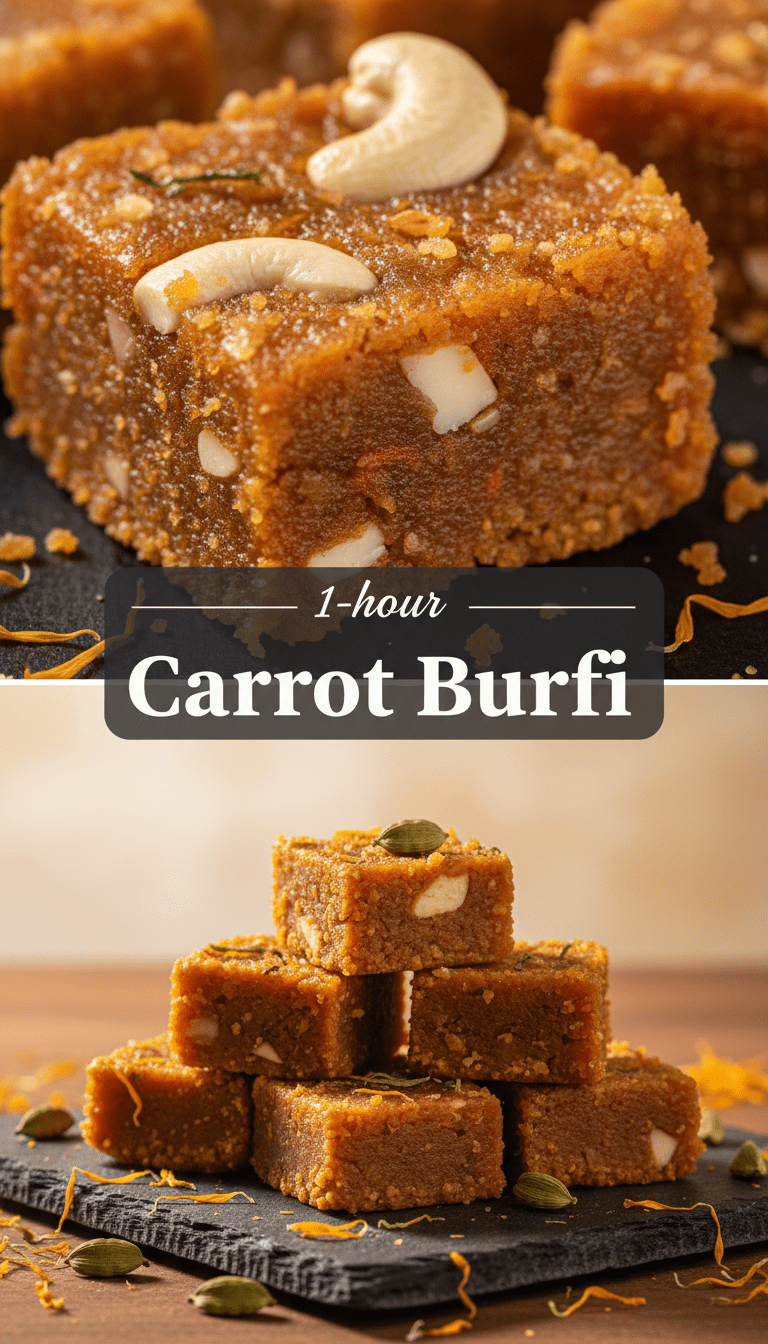
Serving size: Approximately 16 squares
Why You’ll Love This Recipe
This Carrot Burfi is a showstopper for several reasons:
- Incredibly Flavorful: The slow cooking of carrots with milk and ghee unlocks a deep, earthy sweetness.
- Simple Ingredients: You likely have most of what you need right now—carrots, sugar, and milk!
- Perfect Texture: Unlike traditional Gajar Ka Halwa, this sets up beautifully into sliceable, fudgy squares.
- Naturally Colorful: That gorgeous orange hue comes entirely from fresh carrots—no artificial coloring needed!
What You’ll Need: The Ingredient List
Gather these items before you start your magical transformation!
- 4 cups grated fresh carrots (about 4-5 medium carrots)
- 1 cup full-fat milk (whole milk works best for richness)
- 1 cup sugar (adjust to your sweetness preference)
- 1/2 cup ghee (clarified butter)
- 1/2 teaspoon cardamom powder (elaichi)
- A pinch of saffron strands (optional, for color and aroma)
- 1/4 cup finely chopped nuts (cashews, almonds, or pistachios) for garnish
Step-by-Step: Making the Perfect Carrot Burfi
Follow these easy steps, and you’ll be slicing perfect squares in no time!
Step 1: Softening the Carrots
1. In a heavy-bottomed pan or non-stick skillet, combine the grated carrots and milk.
2. Heat this mixture over medium heat. Stir occasionally until the milk has completely evaporated and the carrots look soft and tender. This process ensures the raw taste is gone.
Step 2: The Flavor Infusion
1. Once the milk is absorbed, add the ghee to the pan. Continue stirring constantly over medium-low heat. The mixture will start to leave the sides of the pan slightly.
2. Now, add the sugar. As the sugar dissolves, the mixture will become a bit watery again. Don’t panic! This is normal.
Step 3: Cooking Down to Burfi Consistency
1. Keep cooking this mixture, stirring continuously to prevent sticking. This is the most important step for texture!
2. You are looking for the mixture to thicken considerably. When you drag your spatula across the bottom of the pan, the mixture should take a few seconds to come back together (this is called the “leaving the sides” stage).
3. When it reaches this thick, fudgy consistency—almost like a very thick dough—stir in the cardamom powder and saffron (if using). Mix well for one final minute.
Step 4: Setting the Magic
1. Grease an 8×8 inch tray or plate generously with ghee.
2. Transfer the entire Burfi mixture into the greased tray.
3. Using the back of a spoon or a spatula dipped in ghee, firmly press the mixture evenly into the tray. Smooth the top surface nicely.
4. Sprinkle the chopped nuts over the top and gently press them in so they adhere.
5. Let the Carrot Burfi cool completely at room temperature for at least 2 hours, or speed things up by chilling it in the refrigerator for 1 hour.
6. Once fully set, use a sharp knife to cut it into your desired diamond or square shapes.
Serving Suggestions
Carrot Burfi is wonderful all by itself as a sweet treat! However, you can elevate it further:
- Serve it chilled alongside a cup of hot, masala chai.
- Offer it as a lighter dessert option after a heavy Indian meal.
- Use small pieces as a garnish on vanilla ice cream for a fun fusion dessert.
Tips for Customization and Variations
Want to tweak this recipe to your liking? Here are my favorite ideas:
- Khoya Boost: For an even richer texture, replace about 1/4 cup of the milk with grated khoya (dried milk solids). Add the khoya when you add the ghee.
- Vegan Sweetness: Swap the dairy milk for full-fat coconut milk and use a vegan condensed milk substitute or slightly more sugar to achieve the right density.
- Nutty Addition: Add 1/4 cup of desiccated coconut during the final cooking stage for extra texture and flavor.
Nutritional Information (Estimated per Square)
Disclaimer: This is a very rough estimate and will vary based on exact ingredient measurements and fat content.
This is a rich sweet, so enjoy in moderation!
Calories: Approx. 150-180 kcal
Fat: High (due to ghee and milk)
Carbohydrates: Moderate
Fiber: Good source (from carrots)
Frequently Asked Questions (FAQs) About Carrot Burfi
Q1: Can I use powdered sugar instead of granulated sugar?
A: I highly recommend using granulated sugar. Powdered sugar dissolves too quickly and might affect the final setting texture of the Burfi.
Q2: My Burfi mixture is too soft and won’t set. What went wrong?
A: This usually means it wasn’t cooked down enough. The key is cooking out all the moisture from the milk and sugar until the mixture pulls away cleanly from the pan. If it’s already set in the tray and too soft, place it back on low heat briefly, stir constantly until it thickens more, and then reset it.
Q3: How long does Carrot Burfi last?
A: Stored in an airtight container at cool room temperature, it lasts for about 5-7 days. For longer storage (up to 2 weeks), keep it in the refrigerator.
Happy cooking, everyone! Let me know in the comments when you whip up this gorgeous, homemade Carrot Burfi!