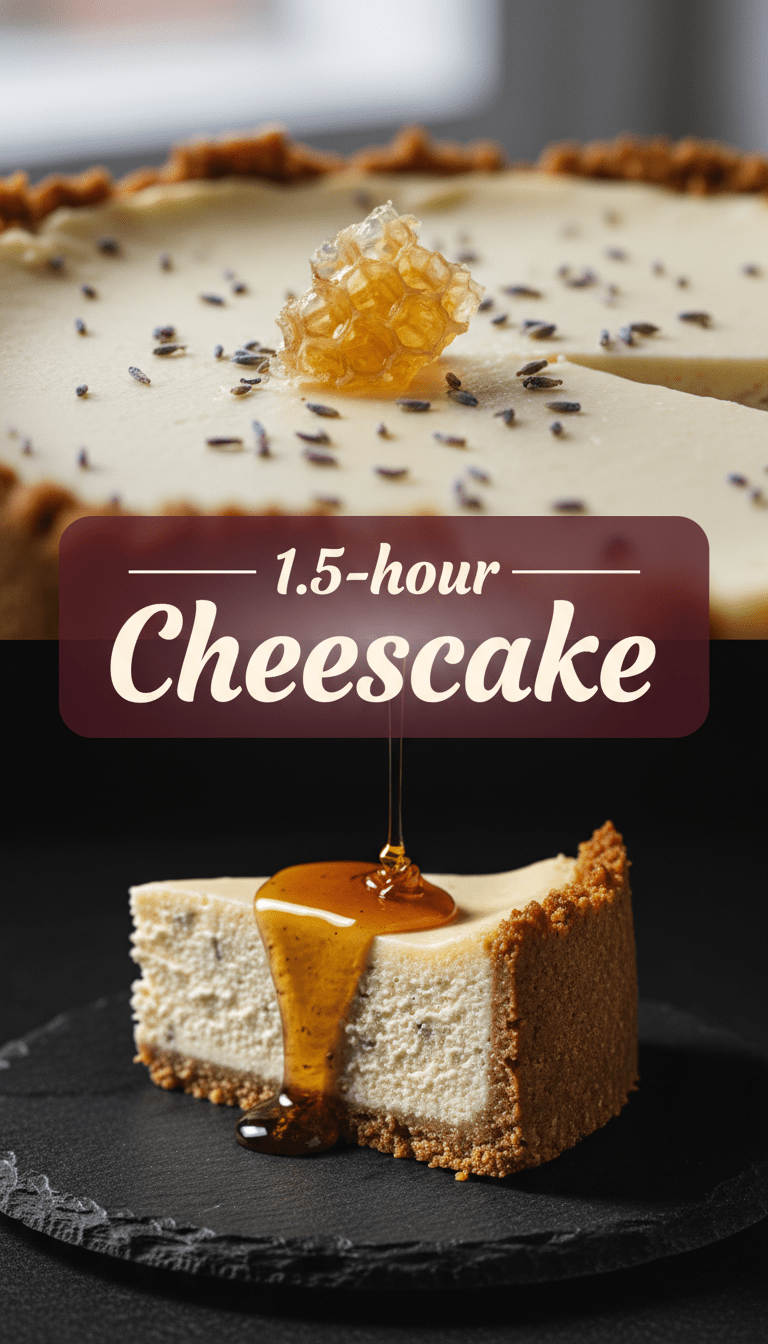
Hey there, fellow food lovers! I’m so excited to share what I consider the ultimate comfort dessert: homemade cheesecake. Forget those dry, crumbly versions you might have tried before. Today, we’re diving deep into a recipe that yields a silky smooth, perfectly tangy, and wonderfully rich cheesecake. Trust me, once you make this classic New York-style beauty, you’ll never go back to the store-bought kind. It sounds intimidating, I know, but I’ve broken down every single step to make it super easy. Let’s get baking!
Quick Facts
Here’s what you need to know before you preheat that oven:
Prep time: 30 minutes
Cooking time: 60-70 minutes
Total time: Approximately 2 hours (plus chilling time!)
Serving size: 10-12 generous slices
Why You’ll Love This Recipe
This isn’t just any cheesecake; this is the cheesecake.
- Incredibly Creamy Texture: We use a secret ingredient (well, not so secret, but essential!) to ensure that melt-in-your-mouth consistency.
- Perfectly Balanced Flavor: It’s sweet, but the tang from the cream cheese and lemon juice cuts through the richness beautifully.
- Foolproof Method: I’ve included tips to prevent cracking, which is every baker’s biggest fear!
Ingredients You’ll Need
We’ll break this down into two parts: the crust and the filling.
For the Graham Cracker Crust
- 1 ½ cups graham cracker crumbs (about 10-12 full sheets)
- ¼ cup granulated sugar
- 6 tablespoons unsalted butter, melted
For the Silky Cheesecake Filling
- 3 (8-ounce) blocks full-fat cream cheese, softened to room temperature (this is crucial!)
- 1 cup granulated sugar
- 1 teaspoon pure vanilla extract
- Zest of one small lemon
- 2 tablespoons fresh lemon juice
- 3 large eggs, room temperature
- ½ cup sour cream, room temperature
Step-by-Step Baking Magic
Get your 9-inch springform pan ready! If you want to use the water bath method (highly recommended to prevent cracks), wrap the bottom of your pan tightly in heavy-duty aluminum foil.
H3: Crafting the Perfect Crust
1. Preheat your oven to 350°F (175°C).
2. In a medium bowl, mix the graham cracker crumbs and the ¼ cup of sugar.
3. Pour in the melted butter and mix with a fork until the mixture resembles wet sand.
4. Press the crumb mixture firmly and evenly into the bottom and about an inch up the sides of your prepared springform pan. Use the bottom of a flat glass to really pack it down tight!
5. Bake the crust for 8 to 10 minutes. This sets it nicely. Let it cool slightly while you make the filling. Keep the oven temperature at 350°F (175°C).
H3: Mixing the Dreamy Filling
1. In a large bowl, or the bowl of a stand mixer fitted with the paddle attachment, beat the softened cream cheese on medium speed until it is completely smooth and fluffy. Make sure there are absolutely no lumps! Scrape down the sides frequently.
2. Gradually beat in the 1 cup of sugar until well combined.
3. Add the vanilla extract, lemon zest, and lemon juice. Mix until just combined.
4. Crucial Step Alert: Add the eggs one at a time, mixing on low speed after each addition just until the yolk disappears. Do not overmix once the eggs are in, as this incorporates too much air and causes cracking.
5. Gently mix in the room temperature sour cream until the batter is smooth.
H3: The Bake and Chill
1. Pour the smooth filling over the slightly cooled crust in the pan.
2. Water Bath Setup (Recommended): Place your foil-wrapped springform pan into a larger roasting pan. Carefully pour hot water into the roasting pan until it reaches about halfway up the sides of the springform pan.
3. Bake for 60 to 70 minutes. The edges should look set, but the very center (about a 2-inch circle) should still have a slight wobble when gently nudged.
4. Turn off the oven, but leave the cheesecake inside with the oven door propped open slightly (use a wooden spoon). Let it cool inside the cooling oven for 1 hour. This gradual temperature change is the secret weapon against cracks!
5. Carefully remove the cheesecake from the water bath (if used) and let it cool completely on a wire rack to room temperature (about 1-2 hours).
6. Once cool, cover loosely with plastic wrap and refrigerate for at least 6 hours, but overnight is best for the ultimate texture.
Serving Suggestions
A plain cheesecake is divine, but toppings take it to the next level!
- Classic: A dollop of fresh, lightly sweetened whipped cream and a few fresh berries (strawberries or raspberries are perfect).
- Chocolate Lover: Drizzle with warm fudge sauce right before serving.
- Fruity Delight: A homemade cherry or blueberry compote spooned over the top.
Customization and Variations
Want to jazz things up? Easy!
1. Chocolate Swirl: Beat ¼ cup of cocoa powder into about ½ cup of your cheesecake batter before pouring it into the crust. Dollop this chocolate mixture over the plain batter and swirl gently with a knife.
2. Cookie Crust: Swap graham crackers for Oreo crumbs (reduce sugar in the crust slightly) for a chocolate base.
3. Flavor Infusion: Add 1 tablespoon of strong brewed coffee or a dash of almond extract to the main filling mixture.
Estimated Nutritional Information
Please note: This is a rough estimate for one serving (based on 12 slices) and does not include toppings.
Calories: Approximately 450-500
Fat: High (due to cream cheese)
Sugar: Moderate
Cheesecake is definitely a treat, so enjoy every decadent bite!
Frequently Asked Questions (FAQs)
Q: Why did my cheesecake crack on top?
A: The two main culprits are overmixing (incorporating too much air) or too rapid a temperature change. Always mix on low speed once the eggs are added, and always use the oven-cooling trick described above!
Q: Can I skip the water bath?
A: You can, but I highly advise against it for your first try. The steam from the water bath ensures even, gentle cooking, preventing the edges from baking too quickly before the center sets. If you skip it, bake for slightly less time and watch it closely.
Q: Can I freeze cheesecake?
A: Yes! Bake and chill the cheesecake completely. Once firm, wrap the entire pan (or individual slices) tightly in plastic wrap, then foil. Freeze for up to 3 months. Thaw overnight in the refrigerator before serving.
Enjoy making this incredible dessert. Happy baking!