Hey there, fellow food lovers! Welcome back to my kitchen. Today, we are tackling a classic that often gets a bad rap: the humble chicken breast. Too many times, we’ve all suffered through dry, bland chicken that tastes like cardboard, right? Well, not anymore! I’ve cracked the code to achieving perfectly moist, incredibly flavorful chicken breasts every single time, using simple ingredients you probably already have. This method is my absolute go-to for busy weeknights, and trust me, it will change the way you look at chicken forever.
Quick Facts
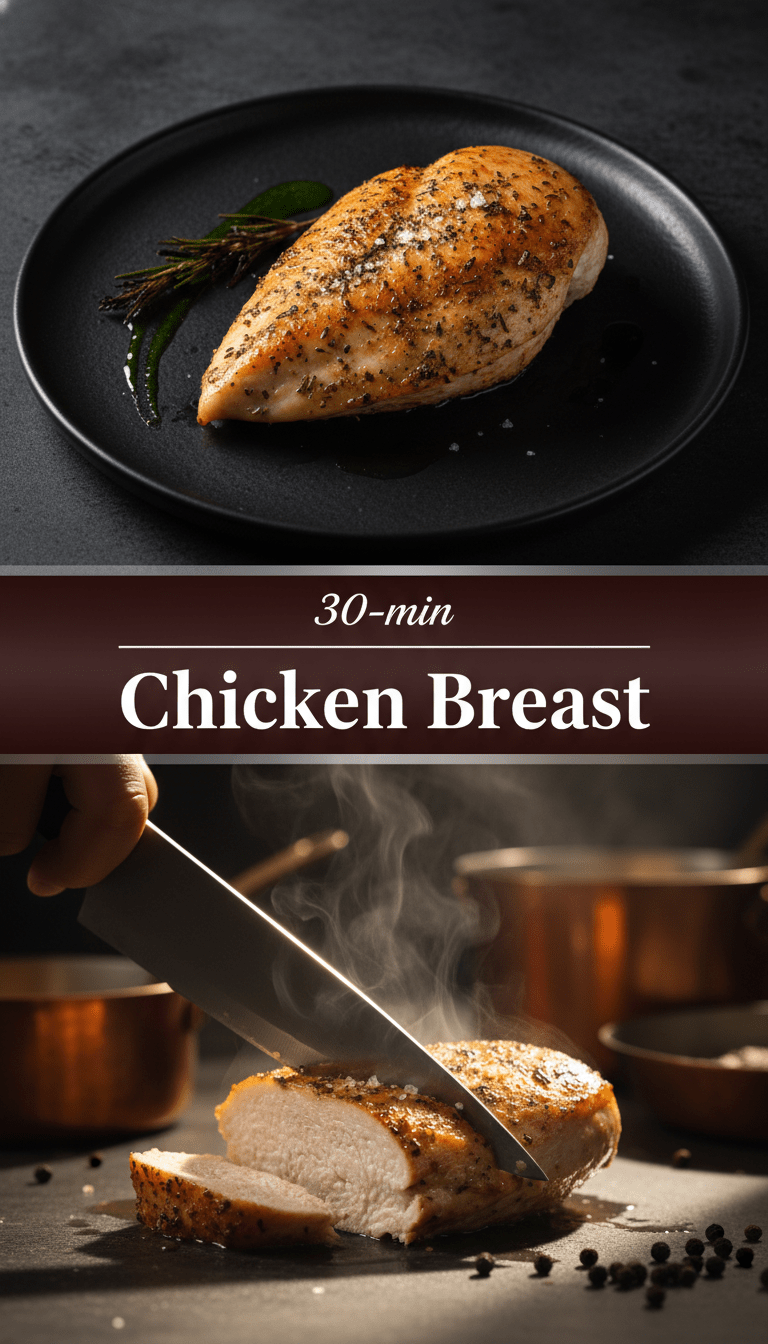
Here’s the lowdown on how fast you can get this deliciousness on your plate:
Prep time: 10 minutes
Cooking time: 15-20 minutes
Total time: 25-30 minutes
Serving size: 4 people
Why You’ll Love This Recipe
This isn’t just another chicken recipe. You’ll adore this because:
- Unbelievably Juicy: We use a secret technique involving a quick sear and simmer that locks in all the moisture.
- Maximum Flavor, Minimal Effort: A simple herb and spice blend elevates the flavor without needing complicated steps.
- Versatile Superstar: It pairs perfectly with salads, pasta, roasted veggies, or rice. You can use it for meal prep all week long!
- Beginner-Friendly: If you can turn on a stove, you can nail this recipe.
Ingredients You’ll Need
Gather your supplies! Everything here focuses on building deep flavor layers:
- 4 boneless, skinless chicken breasts (about 6-8 oz each)
- 2 tablespoons olive oil
- 1 teaspoon kosher salt (or to taste)
- 1/2 teaspoon black pepper
- 1 teaspoon garlic powder
- 1/2 teaspoon dried oregano
- 1/4 teaspoon paprika (regular or smoked, your choice!)
- 1/2 cup chicken broth (low sodium is best)
- 1 tablespoon fresh lemon juice (optional, but highly recommended!)
Step-by-Step Instructions: Achieving Chicken Perfection
Follow these steps closely, and prepare for the juiciest chicken of your life!
Step 1: The Flavor Prep
First things first, we need to season these beauties. Place your chicken breasts on a cutting board. If your chicken breasts are very thick (over 1.5 inches), you might want to gently pound them lightly with a meat mallet or the bottom of a heavy pan until they are an even thickness. This helps them cook evenly.
In a small bowl, mix together the salt, pepper, garlic powder, oregano, and paprika. Sprinkle this seasoning mix generously over both sides of the chicken breasts, pressing the spices gently into the meat.
Step 2: The Searing Magic
Heat the olive oil in a large skillet (cast iron works wonderfully here) over medium-high heat. You know the oil is ready when it shimmers slightly.
Carefully place the seasoned chicken breasts into the hot pan. Do not overcrowd the pan; work in batches if necessary. Sear the chicken for about 3 to 4 minutes per side until they develop a gorgeous golden-brown crust. This crust is crucial for flavor!
Step 3: The Simmer for Juiciness
Once both sides are beautifully browned, reduce the heat to medium-low.
Pour the chicken broth directly into the pan around the chicken (not directly on top of the crusts if you can help it). Bring the liquid to a gentle simmer.
Cover the skillet with a tight-fitting lid. Let the chicken gently simmer for another 8 to 12 minutes. The time depends on the thickness of your chicken. Resist the urge to lift the lid too often—that lets the steam escape!
Step 4: The Final Touch
Remove the lid. The chicken should be cooked through. To check for doneness, insert a meat thermometer into the thickest part; it should read 165°F (74°C).
Turn off the heat. Stir in the fresh lemon juice if you are using it. Let the chicken rest right there in the pan juices, uncovered, for about 5 minutes. This resting period allows the juices to redistribute, ensuring maximum moisture.
Slice and serve immediately!
Serving Suggestions That Shine
This chicken is so versatile! Try it:
- Drizzled with the pan sauce over a bed of fluffy quinoa or brown rice.
- Sliced thinly and added cold to green salads the next day for lunch.
- Served alongside roasted asparagus or green beans.
- Tucked into warm tortillas for quick, flavor-packed tacos.
Tips for Customization and Variations
Want to mix things up? Here are a few ways to tweak this base recipe:
- Herby Goodness: Swap the oregano for 1 teaspoon of dried thyme or rosemary.
- A Little Heat: Add 1/4 teaspoon of cayenne pepper to the spice blend for a kick.
- Creamy Finish: After removing the chicken, whisk 2 tablespoons of heavy cream into the pan juices before pouring over the chicken for an instant light gravy.
- Onion Power: Sauté a few slices of yellow onion in the pan before adding the chicken for extra depth of flavor.
Nutritional Information (Estimated Per Serving)
Please remember these are rough estimates and will vary based on exact measurements and cuts of meat used:
Calories: Approximately 280-320 kcal
Protein: Approximately 45g
Fat: Approximately 8g
Carbohydrates: Approximately 2g
Frequently Asked Questions (FAQs)
Q1: Can I cook this recipe on the stovetop without simmering?
A: You can, but the simmering step is what guarantees juiciness! If you skip the simmer, you need to cook it low and slow until it hits 165°F. However, the steam from the broth helps cook the interior gently while the heat source works on the exterior, preventing drying out.
Q2: How do I store leftovers?
A: Store leftover cooked chicken in an airtight container in the refrigerator for up to 3-4 days. The flavor often deepens overnight!
Q3: Can I use chicken thighs instead of breasts?
A: Absolutely! Chicken thighs have more fat and are naturally juicier, so they are very forgiving. You will likely need to cook them slightly longer—aim for 6-8 minutes per side when searing and 10-15 minutes simmering, or until they reach 175°F (for the best texture in thighs).
Enjoy your incredibly juicy chicken breast! Happy cooking!