Hey there, fellow food lovers! Who doesn’t adore a good piece of crispy, golden-brown fried chicken? But today, we’re taking that comfort food experience up a notch by transforming tender chicken breasts into true Chicken Fried Chicken magic. Think of it as the best parts of Chicken Fried Steak, but starring juicy chicken!
This recipe delivers that incredible crunch we all crave, coupled with a super flavorful coating and a luscious, peppery gravy to top it all off. Don’t be intimidated by frying; I’ve broken it down step-by-step so even if you’re new to this, you’ll end up with restaurant-quality results right in your own kitchen. Let’s get cooking!
Quick Facts
Here’s the lowdown on how long this deliciousness will take:
Prep time: 20 minutes
Cooking time: 20 minutes
Total time: 40 minutes
Serving size: 4 hungry people
Why You’ll Love This Recipe
This isn’t just any fried chicken. Here’s why this recipe is going straight into your weekly rotation:
- Incredible Crunch: We use a double-dip dredging method that guarantees a thick, craggy, shatteringly crisp crust every single time.
- Tender Inside: Pounding the chicken ensures even thickness, meaning zero dry edges—just perfectly cooked, juicy meat.
- The Gravy Factor: Serving it smothered in creamy, savory pepper gravy takes this dish from great to legendary. It’s pure comfort on a plate!
Ingredients You’ll Need
We’ll divide the ingredients into two main parts: the chicken and the gravy.
For the Chicken Fried Chicken
- 4 boneless, skinless chicken breasts (about 6-8 oz each)
- 2 cups all-purpose flour
- 1 teaspoon salt
- 1 teaspoon black pepper (freshly ground is best!)
- 1 teaspoon paprika
- 1 teaspoon garlic powder
- 1/2 teaspoon cayenne pepper (optional, for a little kick)
- 2 large eggs
- 1/2 cup milk (any kind works)
- Vegetable oil or canola oil, for frying (enough to fill your skillet about 1 inch deep)
For the Peppery Milk Gravy
- 3 tablespoons reserved flour mixture from the dredging station
- 3 tablespoons butter (or reserved chicken drippings if you want extra flavor!)
- 2 cups whole milk (or half-and-half for richer gravy)
- 1/2 teaspoon salt
- 1 teaspoon black pepper (use lots of fresh ground here!)
Step-by-Step Instructions
Follow these steps closely, and you’ll be enjoying the best Chicken Fried Chicken of your life!
Step 1: Prepare the Chicken Cutlets
1. Place each chicken breast between two sheets of plastic wrap or inside a large zip-top bag.
2. Use a meat mallet or a heavy rolling pin to pound the chicken evenly to about 1/2-inch thickness. This is key for quick, even cooking!
Step 2: Set Up the Dredging Station
1. In a shallow dish (a pie plate works perfectly), whisk together the 2 cups of flour, salt, pepper, paprika, garlic powder, and cayenne (if using). This is your dry mix.
2. In a second shallow dish, whisk together the eggs and milk until well combined. This is your wet mix.
3. Crucially: Before you start coating the chicken, scoop out 3 tablespoons of the dry mix into a small bowl. Set this aside—it’s for the gravy later!
Step 3: The Double Dip (For Maximum Crunch!)
1. Take one pounded chicken cutlet and dredge it thoroughly in the dry mix, pressing the flour firmly onto the chicken. Shake off the excess.
2. Dip the floured chicken completely into the wet mix, letting any excess drip off.
3. Return the chicken immediately back into the dry mix. Press that flour mixture onto the chicken again, ensuring every nook and cranny is covered. You want those craggy bits to form! Set the coated chicken aside on a clean plate. Repeat with the remaining pieces.
Step 4: Get Frying!
1. Pour your oil into a large, heavy-bottomed skillet (cast iron is my favorite!) until it’s about 1 inch deep.
2. Heat the oil over medium-high heat until it reaches about 325°F (160°C). If you don’t have a thermometer, a sprinkle of flour should sizzle immediately but not burn.
3. Carefully place 1 or 2 pieces of chicken into the hot oil, ensuring you don’t overcrowd the pan (this lowers the oil temperature and makes the coating soggy!).
4. Fry for about 4 to 5 minutes per side, until deeply golden brown and cooked through (internal temperature should reach 165°F or 74°C).
5. Remove the chicken and place it on a wire rack set over a baking sheet to drain excess oil. Keep the cooked chicken warm while you make the gravy.
Step 5: Whip Up the Peppery Gravy
1. Pour off all but about 3 tablespoons of the oil from your skillet (save the rest for another day!).
2. Return the skillet to medium heat. Add the 3 tablespoons of butter to the remaining oil drippings. Once melted, whisk in the 3 tablespoons of reserved dry flour you saved earlier. Cook, whisking constantly, for 1 minute to create a roux.
3. Slowly pour in the milk, whisking constantly to prevent lumps. Bring the mixture to a simmer, continuing to whisk until the gravy thickens enough to coat the back of a spoon (about 3-5 minutes).
4. Stir in the salt and generous amount of black pepper. Taste and adjust seasoning if needed!
Serving Suggestions
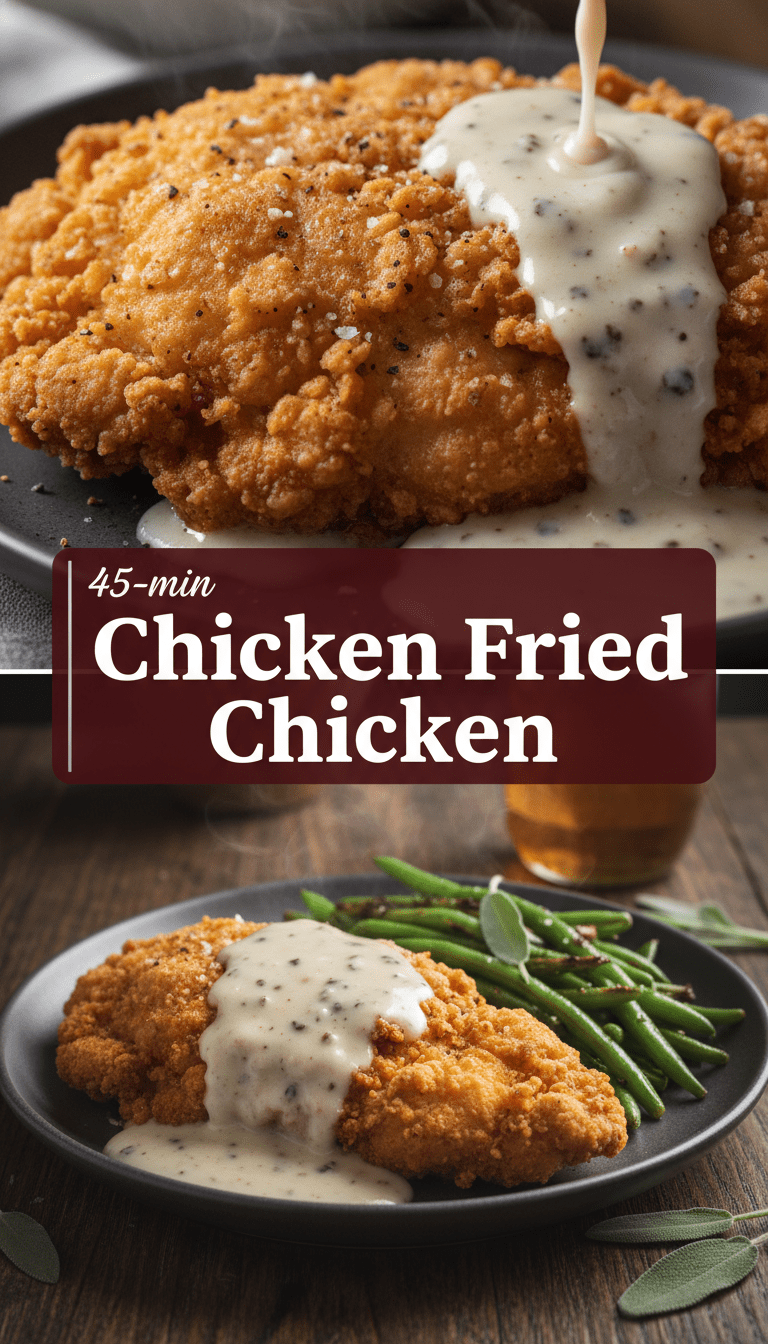
This Chicken Fried Chicken is best served piping hot, immediately smothered generously with that creamy pepper gravy. I highly recommend pairing it with creamy mashed potatoes and a side of vibrant green beans or collard greens to cut through the richness.
Tips for Customization and Variations
- Spice it Up: Add 1 teaspoon of smoked paprika and a heavy dash of hot sauce (like Tabasco) to the egg wash for a spicy Louisiana flair.
- Buttermilk Bath: For even more tender chicken, soak your pounded cutlets in buttermilk for at least 30 minutes (or up to 4 hours) before starting the dredging process. Just pat them slightly dry before putting them into the flour.
- Air Fryer Finish: If you prefer less oil, you can bake or air fry after the initial coating! Preheat your air fryer to 380°F (195°C). Lightly spray the coated chicken with cooking spray and cook for 12-15 minutes, flipping halfway, until golden.
Nutritional Information (Estimated per serving, without gravy)
Please remember these are just estimates, as portion sizes and exact ingredients can vary:
Calories: 550-650
Protein: 45g
Fat: 35g
Carbohydrates: 25g
Frequently Asked Questions (FAQs)
Q: Why do I need to pound the chicken?
A: Pounding the chicken ensures it’s an even thickness. If one side is thin and the other thick, the thin side will be dry and overcooked by the time the thick side is done.
Q: How can I keep my finished chicken crispy?
A: The secret is a wire rack! Never place hot fried food directly on a plate or paper towel, as the trapped steam will immediately turn the bottom soggy. The wire rack allows air to circulate underneath.
Q: Can I make the gravy ahead of time?
A: Yes! Gravy thickens as it cools. When you reheat it, whisk in a splash of extra milk or cream over low heat until it reaches your desired consistency.
Q: My oil isn’t hot enough, and the coating is falling off! What went wrong?
A: This usually means the oil wasn’t hot enough when you added the chicken. The coating needs instant heat to set properly. If this happens, quickly remove the chicken, let the oil heat up for a few minutes, and try again with the next batch. Next time, always test the oil temperature first!
Enjoy every single crispy, gravy-drenched bite! Happy cooking!