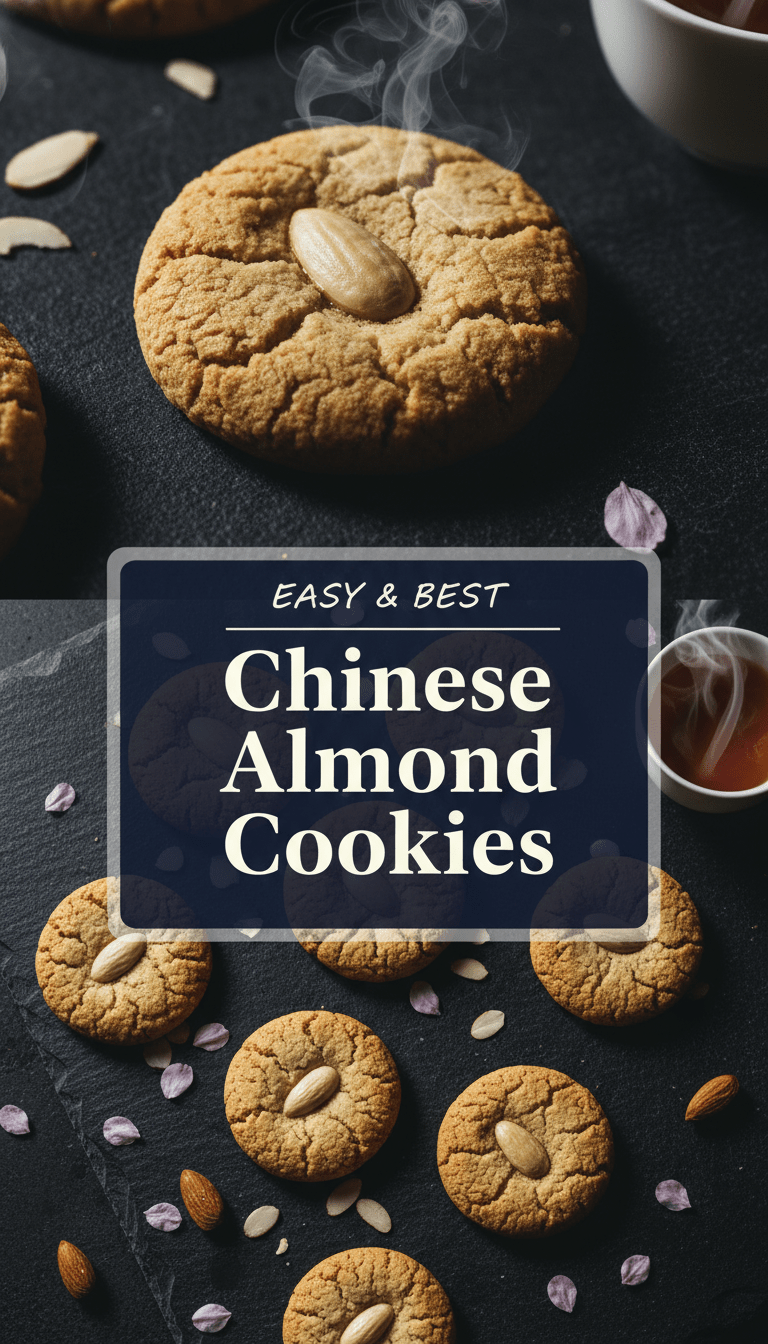
Hey everyone, and welcome back to my kitchen! If there’s one cookie that instantly teleports me back to childhood celebrations, it’s the humble, yet magnificent, Chinese Almond Cookie. Forget the hard, dusty versions you might have tried; today, we are making the recipe—light, buttery, melt-in-your-mouth delicious, and boasting that unmistakable, slightly nutty aroma.
These cookies are surprisingly easy to make, even if you’re new to baking. Trust me, once you taste this homemade batch, you’ll never buy the store-bought ones again. Let’s get baking!
Quick Facts
Here’s what you need to know before you preheat that oven:
Prep time: 20 minutes
Baking time: 12-14 minutes
Total time: Approximately 35 minutes (plus cooling)
Serving size: About 24 cookies
Why You’ll Love This Recipe
Why are these cookies such a must-try?
1. Texture Perfection: They achieve that perfect balance—crisp on the outside, wonderfully crumbly and tender inside.
2. Simple Ingredients: You probably have most of what you need in your pantry right now!
3. The Flavor Factor: That hint of almond extract mixed with sweet butter is simply addictive.
4. Freezer Friendly: Make a huge batch and freeze them for future cravings!
What You’ll Need: The Ingredients List
Gather your ingredients! Precision matters here, especially with baking powder, so measure carefully.
- 2 cups All-Purpose Flour
- ½ teaspoon Baking Powder
- ¼ teaspoon Salt
- ½ cup Unsalted Butter (softened to room temperature)
- ½ cup Granulated Sugar
- 2 large Egg Yolks (save the whites for later!)
- 1 teaspoon Almond Extract (this is crucial for flavor!)
- 1 teaspoon Vanilla Extract
- Optional for topping: Egg wash (1 egg white mixed with 1 tsp water) and 24 whole blanched almonds
Baking Magic: Step-by-Step Instructions
This process is broken down into three easy phases: mixing the dry, creaming the wet, and baking!
Phase 1: Prepare Your Dry Mix
1. Preheat and Line: Preheat your oven to 350°F (175°C). Line two large baking sheets with parchment paper.
2. Whisk Together: In a medium bowl, whisk together the flour, baking powder, and salt until they are thoroughly combined. Set this aside.
Phase 2: Creaming the Butter and Sugar
1. Creaming: In a large bowl (or the bowl of a stand mixer), beat the softened butter and granulated sugar together until the mixture is light and fluffy. This usually takes about 3-4 minutes with an electric mixer.
2. Add Flavor: Beat in the two egg yolks, almond extract, and vanilla extract until everything is smooth and fully incorporated. Scrape down the sides of the bowl as needed.
3. Combine: Gradually add the dry flour mixture to the wet ingredients. Mix on low speed (or by hand) just until the dough comes together. Be careful not to overmix, or your cookies will become tough!
Phase 3: Shaping and Baking
1. Shape the Dough: Scoop out small portions of dough, about 1 tablespoon each, and roll them gently between your palms to form smooth balls. Place them about 1.5 inches apart on the prepared baking sheets.
2. The Classic Press (Optional but Recommended): This gives them that traditional look! Gently flatten each ball slightly with the bottom of a drinking glass or the palm of your hand.
3. The Signature Mark: If you are using them, lightly brush the tops with the optional egg wash. Immediately press one whole blanched almond right into the center of each cookie.
4. Bake Time: Bake for 12 to 14 minutes. The edges should be just beginning to turn a light golden brown, but the centers should still look pale.
5. Cooling: Let the cookies rest on the baking sheet for 5 minutes (they are delicate when hot!) before carefully transferring them to a wire rack to cool completely. They firm up nicely as they cool.
Serving Suggestions
These cookies are wonderful anytime, but here are my favorite ways to enjoy them:
- Tea Time Treat: Pair them with hot jasmine tea or traditional Chinese herbal tea for an authentic experience.
- Dessert Platter: They look beautiful clustered on a platter during holidays or Lunar New Year celebrations.
- With Coffee: Their buttery richness cuts through the acidity of a strong cup of morning coffee perfectly.
Tips for Customization and Variations
Want to tweak this classic recipe? Go for it!
- Gluten-Free Swap: You can successfully substitute the all-purpose flour with a good quality 1-to-1 gluten-free baking blend.
- Nut Alternatives: If you can’t use almonds, substitute with high-quality imitation vanilla or even a touch of lemon zest for a different citrusy flavor profile.
- Double the Crunch: For extra texture, gently fold in 1/4 cup of finely chopped toasted pecans or walnuts right before chilling the dough.
Estimated Nutritional Information
Please note: This is a very rough estimate based on standard ingredient measurements and will vary depending on exact portion sizes.
For one cookie (estimated):
Calories: 90-100 kcal
Fat: 5g
Carbohydrates: 10g
Protein: 1g
Frequently Asked Questions (FAQs)
Q1: Can I use almond flour instead of regular flour?
A: No, not directly. Almond flour behaves very differently than all-purpose flour in this recipe. It would result in a cookie that spreads too much and doesn’t hold its shape well. Stick to all-purpose flour for this specific recipe.
Q2: My cookies spread out too much! What went wrong?
A: This usually happens for two reasons: your butter was too warm/melted, or you over-mixed the dough after adding the flour. Next time, ensure your butter is just soft to the touch, not oily. Also, stop mixing the second the flour disappears into the dough.
Q3: How long do these cookies last?
A: Stored in an airtight container at room temperature, these cookies stay fresh and delicious for up to one week. If stored properly, they can be frozen for up to three months!
Enjoy baking these delightful little bites of joy! Happy cooking, and let me know how your batch turns out in the comments below!