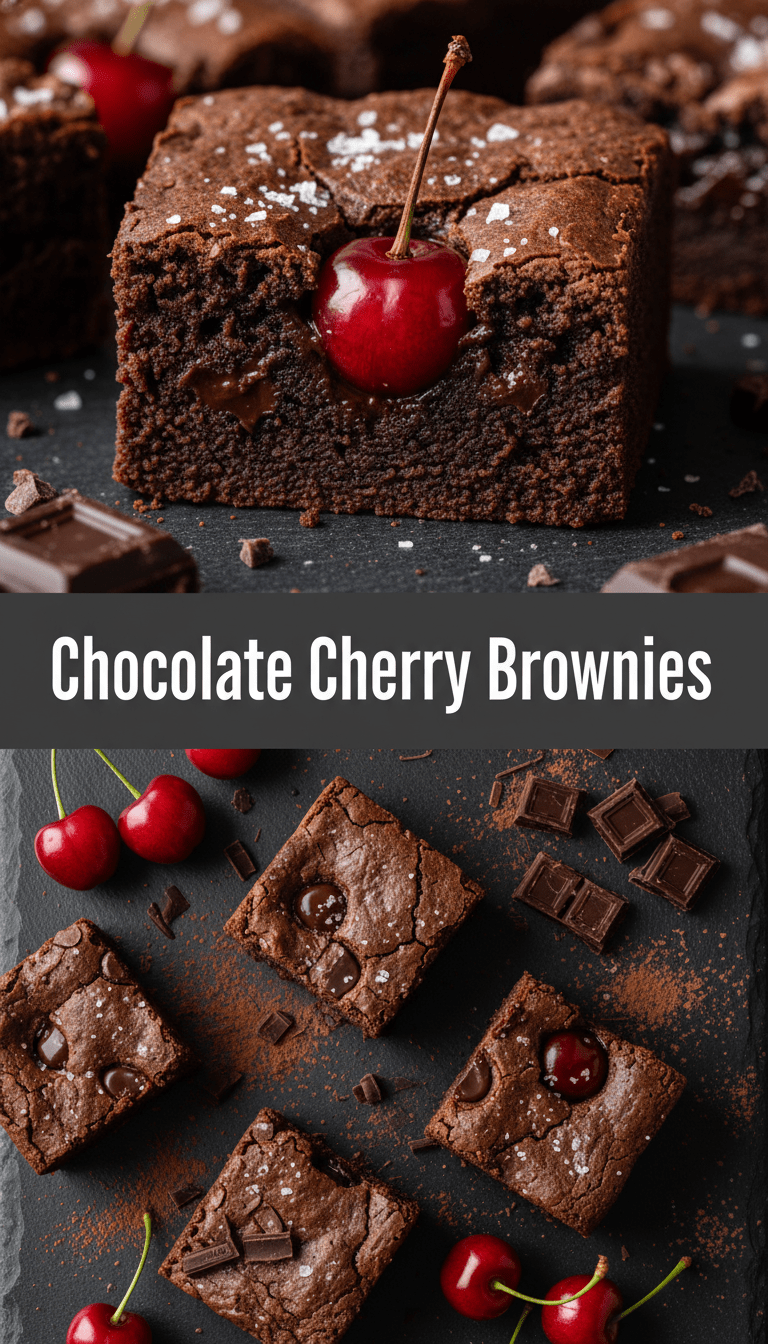
Hey there, fellow sweet-tooth enthusiasts! Welcome back to the kitchen. Today, we’re taking the classic, beloved brownie and giving it a luxurious, fruity upgrade. Forget everything you think you know about simple chocolate squares—we’re diving into Chocolate Cherry Brownies. These aren’t just brownies; they’re pockets of rich, dark chocolate heaven studded with bursts of tangy, sweet cherries. Trust me, once you try this recipe, it’s going straight into your “keeper” file. Let’s get baking!
Quick Facts
Here’s what you need to know before you start whipping things up:
Prep time: 20 minutes
Cooking time: 30-35 minutes
Total time: About 55 minutes (plus cooling time!)
Serving size: 16 generous squares
Why You’ll Love This Recipe
If you’re looking for that perfect balance between deep, dark chocolate and bright fruitiness, this is it!
- Fudgy Perfection: These brownies achieve that coveted crackly top and incredibly dense, moist center.
- Flavor Bomb: The combination of high-quality cocoa and tart cherries is simply divine—it cuts through the richness beautifully.
- Easy to Master: While the results look gourmet, the process is straightforward enough for any novice baker.
Ingredients You’ll Need
Gather your ingredients! I highly recommend using high-quality bittersweet chocolate for the best flavor payoff.
For the Brownie Batter
- 1 cup (2 sticks or 226g) unsalted butter, plus extra for greasing
- 1 ¼ cups granulated sugar
- 1 cup packed light brown sugar
- 4 large eggs, room temperature
- 1 teaspoon vanilla extract
- ¾ cup unsweetened cocoa powder (Dutch-processed works great here!)
- ½ cup all-purpose flour
- ½ teaspoon salt
- ½ teaspoon instant espresso powder (optional, but it deepens the chocolate flavor!)
- 1 cup (about 6 oz) bittersweet or semi-sweet chocolate chips (for melting into the batter)
The Cherry Stars
- 1 cup frozen or fresh pitted cherries (if using frozen, do not thaw)
- ½ cup dried cherries (optional, for extra chewiness)
- ½ cup semi-sweet chocolate chips (for folding in at the end)
Step-by-Step Baking Magic
Follow these steps closely, and you’ll have the best brownies ever!
H3: Prepping and Melting
1. Preheat and Prep: Preheat your oven to 350°F (175°C). Line an 8×8 inch metal baking pan with parchment paper, leaving an overhang on two sides. This makes lifting the brownies out later super easy! Lightly grease the exposed pan sides.
2. Melt the Base: In a medium, heat-safe bowl set over a saucepan of simmering water (a double boiler), or carefully in short bursts in the microwave, melt the butter along with the 1 cup of chocolate chips until completely smooth. Remove from heat and let it cool slightly for about five minutes.
H3: Mixing the Wet and Dry
3. Sugar Power: Whisk the granulated sugar and brown sugar thoroughly into the slightly cooled chocolate mixture until well combined.
4. Add Eggs: Add the eggs one at a time, whisking vigorously after each addition until the batter looks thick and glossy. Stir in the vanilla extract.
5. Dry Ingredients: In a separate small bowl, whisk together the cocoa powder, flour, salt, and espresso powder (if using).
6. Combine: Gently fold the dry ingredients into the wet ingredients using a rubber spatula. Be careful not to overmix! Stop mixing as soon as you see no more streaks of dry flour. Overmixing develops gluten and leads to cakey brownies, not fudgy ones!
H3: Folding and Baking
7. Add the Fruit: Gently fold in the fresh/frozen cherries, the dried cherries (if using), and the remaining ½ cup of chocolate chips.
8. Pour and Bake: Pour the batter into your prepared pan and spread it evenly.
9. Bake Time: Bake for 30 to 35 minutes. To test for doneness, insert a toothpick into the center. If it comes out with moist crumbs clinging to it (not wet batter), they are done! If it comes out completely clean, they are likely overbaked.
10. Cool Down: Let the brownies cool completely in the pan on a wire rack—this is the hardest part, but it’s essential for that perfect fudgy texture! Once cool, use the parchment paper handles to lift them out and slice into 16 squares.
Serving Suggestions
These brownies are decadent on their own, but here are a few ways to elevate the experience:
- A dusting of powdered sugar just before serving.
- A scoop of vanilla bean ice cream melting slowly on top.
- A drizzle of homemade chocolate ganache or a tart cherry sauce.
Customization and Variations
Want to switch things up? Try these ideas!
- Boozy Kick: Soak your dried cherries in a tablespoon of Kirsch or brandy before adding them to the batter.
- Nutty Crunch: Add ½ cup of toasted, chopped pecans or walnuts along with the cherries.
- Darker Flavor: Swap out the bittersweet chips for 70% dark chocolate for an even deeper, less sweet profile.
Nutritional Information (Estimated)
Please remember these are rough estimates per square, based on 16 servings, and will vary based on exact ingredients used.
Calories: Approximately 280-320 kcal
Fat: High (due to butter and chocolate)
Sugar: Moderate to High
Protein: Low
Frequently Asked Questions (FAQs)
Q1: Can I use canned cherry pie filling instead of fresh/frozen cherries?
A: You can, but you need to adjust the liquid content. Canned filling is very wet. If you use it, drain the filling very well, patting the cherries dry with a paper towel first, and consider reducing the sugar in the recipe by ¼ cup.
Q2: Why are my brownies cakey instead of fudgy?
A: This is usually due to two things: either you added too much flour (always spoon flour into your measuring cup and level it off, don’t scoop directly from the bag!), or you overmixed the batter after adding the flour. Remember, gentle folding is key!
Q3: How should I store leftover Chocolate Cherry Brownies?
A: Store them in an airtight container at room temperature for up to 4 days. They actually taste even fudgier the next day! For longer storage, they freeze beautifully for up to three months. Wrap individual squares tightly before freezing.
Enjoy every single fudgy bite! Happy baking!