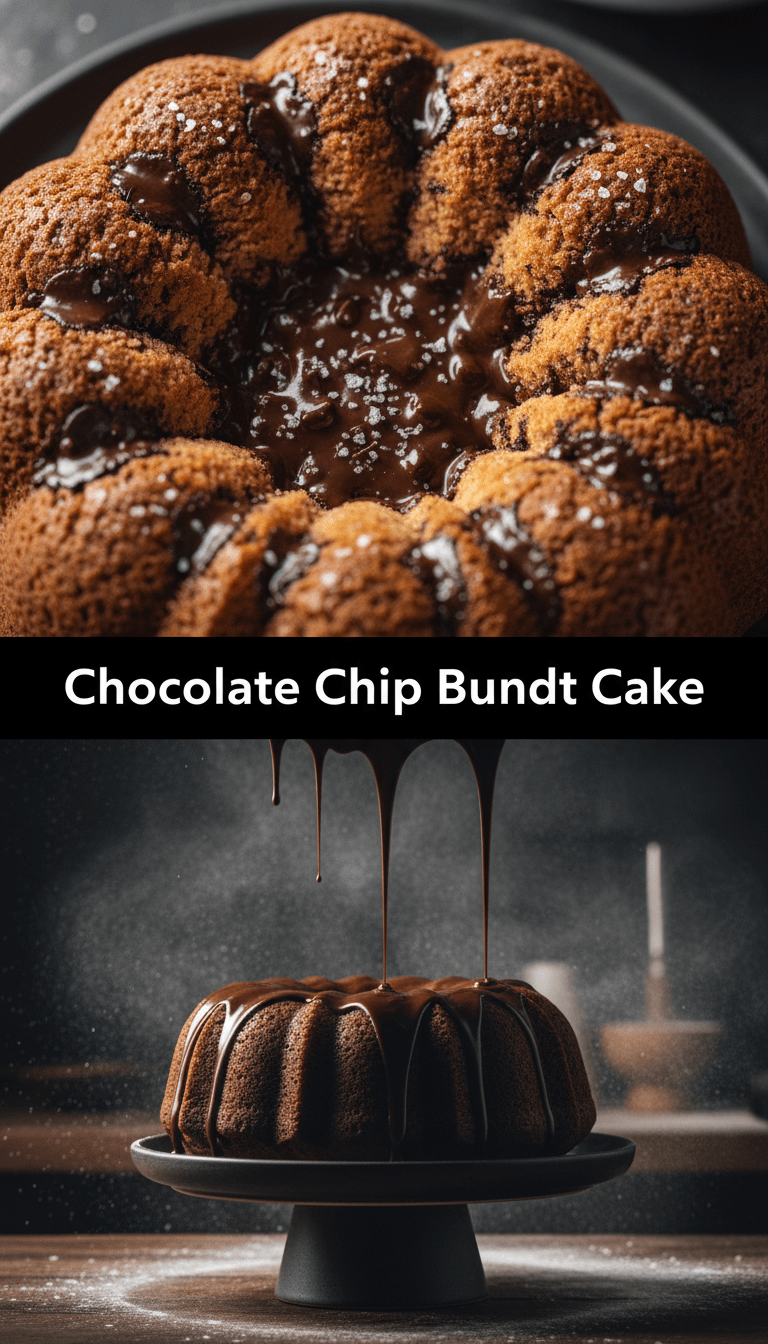
Hello, fellow baking enthusiasts! If you’re anything like me, there’s just something magical about a classic chocolate chip cookie. But what if we took that gooey, buttery, chocolate-studded goodness and transformed it into a show-stopping, moist, and incredibly tender cake? Today, we are diving headfirst into my absolute favorite creation: the Chocolate Chip Bundt Cake.
This isn’t just any cake; it’s the kind of dessert that smells like a warm hug and tastes like pure nostalgia. Forget dry cakes! This recipe ensures a perfectly moist crumb every single time, thanks to a few secret ingredients I’ll share with you below. Ready to create some magic in your kitchen? Let’s get baking!
Quick Facts
Prep time: 20 minutes
Cooking time: 50-60 minutes
Total time: About 1 hour 20 minutes (plus cooling)
Serving size: 12-14 generous slices
Why You’ll Love This Recipe
This Chocolate Chip Bundt Cake is a guaranteed crowd-pleaser for several reasons:
- Incredibly Moist: We use a combination of sour cream and oil to keep this cake tender for days.
- Easy to Decorate: The beautiful fluted pan does most of the decorating work for you! A simple glaze is all it needs.
- Perfectly Balanced: It’s rich without being heavy, offering that comforting balance of buttery vanilla cake and pools of melted chocolate.
- Beginner Friendly: Despite its elegant look, the mixing process is straightforward—no fancy whipping techniques required!
Ingredients You’ll Need
Gather up these simple ingredients for a cake that truly shines:
For the Cake:
- 1 cup (2 sticks or 226g) unsalted butter, softened to room temperature
- 1 ¾ cups (350g) granulated sugar
- 4 large eggs, room temperature
- 1 teaspoon vanilla extract
- 1 cup (240g) full-fat sour cream, room temperature
- 2 ¾ cups (345g) all-purpose flour
- 1 teaspoon baking soda
- ½ teaspoon baking powder
- ½ teaspoon salt
- 1 ½ cups (about 9 oz or 250g) semi-sweet chocolate chips (or a mix of chips and chunks!)
For the Simple Vanilla Glaze (Optional but Recommended):
- 1 ½ cups (180g) powdered sugar, sifted
- 3-4 tablespoons milk or cream
- ½ teaspoon vanilla extract
Step-by-Step Baking Bliss
Follow these steps, and you’ll have a stunning Bundt cake ready in no time!
Step 1: Prepare Your Pan and Oven
First things first: Preheat your oven to 350°F (175°C). The secret to a successful Bundt cake release is proper pan prep. Generously grease your 10-12 cup Bundt pan with softened butter or non-stick baking spray, making sure to coat every nook and cranny, especially the crevices. For extra insurance, dust the greased pan lightly with flour or cocoa powder, tapping out any excess.
Step 2: Cream the Fats and Sugar
In a large bowl, use an electric mixer (handheld or stand mixer) to beat the softened butter and granulated sugar together on medium speed until the mixture is light and fluffy—this usually takes about 3 to 4 minutes. This step incorporates air, which gives the cake its lift!
Step 3: Add Wet Ingredients
Beat in the eggs one at a time, ensuring each is fully incorporated before adding the next. Next, mix in the vanilla extract and the room-temperature sour cream until just combined. Don’t overmix!
Step 4: Whisk the Dry Ingredients
In a separate medium bowl, whisk together the flour, baking soda, baking powder, and salt. This ensures your leavening agents are evenly distributed.
Step 5: Combine Wet and Dry
Gradually add the dry ingredient mixture to the wet ingredients, mixing on low speed until just combined. Stop the mixer the moment you no longer see streaks of dry flour. Overmixing develops gluten, which leads to a tough cake.
Step 6: Fold in the Chocolate
Gently fold in the chocolate chips using a rubber spatula. You want them to be evenly distributed throughout the batter.
Step 7: Bake It Beautifully
Pour the batter evenly into your prepared Bundt pan. Bake for 50 to 60 minutes. The cake is done when a long wooden skewer or toothpick inserted near the center comes out clean or with a few moist crumbs attached.
Step 8: Cool Down for Success
Let the cake cool in the pan on a wire rack for exactly 15 minutes. This is crucial! If you try to remove it too soon, it might break. If you wait too long, it might stick. After 15 minutes, carefully invert the cake onto the wire rack and let it cool completely before glazing.
Step 9: Glaze and Serve!
While the cake cools, whisk together all the glaze ingredients until smooth. Add milk slowly until you reach your desired drizzling consistency. Once the cake is completely cool, drizzle the glaze generously over the top.
Serving Suggestions
This cake is truly divine on its own, but here are a few ways to dress it up for a special occasion:
1. A La Mode: Serve warm slices with a scoop of high-quality vanilla bean ice cream.
2. Berry Bright: Top with fresh raspberries or strawberries for a lovely color contrast.
3. Dusting: If you skip the glaze, a simple dusting of powdered sugar looks elegant and classic.
Customization and Variations
Want to make this recipe truly yours? Try these fun swaps!
- Nutty Delight: Fold in ½ cup of toasted pecans or walnuts along with the chocolate chips.
- Triple Chocolate: Use a mix of semi-sweet, milk, and white chocolate chips for varied sweetness.
- Mocha Magic: Add 1 teaspoon of instant espresso powder to the dry ingredients for a subtle coffee kick that enhances the chocolate flavor.
- Citrus Zest: Add the zest of one orange to the butter/sugar mixture for a bright, surprising note.
Estimated Nutritional Information
Please note: This is an estimate based on standard ingredient amounts and serving size.
Per slice (1/14th of cake, including glaze): Approximately 380-420 calories, 18g fat, 55g carbohydrates, 5g protein. Enjoying this is part of a balanced diet!
Frequently Asked Questions (FAQs)
Q1: Can I use yogurt instead of sour cream?
A: Yes, plain Greek yogurt works as a great substitute for sour cream in a pinch. It will provide similar moisture and tanginess, though the final crumb might be slightly denser. Use the same amount.
Q2: Why did my cake stick to the Bundt pan?
A: This is the dreaded Bundt curse! It almost always comes down to inadequate greasing. Make sure you use softened butter or baking spray that contains flour (like Baker’s Joy) and really work it into every crevice, especially those deep grooves. Also, adhering strictly to the 15-minute cool-down time is essential before flipping.
Q3: Can I make this cake ahead of time?
A: Absolutely! This cake actually tastes even better the next day as the flavors meld. Store it tightly wrapped at room temperature for up to 3 days, or freeze unfrosted slices for up to 3 months.
Q4: What kind of chocolate chips should I use?
A: I highly recommend using good quality semi-sweet chocolate chips. If you prefer less sweetness, use dark chocolate. For the ultimate melt factor, try using chocolate chunks instead of standard chips!
Happy Baking! I hope this Chocolate Chip Bundt Cake brings as much joy to your home as it does to mine. Don’t forget to share your beautiful creations with me!