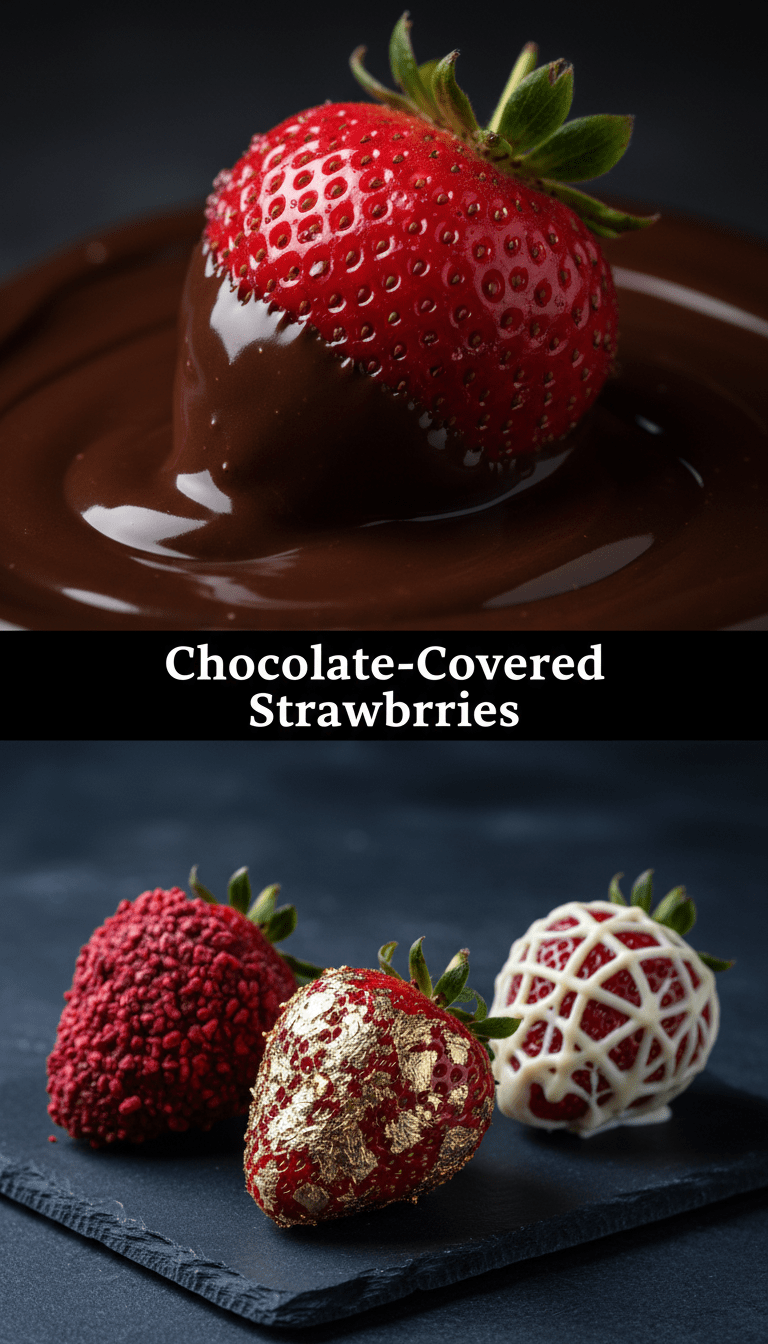
Hello, fellow food lovers! I’m so excited to share one of my all-time favorite treats with you today: Chocolate-Covered Strawberries. They look incredibly fancy, right? Like something you’d only find in a five-star pastry shop. But guess what? They are shockingly easy to make at home! Seriously, if you can melt chocolate, you can master this recipe.
These beauties are perfect for Valentine’s Day, anniversaries, or just because you deserve a little decadent pick-me-up. Let’s dive into how we turn humble strawberries into glittering, chocolate-coated jewels!
Quick Facts
Here’s what you need to know before you start:
Prep time: 20 minutes
Cooking time: 5 minutes (for melting chocolate)
Total time: 25 minutes (plus chilling time)
Serving size: About 12 medium strawberries
Why You’ll Love This Recipe
This recipe is a winner for so many reasons!
- Simplicity at its finest: It requires only two main ingredients—strawberries and chocolate—and zero actual baking.
- Instant Elegance: They make any occasion feel special without breaking the bank.
- Perfectly Balanced: The tartness of the fresh strawberry cuts through the richness of the dark chocolate beautifully. It’s the ultimate texture and flavor combination!
Ingredients You’ll Need
Gathering your supplies is half the battle! Make sure your strawberries are super dry before you start—that’s the secret weapon!
- 1 pound fresh, large strawberries, washed and thoroughly dried (leave the stems and leaves on!)
- 10 ounces high-quality melting chocolate (I prefer bittersweet or semi-sweet chocolate chips or chopped bars)
- 1 teaspoon coconut oil or vegetable shortening (optional, but helps create a smooth, shiny coating)
- Optional toppings: Flaky sea salt, chopped nuts (pistachios or almonds), white chocolate for drizzling.
Step-by-Step Instructions
Let’s get dipping! Follow these simple steps for perfect results.
Step 1: Prepare Your Station
Line a baking sheet with parchment paper or wax paper. This prevents the chocolate from sticking. Set aside any optional toppings you plan to use.
Step 2: Melt the Chocolate Magic
You have two main options for melting the chocolate:
1. Microwave Method (Quickest): Place the chocolate (and coconut oil/shortening, if using) in a microwave-safe bowl. Heat in 30-second intervals, stirring well after each interval. Continue until the chocolate is almost completely smooth. Stir until the residual heat melts the last few lumps. Do not overheat, or the chocolate will seize!
2. Double Boiler Method (Smoothest): Fill a saucepan with an inch of water and bring it to a gentle simmer. Place a heat-proof bowl containing the chocolate over the saucepan. Ensure the bottom of the bowl doesn’t touch the simmering water. Stir occasionally until the chocolate is fully melted and silky smooth.
Step 3: The Art of Dipping
Once the chocolate is melted and smooth, it’s time to dip!
1. Hold the strawberry by the stem/leaves.
2. Dip the berry into the melted chocolate, twisting gently to coat about two-thirds to three-quarters of the way up. You can angle it slightly to create a nice swirl effect.
3. Lift the strawberry out, letting any excess chocolate drip back into the bowl. You can gently tap the wrist of your dipping hand against the side of the bowl to encourage drips to stop.
Step 4: Decorate and Set
1. Immediately after dipping (before the chocolate sets!), place the dipped strawberry onto the prepared parchment-lined baking sheet.
2. If using toppings like sea salt or chopped nuts, sprinkle them on top right away.
3. If you are doing a drizzle, wait about 5 minutes until the base coat has slightly set, then drizzle melted white chocolate (or extra milk chocolate) across the surface using a fork or a piping bag.
Step 5: Chill Out!
Place the baking sheet into the refrigerator for about 15 to 20 minutes, or until the chocolate shell is firm and completely set.
Serving Suggestions
These chocolate-covered strawberries are showstoppers on their own, but if you want to jazz things up:
- Serve them alongside a scoop of vanilla bean ice cream.
- Arrange them on a platter with fresh raspberries and sliced kiwi for a beautiful fruit display.
- Pair them with a chilled glass of Champagne or sparkling cider for an elegant celebration.
Tips for Customization and Variations
Want to switch things up? I love playing with different flavor profiles!
- Add Flavor: Mix a tiny dash (about 1/4 teaspoon) of peppermint extract or orange zest into your melted dark chocolate for a bright twist.
- Nutty Coating: Roll the dipped strawberry in finely crushed pretzels or graham cracker crumbs instead of nuts for a sweet and salty crunch.
- Different Chocolate: Don’t be afraid to experiment! Milk chocolate is sweeter, while white chocolate offers a beautiful contrast, though it can be trickier to dip smoothly.
Nutritional Information (Estimated)
Please note: This is a very rough estimate and depends heavily on the size of the strawberries and the type/brand of chocolate used.
Per serving (1 medium dipped strawberry): Approximately 70-90 calories, 4g fat, 8g carbohydrates, 1g protein. They are a treat, meant to be enjoyed!
Frequently Asked Questions (FAQs)
Q1: Why is my melted chocolate grainy or thick?
A: This usually means the chocolate has “seized.” It happens if even a tiny drop of water gets into the melted chocolate, or if it gets too hot. If it’s just a little thick, try stirring in another half teaspoon of coconut oil to loosen it up. If it’s truly seized (clumpy), you may need to start over with fresh chocolate.
Q2: How far in advance can I make chocolate-covered strawberries?
A: For the best texture and flavor, try to make them within 24 hours of serving. Store them in a single layer in an airtight container in the refrigerator. If you need to store them longer (up to 2 days), place a paper towel in the bottom of the container to absorb any moisture, but know the chocolate might start to “sweat” slightly.
Q3: Do I need to remove the stems?
A: Nope! Keep the stems on. They act as the perfect, natural little handle for dipping, ensuring you don’t get chocolate all over your fingers.
Enjoy making these stunning, simple desserts. Happy dipping!