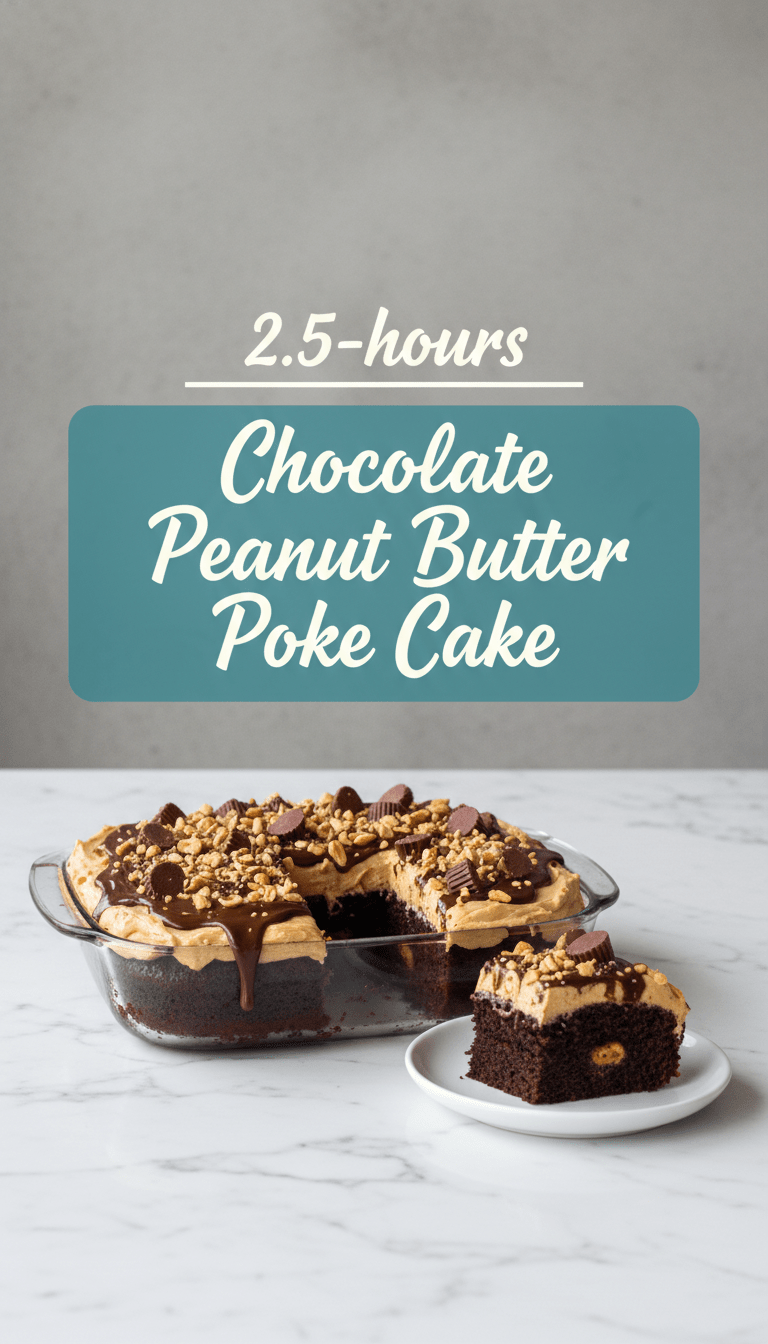
Hey there, dessert lovers! Welcome back to my kitchen. Today, we’re diving headfirst into a recipe that combines two of the world’s greatest flavors: rich, dark chocolate and creamy, dreamy peanut butter. If you thought poke cakes were simple, wait until you try this version. It’s moist, deeply flavorful, and dangerously easy to make. Seriously, this Chocolate Peanut Butter Poke Cake is going to become your new go-to for potlucks, birthdays, or just a Tuesday night treat!
Quick Facts
Here’s the lowdown on how quickly you can get this masterpiece ready:
Prep time: 20 minutes
Cooking time: 30–35 minutes
Total time: About 55 minutes (plus cooling/chilling time)
Serving size: 12 generous squares
Why You’ll Love This Recipe
If you need convincing (though I doubt you do!), here’s why this cake needs to be on your baking schedule ASAP:
- Incredible Flavor Combo: Chocolate and peanut butter? It’s a classic pairing for a reason!
- Super Moist Texture: The “poking” technique ensures every bite is saturated with a gooey, delicious filling.
- Easy to Assemble: Even if you’re new to baking, this recipe is practically foolproof.
- Crowd-Pleaser Guaranteed: Bring this to any gathering, and watch it disappear!
Gathering Your Goodies: Ingredients List
You’ll need two main parts for this recipe: the cake base and the luscious topping/filling.
For the Chocolate Cake:
- One box (about 15.25 oz) Devil’s Food or Dark Chocolate cake mix (plus ingredients listed on the box—usually eggs, oil, and water)
- 1 cup hot brewed coffee (this deepens the chocolate flavor!)
For the Peanut Butter Filling & Topping:
- One (14 oz) can sweetened condensed milk
- 1/2 cup creamy peanut butter (natural peanut butter doesn’t work as well here, stick to the Jif/Skippy style)
- 1 teaspoon vanilla extract
- 1 large tub (12 oz) whipped topping, thawed (or homemade whipped cream)
- 1/2 cup peanut butter chips (optional, for extra gooeyness)
- 1/4 cup chopped peanuts or mini peanut butter cups, for garnish
Baking Bliss: Step-by-Step Instructions
Follow these simple steps, and you’ll be enjoying gooey cake heaven in no time!
Step 1: Bake the Cake
1. Preheat your oven to the temperature specified on the cake mix box (usually 350°F or 175°C). Lightly grease and flour a 9×13 inch baking pan.
2. Prepare the cake batter according to the box directions, substituting the required water with the hot brewed coffee. Mix until just combined—don’t overmix!
3. Pour the batter into the prepared pan and bake for the time indicated on the box, or until a toothpick inserted into the center comes out clean.
4. Let the cake cool slightly—about 15 minutes—on a wire rack. It needs to be warm, but not piping hot, for the next step.
Step 2: The Poke Technique
1. While the cake is still warm, grab a wooden dowel, the handle of a wooden spoon, or a thick straw. Begin poking holes all over the surface of the cake. Make them deep—poke almost all the way to the bottom! Aim for holes about 1 inch apart.
Step 3: Creating the Gooey Filling
1. In a medium microwave-safe bowl, combine the sweetened condensed milk and the creamy peanut butter. Microwave in 30-second intervals, stirring well between each, until the mixture is smooth and easily pourable (about 1 to 1.5 minutes total). Stir in the vanilla extract.
2. Carefully pour the warm peanut butter mixture evenly over the entire surface of the cake, ensuring it seeps down into all those lovely holes you made. If using peanut butter chips, sprinkle them over the top now so they melt into the filling.
3. Place the cake in the refrigerator for at least 1 hour. This allows the filling to soak in and set up properly.
Step 4: Frost and Finish
1. Once the cake is chilled and the filling is mostly set, gently spread the thawed whipped topping evenly over the top of the cake.
2. Sprinkle generously with the chopped peanuts or mini peanut butter cups.
3. Chill for another 30 minutes before slicing and serving. Enjoy!
Serving Suggestions
This cake is rich enough to stand on its own, but here are a few ways to elevate the experience:
- Serve a square with a dollop of extra whipped cream on the side.
- Drizzle a little chocolate syrup over individual slices right before serving.
- Pair it with a tall glass of cold milk—the perfect nostalgic match!
Tips for Customization and Variations
- Make it Extra Chocolatey: Fold 1/2 cup of mini chocolate chips into the cake batter before baking.
- Use a Different Topping: If you prefer a traditional frosting, skip the whipped topping and use a creamy chocolate buttercream frosting after the filling has set.
- Salted Caramel Twist: Add 1/4 cup of salted caramel sauce into the peanut butter mixture for a delightful salty-sweet layer.
- Different Pan Size: If you use a round 9×13 inch cake pan instead of a rectangular one, the baking time might vary slightly. Keep an eye on it!
Nutritional Information (Estimated Per Serving)
Please remember this is a rich dessert! This estimation is based on 12 servings and is approximate:
Calories: 450–550 kcal
Fat: 25g–35g
Carbohydrates: 55g–65g
Protein: 7g–10g
Frequently Asked Questions (FAQs)
Q: Can I make this cake ahead of time?
A: Absolutely! Poke cakes are fantastic for making ahead. You can assemble the entire cake (including the topping and garnish) and store it, covered, in the refrigerator for up to 3 days. In fact, the flavor often gets better overnight!
Q: Why did my peanut butter filling look curdled?
A: This usually happens if the sweetened condensed milk is too hot or if the peanut butter separates when microwaving. Make sure you are heating the mixture just until it’s smooth and pourable, not boiling. Stirring frequently helps keep it emulsified.
Q: Can I use low-fat peanut butter?
A: I strongly advise against it for the filling layer. Low-fat or natural peanut butters often contain less sugar and stabilizers, which means they won’t mix as smoothly with the condensed milk, leading to a grainy or runny texture. Stick to standard creamy peanut butter for the best results here!
Happy Baking! Let me know in the comments when you try this incredible Chocolate Peanut Butter Poke Cake!