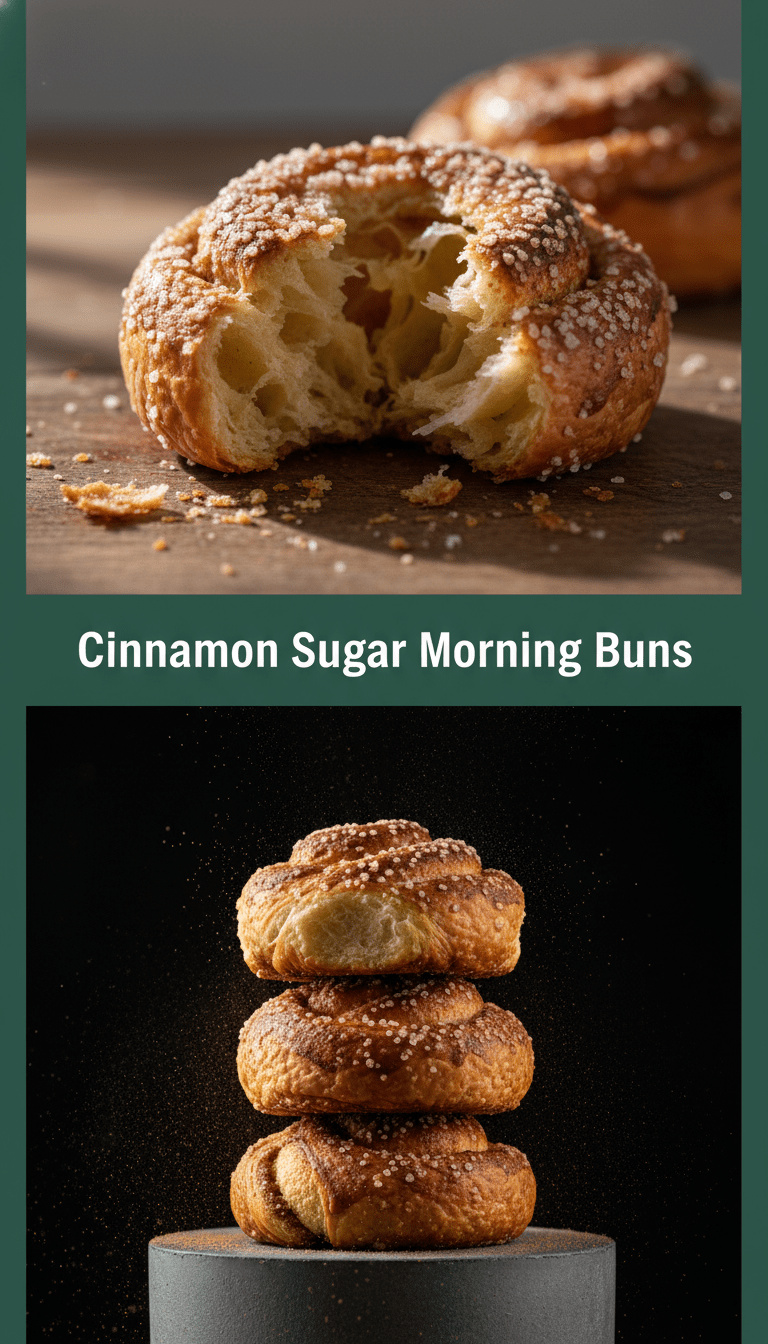
Hello, fellow food lovers! It’s time to talk about mornings. Not just any mornings, but those slow, lazy weekend mornings where the only thing that truly matters is the smell of something warm, sweet, and utterly comforting wafting from your oven. That, my friends, is the magic of Cinnamon Sugar Morning Buns.
Forget complicated croissants or fussy pastries. These buns are gloriously simple, relying on a quick dough and a decadent swirl of cinnamon sugar goodness. They’re soft, sticky, and guaranteed to make everyone in your house shuffle into the kitchen, begging for a bite. Trust me, once you try these, they’ll become a permanent fixture in your baking rotation!
Quick Facts
Here’s what you need to know before you dive into the dough:
Prep time: 30 minutes
Rise time: 1.5 – 2 hours
Baking time: 18 – 22 minutes
Total time: Approximately 2.5 hours (mostly waiting!)
Serving size: Makes 10-12 buns
Why You’ll Love This Recipe
These aren’t your average cinnamon rolls. Here’s the scoop on why these buns are simply irresistible:
- Easy Dough: We use a simple yeast dough that requires minimal kneading—perfect for beginners!
- Sticky Glaze: Instead of heavy frosting, these are finished with a light, buttery sugar glaze that seeps down into every crack.
- Perfect Texture: They bake up incredibly soft and pillowy, achieving that perfect balance between chewy and fluffy.
- Nostalgia Factor: They taste just like those classic bakery treats we all crave!
Ingredients You’ll Need
This recipe is broken down into three parts: the Dough, the Filling, and the Glaze.
For the Soft Dough:
- 1 cup warm milk (about 105°F to 115°F)
- 2 1/4 teaspoons active dry yeast (one standard packet)
- 1/4 cup granulated sugar, plus a pinch for the yeast
- 1 large egg, room temperature
- 1/4 cup unsalted butter, melted and slightly cooled
- 3 to 3 1/2 cups all-purpose flour
- 1 teaspoon salt
For the Gooey Filling:
- 1/2 cup (1 stick) unsalted butter, softened to room temperature
- 3/4 cup packed light brown sugar
- 2 tablespoons ground cinnamon
For the Simple Sugar Glaze:
- 1 cup powdered sugar (confectioners’ sugar)
- 2 to 3 tablespoons milk or heavy cream
- 1/2 teaspoon vanilla extract
Step-by-Step Baking Bliss
Let’s get rolling! Follow these steps closely for beautifully soft buns.
Step 1: Activating the Yeast
In a large bowl or the bowl of a stand mixer, combine the warm milk, yeast, and a pinch of sugar. Let this sit undisturbed for 5 to 10 minutes until it looks foamy. This tells us the yeast is alive and ready to work its magic!
Step 2: Mixing the Dough
To the foamy yeast mixture, add the remaining 1/4 cup sugar, the egg, and the melted butter. Mix briefly. Gradually add the flour and salt, mixing on low speed (if using a mixer) or by hand until a shaggy dough forms.
Knead the dough for about 5 to 7 minutes until it is smooth and elastic. If kneading by hand, add a little more flour only if absolutely necessary to prevent sticking.
Step 3: The First Rise
Place the dough ball in a lightly oiled bowl, turning it once to coat. Cover the bowl tightly with plastic wrap or a clean kitchen towel. Let it rise in a warm spot until it has doubled in size—this usually takes 1.5 to 2 hours. Patience is key here!
Step 4: Preparing the Filling
While the dough is rising, prepare your filling. In a small bowl, whisk together the brown sugar and cinnamon until thoroughly combined. Set aside.
Step 5: Rolling and Swirling
Once doubled, gently punch down the dough to release the air. Turn it out onto a lightly floured surface. Roll the dough into a large rectangle, approximately 12 inches by 18 inches.
Spread the softened butter evenly over the entire surface of the dough, going right to the edges. Sprinkle the cinnamon-sugar mixture evenly over the buttered dough.
Starting from one of the long sides, tightly roll the dough into a log. Pinch the seam closed.
Step 6: Cutting the Buns
Using a sharp knife or unflavored dental floss (it cuts cleaner!), slice the log into 10 to 12 equal pieces, about 1 1/2 inches thick.
Step 7: The Second Rise and Bake
Arrange the cut buns snugly in a greased 9×13 inch baking pan. Cover the pan loosely and let them rise again in a warm spot for about 30 to 45 minutes, or until they look puffy.
Preheat your oven to 375°F (190°C). Bake for 18 to 22 minutes, or until the tops are golden brown and the centers are set.
Step 8: Glazing Perfection
While the buns are cooling slightly (about 10 minutes out of the oven), whisk together all the glaze ingredients: powdered sugar, vanilla, and 2 tablespoons of milk. Add the third tablespoon only if the glaze seems too thick. You want it pourable, not runny.
Drizzle the warm buns generously with the glaze. Let it set for a few minutes before serving. Enjoy the sticky, sweet perfection!
Serving Suggestions
These buns are glorious all on their own, but here are a few ways to elevate your morning experience:
- Serve warm alongside a strong cup of coffee or a latte.
- Pair with fresh seasonal fruit, like sliced strawberries or blueberries, for a little brightness.
- They make an excellent dessert warm with a scoop of vanilla bean ice cream!
Tips for Customization & Variations
- Nutty Crunch: Add 1/2 cup of chopped pecans or walnuts to the cinnamon-sugar filling mixture before rolling.
- Citrus Zest: Add the zest of one orange to the dough mixture for a bright, surprising flavor twist.
- Different Glaze: Skip the vanilla and add 2 tablespoons of cream cheese to the glaze ingredients for a light cream cheese frosting instead!
Estimated Nutritional Information
Please note: This is a very rough estimate based on 12 servings and will vary depending on exact ingredient amounts.
Calories: Approximately 350-400 per bun
Fat: 14g
Sugar: 35g
Protein: 5g
Frequently Asked Questions (FAQs)
Can I make these ahead of time?
Absolutely! After slicing the buns (Step 6), place them in the prepared pan, cover them tightly, and refrigerate them overnight. In the morning, let them sit at room temperature for about 30 minutes, then bake as directed (you might need to add 3-5 minutes to the baking time since they start cold).
Why are my buns dense instead of fluffy?
This is usually due to one of two things: either your yeast wasn’t active (the milk was too hot or too cold), or you didn’t allow enough time for the dough to rise properly. Ensure your milk is lukewarm (body temperature is perfect!) and your rising spots are draft-free and warm.
Can I freeze baked buns?
Yes! Bake them completely, let them cool, and store them in an airtight, freezer-safe container for up to 3 months. Thaw them overnight in the fridge and reheat them briefly in the microwave or oven before serving.
Happy baking, everyone! Let me know in the comments when you try these heavenly Cinnamon Sugar Morning Buns!