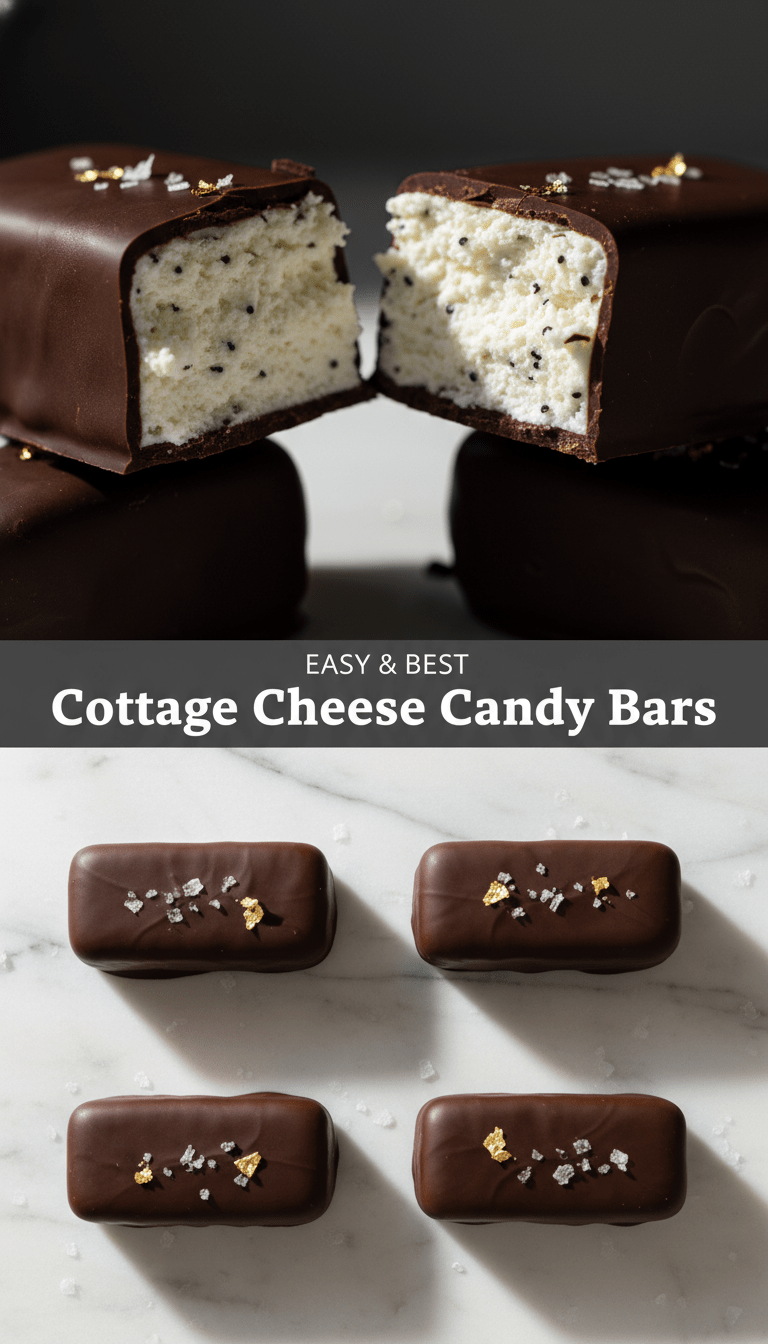
Hey everyone, and welcome back to the kitchen! Today, I’m sharing a recipe that sounds a little bit wild, but trust me—it’s a game-changer. We’re diving deep into the world of healthy-ish indulgence with Cottage Cheese Candy Bars!
Yes, you read that right. Cottage cheese! Before you click away, hear me out. When blended properly, cottage cheese becomes the creamiest, protein-packed base for a dessert that mimics those famous, decadent layered candy bars. It’s sweet, slightly tangy, totally satisfying, and requires zero baking. Get ready to have your mind blown!
Quick Facts
Prep time: 20 minutes
Chill time: 4 hours (minimum)
Total time: 4 hours 20 minutes (mostly inactive)
Serving size: 12 bars
Why You’ll Love This Recipe
This recipe hits all the right notes:
- High Protein: Thanks to our secret ingredient, cottage cheese, these bars pack a serious protein punch to keep you full longer.
- No Bake Magic: Skip the oven! These set up beautifully in the fridge or freezer.
- Totally Customizable: Want chocolate? Need peanut butter? You got it.
- Texture Heaven: They achieve that perfect firm, yet creamy, center layer you crave in a good candy bar.
Gather Your Goodies: Ingredients List
This recipe is broken down into three simple layers: The Base, The Filling, and The Topping.
For the Crust/Base:
- 1 cup rolled oats (quick or old-fashioned)
- 1/2 cup almond flour (or regular flour)
- 1/4 cup melted coconut oil
- 2 tablespoons maple syrup or honey
- 1/4 teaspoon salt
For the Creamy Filling:
- 1 cup full-fat cottage cheese (drained well is best!)
- 1/2 cup Greek yogurt (plain, full-fat)
- 1/4 cup powdered sweetener (like Erythritol, Monk Fruit, or regular powdered sugar)
- 1 teaspoon vanilla extract
For the Chocolate Topping:
- 1/2 cup dark chocolate chips (or semi-sweet)
- 1 tablespoon coconut oil
Step-by-Step Instructions: Making Your Candy Bar Dream
Let’s get blending! Don’t worry, it’s super straightforward.
H3: Step 1: Prepping the Pan
Line an 8×8 inch square baking pan with parchment paper, making sure there’s an overhang on two sides. This “sling” will make it so easy to lift the bars out later.
H3: Step 2: Creating the Crunchy Base
In a medium bowl, combine the oats, almond flour, melted coconut oil, maple syrup, and salt. Mix until everything is evenly moistened and looks like wet sand. Press this mixture firmly and evenly into the bottom of your prepared pan. Place the pan in the freezer while you make the filling (about 10 minutes).
H3: Step 3: Whipping Up the Creamy Center
This is where the magic happens! Place the cottage cheese, Greek yogurt, powdered sweetener, and vanilla extract into a food processor or a high-speed blender. Blend until the mixture is completely smooth and velvety. You shouldn’t see any distinct curds remaining. Taste it—if you like it sweeter, add a touch more sweetener now.
Pour this creamy filling evenly over your chilled oat base. Gently tap the pan on the counter a couple of times to smooth out the top. Return the pan to the refrigerator while you melt the chocolate.
H3: Step 4: The Luxurious Chocolate Finish
In a small, microwave-safe bowl, combine the chocolate chips and the tablespoon of coconut oil. Microwave in 30-second intervals, stirring well after each interval, until smooth and glossy.
Pour the melted chocolate over the cottage cheese layer. Use an offset spatula or the back of a spoon to gently spread the chocolate right to the edges.
H3: Step 5: Chill Time and Cutting
Place the pan in the refrigerator and let the bars chill for at least 4 hours, or until the filling is very firm. For the best texture, I highly recommend freezing them for 1 hour, then transferring them to the fridge until serving time.
Once fully set, use the parchment paper sling to lift the entire slab out of the pan. Place it on a cutting board and slice it into 12 equal bars. Enjoy!
Serving Suggestions
These bars are best served slightly cool. They are fantastic:
1. As a post-workout protein boost.
2. As a lighter dessert after dinner.
3. Tucked into a lunchbox for an afternoon treat.
Tips for Customization and Variations
Want to make these your own? Absolutely!
- Peanut Butter Dream: Add 2 tablespoons of creamy peanut butter into the cottage cheese filling before blending for a PB&J vibe.
- Minty Fresh: Add 1/4 teaspoon of peppermint extract to the filling, and use chopped dark chocolate (or green-tinted white chocolate) for the topping.
- Crumbly Bottom Swap: For a quicker base, skip the mixing and use 1.5 cups of crushed graham crackers mixed with 1/3 cup melted butter instead of the oat mixture.
- Nutty Crunch: Fold 1/4 cup of chopped almonds or pecans into the filling right before spreading it into the pan.
Nutritional Information (Estimated per Bar)
Note: This is an estimate based on the ingredients listed above using full-fat cottage cheese and standard dark chocolate.
Calories: Approximately 210-240
Protein: 9-11g
Fat: 14-16g
Carbohydrates: 18-20g
Frequently Asked Questions (FAQs)
Q1: Can I taste the cottage cheese?
That’s the million-dollar question! When blended thoroughly with the Greek yogurt and sweetener, the cottage cheese acts more like a rich, thick cream cheese base. You get a slight tanginess, but it absolutely tastes like a decadent, slightly healthier cheesecake bar, not savory cottage cheese!
Q2: Can I use low-fat cottage cheese?
You can, but I strongly recommend using full-fat. The full-fat version blends much creamier, and it helps the final texture set up firmer, which is crucial for a good candy bar!
Q3: How long do these last?
Because they contain dairy, they need to stay refrigerated. They will keep well in an airtight container in the fridge for up to 5 days, or in the freezer for up to 2 months. If freezing, let them thaw on the counter for about 15 minutes before eating.
Happy baking (or, well, not baking)! Let me know in the comments if you try these surprisingly amazing Cottage Cheese Candy Bars!