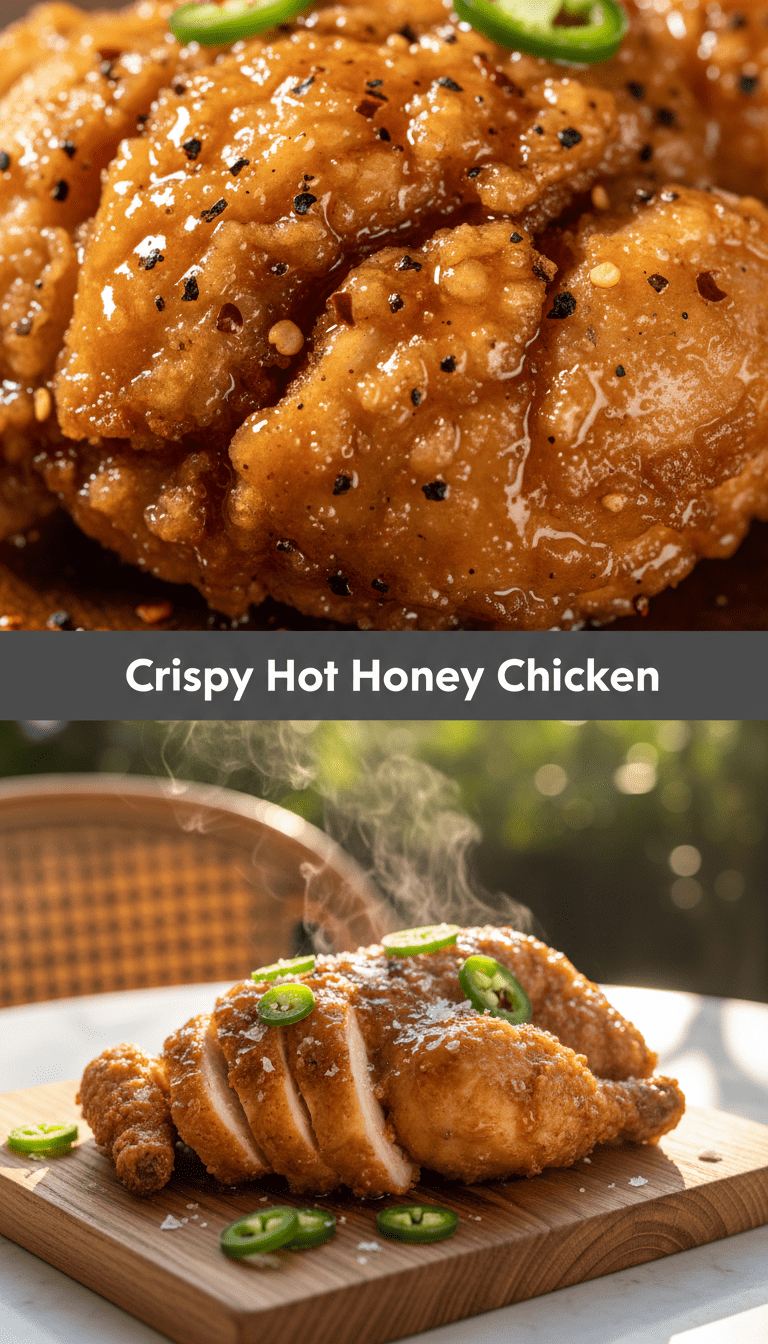
Hey food lovers! Are you ready to meet your match? Because today, we are diving headfirst into a recipe that perfectly balances sweet, spicy, and unbelievably crispy: Crispy Hot Honey Chicken. Forget those takeout menus; this homemade version is superior in every single way. The crunch, the sticky glaze—it’s pure magic. Trust me, once you try this, you’ll be making it every weekend. Let’s get cooking!
Quick Facts
Here’s the lowdown on how quickly you can get this deliciousness on your table:
Prep time: 20 minutes
Cooking time: 25 minutes
Total time: 45 minutes
Serving size: 4 hungry people
Why You’ll Love This Recipe
Why is this my new go-to? Simple:
- The Crunch Factor: We’re using a secret technique for maximum crispiness that lasts even under that sticky sauce.
- Flavor Bomb: It hits all the right notes—the heat from the chili flakes, the sweetness from the honey, and that savory chicken flavor.
- Easy Weeknight Meal: While it sounds fancy, this comes together faster than you think!
Ingredients You’ll Need
Get your pantry stocked! We’ve broken this down into three parts: the chicken dredge, the chicken itself, and the hot honey glaze.
For the Chicken and Dredge:
- 1.5 lbs boneless, skinless chicken thighs (or breasts, cut into 1-inch chunks)
- 1 cup all-purpose flour
- 1/2 cup cornstarch (this is key for crispiness!)
- 1 teaspoon salt
- 1 teaspoon black pepper
- 1 teaspoon garlic powder
- 1/2 teaspoon paprika
- 2 large eggs, lightly beaten
- Vegetable oil, for frying (about 2 cups)
For the Hot Honey Glaze:
- 1/2 cup honey
- 2 tablespoons apple cider vinegar (for tang!)
- 1 tablespoon unsalted butter
- 1 to 2 teaspoons red pepper flakes (adjust to your spice level)
- 1/2 teaspoon smoked paprika
- A pinch of salt
Step-by-Step Instructions
Let’s make some beautiful, crunchy chicken!
Step 1: Prep the Chicken and Dredging Station
First things first, make sure your chicken pieces are relatively uniform in size so they cook evenly. Now, set up your dredging station:
1. In a shallow dish, whisk together the flour, cornstarch, salt, pepper, garlic powder, and paprika. This is your dry mix.
2. In a second shallow dish, pour in your beaten eggs.
3. Pour your frying oil into a heavy-bottomed pot or deep skillet until it’s about 1.5 inches deep. Heat the oil over medium-high heat until it reaches about 350°F (or until a small pinch of flour sizzles immediately).
Step 2: Get That Perfect Coating
This double-dip technique is what gives us that incredible crunch:
1. Take a piece of chicken and dip it fully into the egg mixture. Let the excess drip off.
2. Immediately transfer the wet chicken into the dry flour mix. Press the flour firmly onto the chicken to ensure it really sticks.
3. Crucial Step: Dip the floured chicken back into the egg mixture very quickly—just a quick dip!
4. Finally, dip it back into the dry flour mix one last time, shaking off any major excess. Set the coated pieces aside on a wire rack while you finish the rest.
Step 3: Fry to Golden Perfection
1. Carefully lower the coated chicken pieces into the hot oil, working in batches so you don’t overcrowd the pan (this keeps the oil temperature high and the chicken crispy!).
2. Fry for about 4 to 6 minutes per side, turning occasionally, until they are deep golden brown and cooked through (internal temperature of 165°F).
3. Use a slotted spoon to remove the cooked chicken and place it on a clean wire rack set over a baking sheet to drain excess oil. Sprinkle lightly with salt immediately after removing from the oil.
Step 4: Whisk Up the Hot Honey Glaze
While the chicken rests, make the glaze—it’s fast!
1. In a small saucepan, combine the honey, apple cider vinegar, butter, red pepper flakes, smoked paprika, and a pinch of salt.
2. Heat over medium-low heat, stirring constantly, until the butter is melted and the sauce is smooth and bubbly. Let it simmer gently for about 1 minute. Remove from heat immediately.
Step 5: The Grand Finale!
1. Place all your crispy chicken pieces in a large bowl.
2. Pour the warm hot honey glaze over the chicken.
3. Toss gently but quickly until every piece is beautifully coated and sticky. Serve right away!
Serving Suggestions
This chicken is a superstar, but it loves a good sidekick!
- Serve over a bed of fluffy white rice to soak up any extra glaze.
- Pair with a cool, crisp coleslaw to balance the heat.
- Toss it onto a green salad for a hearty lunch.
- Don’t forget some simple steamed broccoli or green beans!
Tips for Customization and Variations
Want to tweak it? Here are my favorite ideas:
- Extra Zing: Add a teaspoon of Dijon mustard to the wet dredge for a little tang before frying.
- Spice Control: If you prefer less heat, use only 1/2 teaspoon of red pepper flakes in the glaze, or swap them for finely minced pickled jalapeños.
- Air Fryer Method: For a healthier approach, spray the dredged chicken liberally with cooking spray and air fry at 400°F for 15-18 minutes, flipping halfway, before tossing in the glaze.
Estimated Nutritional Information (Per Serving)
Please remember these are estimates and will vary based on the exact cuts of chicken and amount of oil absorbed.
Calories: Approximately 550-650
Protein: 40g
Fat: 30g
Carbohydrates: 45g (mostly from the honey glaze)
Frequently Asked Questions (FAQs)
Q1: Can I use chicken breast instead of thighs?
A: Yes, absolutely! Chicken thighs stay moister during frying, but breasts work well too. If using breasts, cut them into smaller, uniform pieces and watch the frying time closely so they don’t dry out.
Q2: How can I make this ahead of time?
A: You can prep the dredge ingredients and the chicken coating ahead of time. However, I highly recommend frying and glazing just before serving. The crunch fades quickly once tossed in the sticky sauce.
Q3: My glaze seized up when I took it off the heat! What happened?
A: Sometimes honey can thicken too quickly. If this happens, just return the saucepan to very low heat, add a tablespoon of water or a tiny bit more butter, and stir until it loosens back up. You want it pourable but thick enough to stick.
Enjoy every single sticky, spicy, crunchy bite! Let me know in the comments how yours turned out!