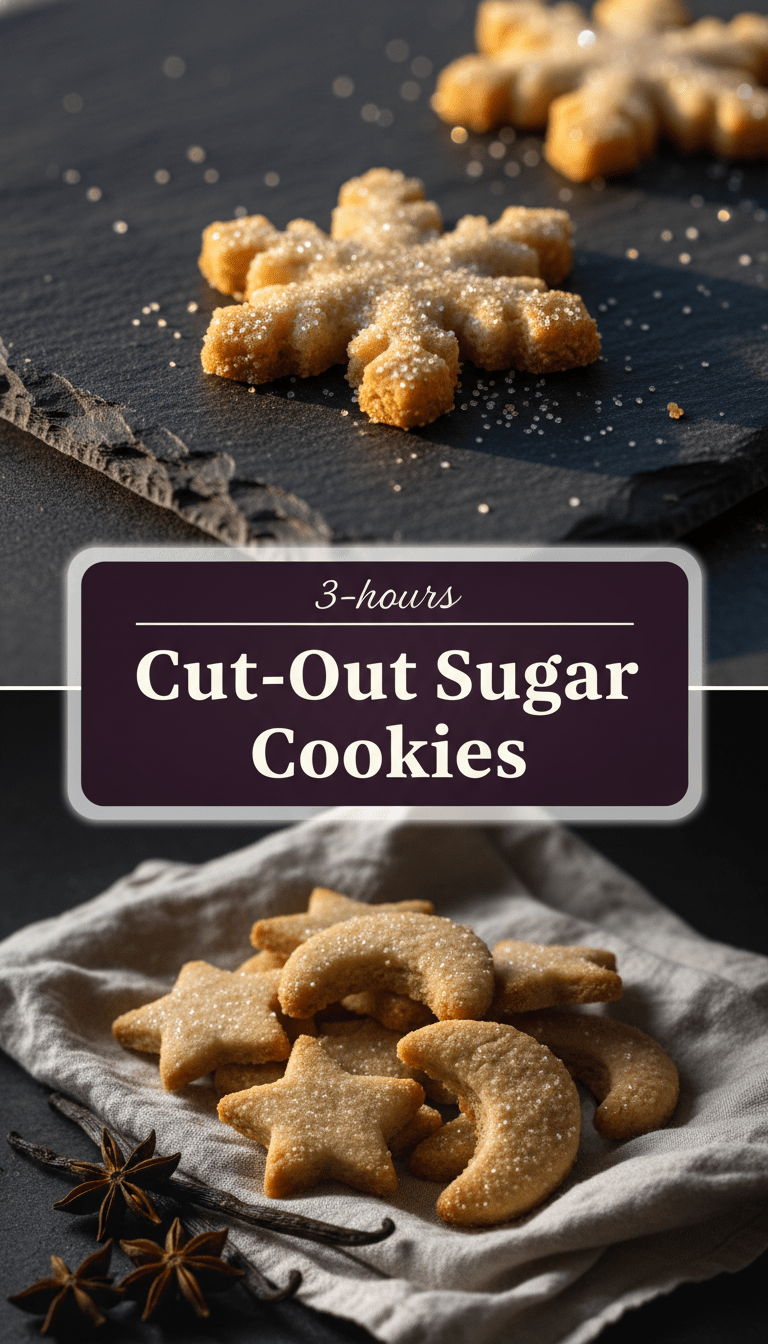
Hey cookie lovers! Are you ready to dive into the most satisfying baking project? There’s something truly magical about rolling out dough, pressing fun shapes, and decorating bright, beautiful cookies. But let’s be honest: not all sugar cookie recipes deliver the perfect, sturdy cut-out. Some spread like crazy, and others crumble before they even hit the oven.
Fear not! Today, I’m sharing my tried-and-true recipe for Cut-Out Sugar Cookies that hold their shape beautifully every single time. They are buttery, subtly sweet, and the perfect canvas for your favorite royal icing or sprinkles. Get ready to make memories (and some seriously delicious treats)!
Quick Facts
Prep time: 30 minutes (plus 1 hour chilling time)
Cooking time: 8–10 minutes per batch
Total time: Approximately 1 hour 40 minutes
Serving size: Makes about 2 to 3 dozen cookies (depending on cutter size)
Why You’ll Love This Recipe
This isn’t just any sugar cookie recipe; this is the one that works!
- Zero Spread: Thanks to a precise flour-to-fat ratio, these cookies stay exactly the shape you cut them into. No more sad, melted snowmen!
- Soft & Chewy Interior: While the edges are firm enough to handle decorating, the center remains wonderfully soft.
- Versatile Base: The flavor is perfectly balanced—not too sweet—making it ideal for pairing with tangy royal icing or simple glaze.
- Easy to Handle: The dough chills beautifully, making it easy to work with, even for beginner bakers.
Ingredients You’ll Need
Gather your pantry staples! For the best results, ensure your butter and eggs are at room temperature.
For the Cookies:
- 3 cups all-purpose flour, plus extra for dusting
- 1 teaspoon baking powder
- 1/2 teaspoon salt
- 1 cup (2 sticks) unsalted butter, softened to room temperature
- 1 1/2 cups granulated sugar
- 1 large egg
- 1 teaspoon vanilla extract
For Decorating (Optional):
- Royal icing or simple powdered sugar glaze
- Sprinkles, sanding sugar, or food coloring
Step-by-Step Baking Instructions
Follow these steps closely, especially the chilling part—that’s the secret sauce!
Step 1: Whisk the Dry Ingredients
In a medium bowl, whisk together the 3 cups of flour, baking powder, and salt. Set aside. This ensures the leavening agent is evenly distributed.
Step 2: Cream Butter and Sugar
In a large bowl (or the bowl of a stand mixer fitted with the paddle attachment), beat the softened butter and granulated sugar together on medium speed until the mixture is light and fluffy—about 3 to 4 minutes. Don’t rush this step; creaming incorporates air, which contributes to a tender cookie.
Step 3: Add Wet Ingredients
Beat in the egg until just combined. Then, mix in the vanilla extract. Scrape down the sides of the bowl as needed.
Step 4: Combine Wet and Dry
Gradually add the dry flour mixture to the wet ingredients, mixing on low speed until just combined. Do not overmix! Overmixing develops the gluten and leads to tough cookies. The dough will look slightly crumbly but should come together when pressed.
Step 5: Chill, Chill, Chill!
Divide the dough in half, flatten each half into a disk, wrap tightly in plastic wrap, and refrigerate for at least 1 hour, or up to 3 days. Chilled dough is key for sharp cuts and zero spreading.
Step 6: Roll and Cut
Preheat your oven to 375°F (190°C). Line two large baking sheets with parchment paper.
Lightly flour your work surface. Take one disk of dough out of the fridge. Roll the dough out evenly to about 1/4-inch thickness. Thicker cookies will be softer; thinner cookies will be crispier.
Use your favorite cookie cutters to press out shapes. Gather the scraps, gently re-roll them, and cut more shapes.
Step 7: Bake to Perfection
Carefully transfer the cut-outs to the prepared baking sheets, leaving about 1 inch between them.
Bake for 8 to 10 minutes. The edges should look barely set and very slightly golden, but the centers should still look pale.
Step 8: Cool Completely
Let the cookies cool on the baking sheet for 5 minutes before transferring them to a wire rack to cool completely. Do not attempt to decorate warm cookies, or your icing will melt right off!
Serving Suggestions
These cookies are delicious on their own, perhaps with a glass of milk! However, they truly shine when decorated:
- Classic Glaze: A simple glaze made from powdered sugar, milk, and vanilla allows the cookie flavor to shine through.
- Royal Icing: Perfect for intricate designs, flooding, and layering colors. Allow royal icing to dry completely (several hours) before stacking.
- Sanding Sugar Sparkle: Before baking, press the raw cut-outs into colored sanding sugar for an immediate festive look without messy icing.
Tips for Customization & Variations
Want to jazz up your batch? Try these simple swaps:
- Citrus Zest: Add the zest of one lemon or orange to the creamed butter mixture for a bright, refreshing flavor.
- Almond Extract: Swap the vanilla extract for 1 teaspoon of almond extract for a classic “wedding cookie” taste.
- Spice Cookies: Reduce the vanilla slightly and add 1/2 teaspoon of ground cinnamon and a tiny pinch of ground nutmeg to the dry ingredients for a warmer flavor profile perfect for autumn shapes.
- Thick Cookie Hack: If you prefer very thick cookies, consider chilling the rolled dough again on the baking sheet for 15 minutes before baking.
Estimated Nutritional Information
Please note: This is an estimate based on the recipe yielding 30 average-sized cookies, without icing.
Calories per cookie: Approximately 130-150 kcal
Fat: 7g
Carbohydrates: 18g
Protein: 1.5g
Frequently Asked Questions (FAQs)
Q1: Why are my cookies spreading in the oven?
A: Usually, this is caused by two things: the butter being too warm/soft when mixed, or skipping the crucial chilling step. Ensure your butter is soft but still cool to the touch, and chill the dough for a full hour.
Q2: Can I freeze the raw cookie dough?
A: Absolutely! Cut the dough into disks, wrap tightly in plastic wrap, and place them in a freezer-safe bag. They can be frozen for up to 3 months. When ready to use, thaw them overnight in the refrigerator before rolling and cutting.
Q3: How do I get perfectly smooth icing coverage?
A: For smooth, shiny icing (royal icing), you need to achieve the right “consistency.” After mixing your icing, use a spoon to drizzle a line across the surface. If the line disappears in 10 seconds, it’s perfect for outlining. If it disappears immediately, add a teaspoon of water at a time until you hit that 10-second mark.
Happy baking, friends! Enjoy the process, and don’t forget to show off your amazing cookie creations!