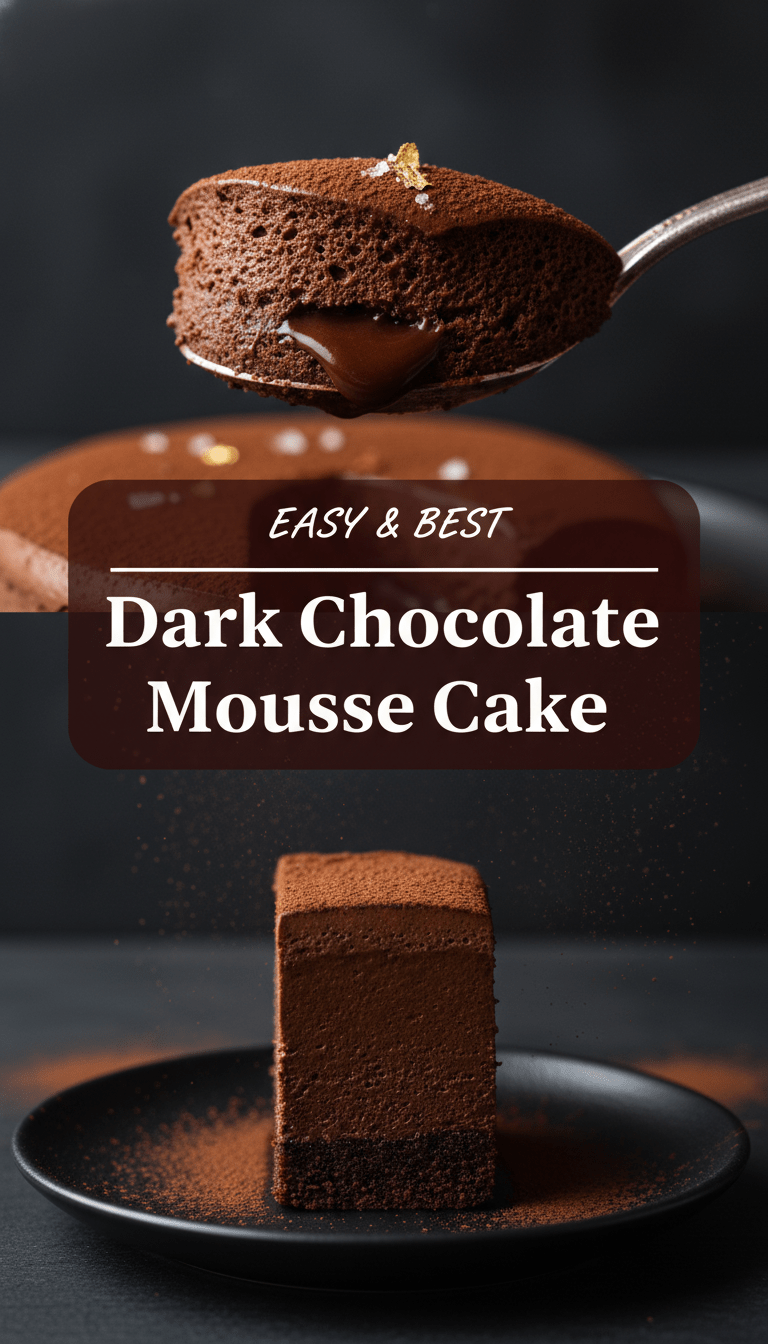
Hey there, fellow food lovers! Have you ever craved something so intensely chocolaty, so incredibly smooth, that it feels like a warm hug for your soul? Well, stop scrolling, because today I’m sharing my absolute favorite creation: the Dark Chocolate Mousse Cake.
This isn’t just any cake; it’s a layered masterpiece featuring a delicate, fudgy base topped with an airy, cloud-like dark chocolate mousse. It looks incredibly fancy, but trust me, I’ve broken down every single step to make it totally achievable for you, even if you’re new to baking! Get ready for pure, unadulterated chocolate bliss.
Quick Facts About This Heavenly Cake
Here’s a snapshot of what you need to know before diving into the magic:
Prep time: 45 minutes
Chilling/Setting time: Minimum 4 hours
Total time: About 5 hours (mostly hands-off)
Serving size: 8 generous slices
Why You’ll Love This Recipe
Why should this be your next baking project? Simple:
1. Texture Heaven: It strikes the perfect balance—a dense, brownie-like crust meets light-as-air mousse.
2. Intense Flavor: We’re using high-quality dark chocolate, so the flavor is deep, rich, and not overly sweet.
3. No-Bake Mousse Layer: While the base bakes quickly, the mousse sets up beautifully in the fridge, meaning less time fussing over oven temperatures!
4. Impressive Results: Guests will think you bought this from a gourmet bakery. Shhh, it’s our little secret!
Gathering Your Tools and Treasures (Ingredients List)
We need ingredients for two main components: the Crust and the Mousse.
For the Dark Chocolate Crust
- 1 ½ cups finely crushed dark chocolate wafer cookies (or Oreos, filling removed)
- 6 tablespoons unsalted butter, melted
- 2 tablespoons granulated sugar
- A tiny pinch of salt
For the Rich Dark Chocolate Mousse
- 8 ounces high-quality dark chocolate (60-70% cocoa solids), chopped finely
- 4 large egg yolks
- ½ cup granulated sugar
- ¼ cup strong brewed coffee, cooled slightly (this deepens the chocolate flavor!)
- 1 ½ teaspoons vanilla extract
- 1 ¼ cups heavy whipping cream, very cold
- 2 teaspoons unflavored gelatin powder
- ¼ cup cold water (for blooming gelatin)
The Step-by-Step Journey to Chocolate Perfection
We are going to assemble this beauty in three main phases: preparing the base, creating the rich chocolate custard, and whipping it into airy mousse.
Phase 1: Building the Fudgy Foundation (The Crust)
1. Prep Your Pan: Lightly grease an 8-inch springform pan. For easy removal, line the bottom with a circle of parchment paper.
2. Mix the Base: In a medium bowl, combine the crushed cookies, melted butter, sugar, and salt until the crumbs are evenly moistened—it should resemble wet sand.
3. Press and Bake: Press the mixture firmly and evenly into the bottom of your prepared pan. Bake at 350°F (175°C) for exactly 10 minutes. Let it cool completely on a wire rack while you work on the mousse.
Phase 2: Crafting the Chocolate Base
1. Bloom the Gelatin: In a small bowl, sprinkle the gelatin powder over the ¼ cup of cold water. Let it sit undisturbed for 5 minutes to “bloom” (it will look spongy).
2. Melt the Chocolate: Place your chopped dark chocolate in a heatproof bowl set over a simmering saucepan of water (a double boiler), or microwave in 30-second bursts, stirring in between, until smooth. Set aside to cool slightly.
3. Whisk the Yolks: In a separate bowl, vigorously whisk the egg yolks and sugar until the mixture is pale yellow and slightly thickened.
4. Temper the Yolks: Gently whisk the warm coffee into the yolk mixture. Now, very slowly, pour about half of the warm yolk mixture into the slightly cooled melted chocolate, whisking constantly. Then, pour that chocolate-yolk mixture back into the remaining yolks, whisking until fully combined. Stir in the vanilla extract.
5. Dissolve the Gelatin: Gently heat the bloomed gelatin (either in the microwave for 5-10 seconds or over very low heat) until it is completely liquid and clear—do not let it boil! Whisk the liquid gelatin quickly into your chocolate base. Set this aside.
Phase 3: Whipping the Clouds (The Mousse)
1. Whip the Cream: In a large, very clean bowl (or stand mixer), whip the cold heavy cream until stiff peaks form. You want firm, beautiful peaks that hold their shape.
2. Fold Together: Take about one-third of the whipped cream and gently fold it into the chocolate mixture using a spatula. This “lightens” the chocolate base.
3. The Final Fold: Gently add the remaining whipped cream, folding carefully until just combined. Stop mixing as soon as no white streaks remain. Overmixing will deflate all that wonderful air!
4. Assemble and Chill: Pour the light, airy mousse directly over your cooled chocolate crust. Smooth the top gently with your spatula. Cover the pan loosely with plastic wrap and refrigerate for at least 4 hours, but ideally overnight, until the mousse is completely firm.
Serving Suggestions
When it’s time to serve, carefully release the springform ring. This cake is decadent enough on its own, but here are a few ways to elevate it:
- A dusting of high-quality unsweetened cocoa powder just before serving.
- A drizzle of salted caramel sauce.
- A dollop of freshly whipped cream garnished with a single, perfect fresh raspberry.
Tips for Customization & Variations
Want to make this recipe your own? Go for it!
- Liqueur Love: Replace the coffee with an equal amount of Grand Marnier (orange liqueur) or Kahlua for an adult twist.
- Nutty Crust: Mix 2 tablespoons of finely ground hazelnuts or pecans into the cookie crust mixture.
- Different Chocolate: Try swapping 2 ounces of the dark chocolate for white chocolate in the mousse mixture for a marbled effect, or use semi-sweet for a slightly milder taste.
Estimated Nutritional Information
Please note: This is a rich dessert and these figures are approximations based on standard ingredients for 8 servings.
Calories: 450-550 per slice
Fat: 30-40g
Sugar: 35-45g
Protein: 6-8g
Frequently Asked Questions (FAQs)
Q: Can I make this cake ahead of time?
A: Absolutely! This cake actually needs to be made ahead. It must chill for at least 4 hours, but it tastes even better when made a day in advance, as the flavors meld beautifully.
Q: Why did my mousse turn out runny?
A: This usually happens for one of two reasons: Either the gelatin wasn’t fully dissolved, or you didn’t whip the heavy cream stiff enough. Make sure your cream has stiff, distinct peaks before folding it in!
Q: Can I skip the eggs?
A: In this specific recipe, the egg yolks are crucial for creating that rich, custard-like mouthfeel in the chocolate base before the air is folded in. While gelatin helps stabilize the final mousse, skipping the yolks will significantly change the texture of the underlying layer. For a strictly egg-free mousse, you’d need a completely different recipe structure.
Enjoy every single, glorious bite of your homemade Dark Chocolate Mousse Cake! Happy baking!