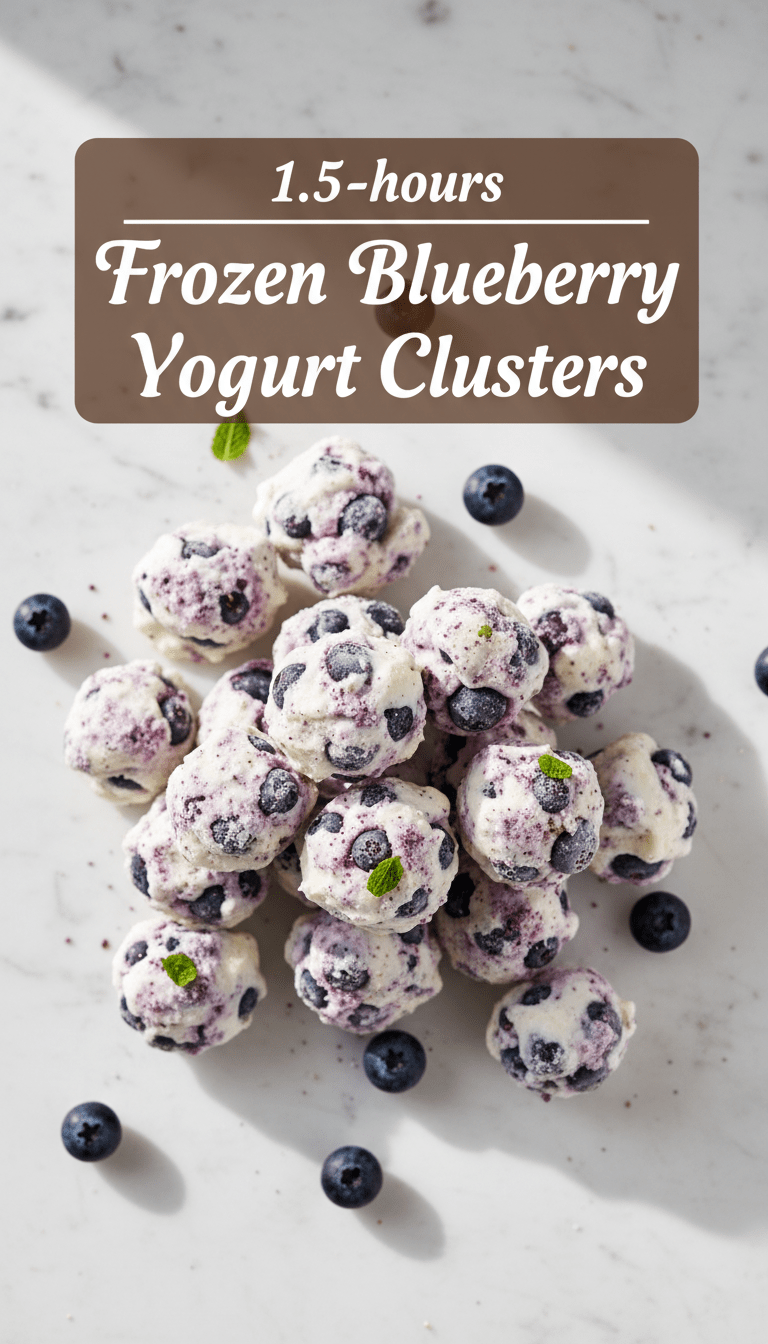
Hey food lovers! Are you on the hunt for a snack that tastes like dessert but is actually good for you? Then stop what you’re doing because I’ve got the ultimate treat for those warm, lazy afternoons: Frozen Blueberry Yogurt Clusters!
These little bites are creamy, tangy, sweet, and perfectly chilly. They take almost no effort to make, require zero baking, and are the perfect grab-and-go snack when you need a little pick-me-up. Trust me, once you try these, they’ll be a permanent fixture in your freezer!
Quick Facts
Here’s the lowdown on how fast you can get these chilly delights ready:
Prep time: 10 minutes
Cooking time: 0 minutes (unless you count freezing time!)
Total time: 10 minutes active prep + 2 hours freezing
Serving size: Makes about 18-20 small clusters
Why You’ll Love This Recipe
This recipe is a total winner for so many reasons:
- Effortless: Seriously, if you can stir, you can make these.
- Healthy-ish: They are packed with protein from the yogurt and antioxidants from the blueberries.
- Perfect Texture: That delightful snap when you bite into the frozen yogurt is seriously addictive.
- Kid-Friendly: My kids go absolutely crazy for these, and I love that I know exactly what’s in them.
Ingredients You’ll Need
Gather your simple ingredients! You likely have most of this stuff already.
- 2 cups Plain Greek Yogurt (full-fat or 2% works best for creaminess)
- 1/4 cup Maple Syrup or Honey (adjust to your sweetness preference)
- 1 teaspoon Vanilla Extract
- 1 and 1/2 cups Fresh or Frozen Blueberries (if using frozen, no need to thaw)
- 2 tablespoons Coconut Oil, melted (this helps them set nicely and keeps them from sticking)
- Optional Topping: 2 tablespoons finely chopped nuts or shredded coconut
Step-by-Step Instructions
Let’s get mixing! We’re aiming for simple dollops of deliciousness here.
Step 1: Prep Your Tray
Grab a large baking sheet (or a cookie sheet) and line it completely with parchment paper or a silicone baking mat. This is crucial so they don’t stick when frozen!
Step 2: Mix the Yogurt Base
In a medium mixing bowl, combine the Greek yogurt, maple syrup (or honey), and vanilla extract. Stir until everything is smoothly incorporated and creamy. Taste it—if you like it sweeter, add a touch more syrup now.
Step 3: Fold in the Berries
Gently fold in the blueberries. Be careful not to stir too vigorously, or you’ll crush the berries and turn your whole mix light purple (which is fine if you want purple clusters, but if you want distinct blue pops, be gentle!). If you are using optional toppings like nuts, sprinkle those in now too.
Step 4: Create the Clusters
Take a small spoon or a cookie scoop and drop spoonfuls of the yogurt mixture onto your prepared baking sheet. Aim for bite-sized mounds—about 1 to 1.5 inches wide. Don’t worry about making them perfect!
Step 5: The Secret Ingredient Drizzle
This step adds a little extra magic and helps them set firm. Very lightly drizzle the melted coconut oil over the tops of the yogurt mounds. It’s just enough to barely coat the tops.
Step 6: Freeze Until Solid
Carefully transfer the baking sheet into the freezer. Let them freeze completely, which usually takes at least 2 to 3 hours, depending on the size of your clusters and your freezer temperature.
Step 7: Store and Enjoy!
Once they are rock solid, peel the parchment paper off the clusters. Transfer them to a freezer-safe, airtight container or a zip-top bag, placing a small piece of parchment paper between layers if necessary to prevent sticking.
Serving Suggestions
These are fantastic straight out of the freezer!
- Morning Power Boost: Grab 4 or 5 clusters alongside your morning coffee instead of a sugary pastry.
- Cool Down: Serve them as a quick, refreshing dessert after dinner.
- Yogurt Parfait Hack: Crush a few clusters over regular cold yogurt for texture!
Tips for Customization & Variations
This recipe is super flexible. Play around with what you have on hand!
1. Tropical Twist: Swap blueberries for chopped mango or pineapple, and use lime zest instead of vanilla extract.
2. Chocolate Lover: Drizzle melted dark chocolate over the clusters after they are mostly frozen (about 90 minutes in). Then freeze again until firm.
3. Flavor Boost: Add 1/2 teaspoon of lemon zest to the yogurt mixture for an extra bright flavor.
4. For Non-Dairy: Use a thick, non-dairy yogurt alternative like coconut or almond-based Greek style yogurt.
Nutritional Information (Estimated)
(Note: These are estimates based on using 2% Greek yogurt and honey, and the serving size is approximately 4 clusters.)
Calories: Approximately 100-120 per serving
Protein: High (around 8-10g per serving)
Fat: Low to moderate
Sugar: Varies based on added sweetener
Frequently Asked Questions (FAQs)
Q1: Can I use regular yogurt instead of Greek yogurt?
You can, but Greek yogurt is highly recommended. Regular yogurt has much more water content, so your clusters will likely be icier and less creamy when frozen. If you must use regular yogurt, consider draining it first in a cheesecloth overnight to thicken it up!
Q2: How long do these last in the freezer?
They are best eaten within 1 to 2 months. Because they contain high water content (from the berries and yogurt), they can develop freezer burn or start to dry out slightly after that, but they will technically remain safe to eat for longer. Always store them in an airtight container.
Q3: My clusters are sticking to the parchment paper! What went wrong?
This usually happens if you didn’t use enough fat in the mixture, or if your parchment paper wasn’t completely flat. Ensure your coconut oil drizzle (Step 5) is sufficient, and use good quality parchment paper. If they stick badly, just let them thaw for 5 minutes, and they should peel off easier.
Q4: Can I use different berries?
Absolutely! Strawberries, raspberries, or a mix of all three work wonderfully. If using raspberries, you might want to gently pat them dry first if they are very juicy.
Happy snacking, friends! Let me know in the comments if you try these chilly delights!