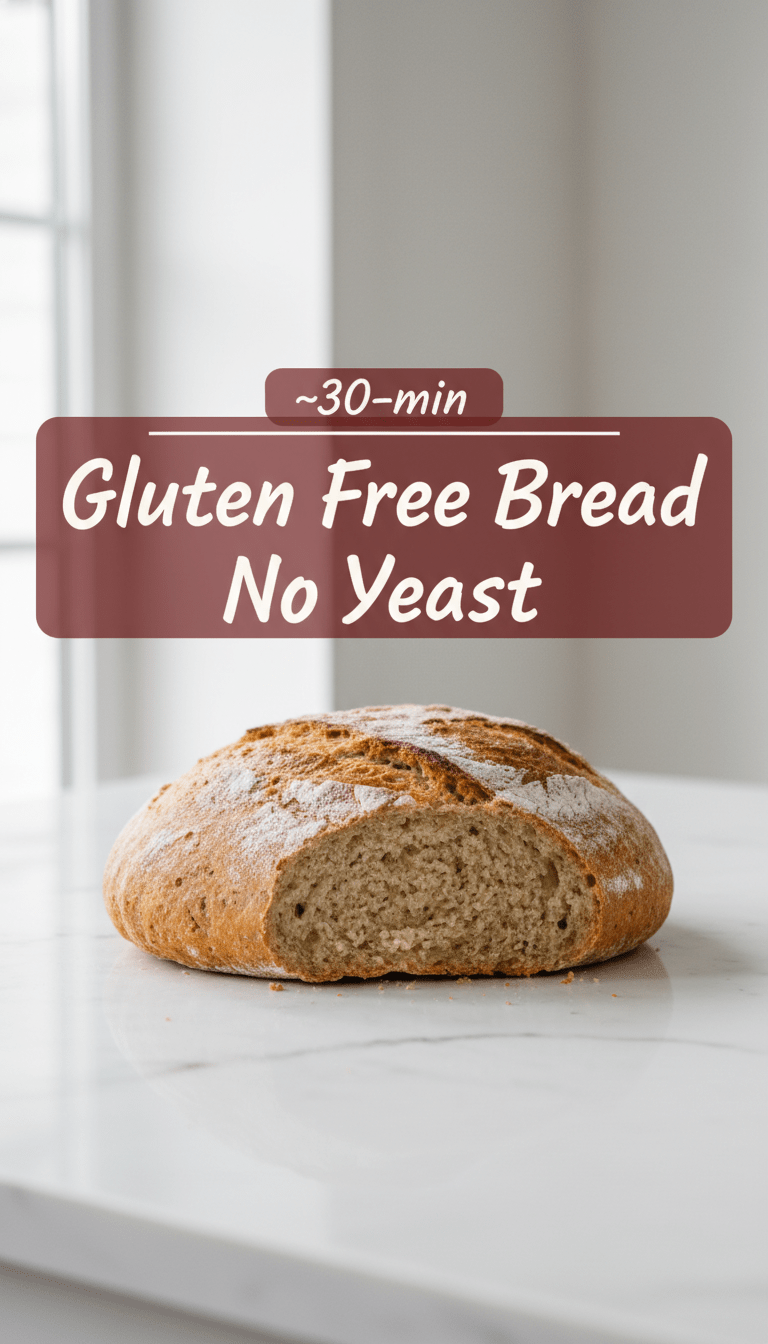
Hey there, fellow food lovers! If you’ve ever craved the comforting hug of a freshly baked loaf but dreaded the hours of kneading and waiting required by traditional bread, you are in the right place. Baking gluten-free can sometimes feel like a science experiment gone wrong, but today, we are simplifying things dramatically. Forget yeast! We are making a wonderfully soft, flavorful, and incredibly fast Gluten Free Bread No Yeast. Seriously, it’s so easy, you might just replace your store-bought GF loaf forever. Let’s get baking!
Quick Facts
Prep time: 10 minutes
Cooking time: 40-45 minutes
Total time: About 55 minutes (plus cooling)
Serving size: 8-10 slices
Why You’ll Love This Recipe
This recipe is a game-changer, especially for those new to gluten-free baking or anyone short on time.
- Speedy Solution: No waiting for yeast to bloom or dough to rise. Mix, pour, and bake!
- Incredible Texture: Thanks to a clever combination of GF flours and baking powder, this loaf stays moist and soft—no crumbly sadness here.
- Dietary Friendly: Completely yeast-free and easily made dairy-free (see tips below!).
- Simple Ingredients: Most of these items are staples in a well-stocked gluten-free pantry.
What You’ll Need: Ingredients List
For this speedy loaf, we rely on chemical leaveners (baking powder and baking soda) instead of yeast.
Dry Ingredients:
- 2 cups Gluten-Free All-Purpose Flour Blend (must contain xanthan gum or add 1 teaspoon separately)
- 1 teaspoon Baking Soda
- 2 teaspoons Baking Powder
- 1 teaspoon Salt
- 1 tablespoon Sugar (or maple syrup equivalent, helps with browning)
Wet Ingredients:
- 1 cup Milk (dairy or unsweetened plant-based like almond or oat)
- 1 large Egg (room temperature is best)
- 1/4 cup Oil (melted coconut oil or vegetable oil)
- 1 teaspoon Apple Cider Vinegar (this reacts with the baking soda for lift!)
Step-by-Step Instructions
This is truly a dump-and-mix recipe. No fancy equipment needed!
Step 1: Preheat and Prepare
Preheat your oven to 375°F (190°C). Lightly grease an 8.5 x 4.5 inch loaf pan and line the bottom with parchment paper for easy removal.
Step 2: Combine the Dry Team
In a large mixing bowl, whisk together the GF flour blend, baking soda, baking powder, salt, and sugar. Make sure everything is thoroughly combined so your bread rises evenly.
Step 3: Mix the Wet Wonders
In a separate, smaller bowl, lightly whisk the milk, egg, oil, and apple cider vinegar together.
Step 4: Bringing it Together (Gently!)
Pour the wet ingredients into the dry ingredients. Use a spatula to mix everything until just combined. Crucial Tip: Do not overmix! Overmixing gluten-free batter can make the final product gummy. A few small lumps are perfectly okay. The batter will be quite thick—thicker than traditional bread dough.
Step 5: Bake Until Golden
Pour the batter into your prepared loaf pan and smooth the top slightly with the spatula. Place it in the preheated oven. Bake for 40 to 45 minutes. Start checking at 38 minutes. The bread is done when the top is deeply golden brown and a toothpick inserted into the center comes out clean.
Step 6: Cool and Slice
Let the bread cool in the pan for about 10 minutes. Then, carefully lift it out using the parchment paper sling and transfer it to a wire rack to cool completely before slicing. Trust me, waiting for it to cool ensures the best texture!
Serving Suggestions
This simple loaf is versatile enough for any meal:
- Breakfast Bliss: Sliced thick, toasted, and slathered with butter and jam or honey.
- Lunchtime Hero: Perfect for making GF, yeast-free grilled cheese sandwiches or avocado toast.
- Simple Snack: Enjoy a slice plain while it’s still slightly warm!
Tips for Customization & Variations
Want to jazz up your basic loaf? Try these easy additions:
1. Herby Savory Loaf: Add 1 tablespoon of dried Italian herbs and 1/2 cup of shredded cheddar cheese (if dairy is okay) to the dry ingredients.
2. Seed Power: Fold in 1/4 cup of pumpkin seeds, sunflower seeds, or poppy seeds just before pouring into the pan.
3. Dairy-Free: Easily make this dairy-free by using unsweetened almond milk or oat milk instead of cow’s milk.
4. Richer Flavor: For a slightly richer flavor, swap the oil for melted butter (if tolerated).
Estimated Nutritional Information
Please remember this is an estimate based on standard ingredients and portion sizes, and will vary based on your specific flour blend.
Per Slice (approximation): Calories: 160-180 | Fat: 7g | Carbohydrates: 23g | Protein: 3g
Frequently Asked Questions (FAQs)
Q1: Can I use regular all-purpose flour instead of a GF blend?
A: This recipe is specifically designed for the structure provided by gluten-free flour blends that include binders like xanthan gum. If you use regular flour, the chemical reactions will not produce a stable loaf structure, and it will likely collapse or be extremely dense.
Q2: Why do I need apple cider vinegar?
A: The apple cider vinegar (or lemon juice) is essential! It reacts vigorously with the baking soda to create carbon dioxide bubbles quickly, which gives the bread its necessary lift since there is no yeast doing the hard work.
Q3: My loaf is dense in the middle. What went wrong?
A: This usually happens for two main reasons: either you didn’t preheat your oven properly (the initial burst of heat is vital for chemical leavening), or you overmixed the batter, developing too much stickiness rather than airiness. Make sure your baking powder is fresh, too!
Q4: How long does this bread last?
A: Because it lacks preservatives found in commercial bread, it’s best eaten within 2-3 days stored in an airtight container at room temperature. For longer storage, slice it, and freeze it! It toasts beautifully straight from the freezer.
Happy baking! Enjoy the smell of fresh bread without the wait!