Hey everyone, and welcome back to my kitchen! Can you believe it’s almost pie season? For many of us, the holidays just aren’t complete without that iconic, spiced slice of pumpkin goodness. But what if you’re navigating the world of gluten-free baking? Don’t worry, I’ve got you covered!
I’ve spent years perfecting this recipe so that even without traditional wheat flour, you get that perfectly smooth, velvety filling and a crust that actually holds together. This Gluten Free Pumpkin Pie is so delicious, I guarantee no one will even notice the difference. Let’s dive in!
Quick Facts
Here’s a quick look at what you need to know before you start:
Prep time: 25 minutes
Blind Baking Time: 15 minutes
Bake Time: 50-60 minutes
Total time: About 1 hour 40 minutes (plus chilling time)
Serving size: 8 generous slices
Why You’ll Love This Recipe
This recipe stands out because it delivers on texture and flavor perfection.
- The Crust Secret: We use a blend of gluten-free flours that results in a flaky, buttery crust that doesn’t crumble into a million pieces.
- Silky Smooth Filling: My secret? Sifting the dry ingredients and using just the right amount of cornstarch ensures a filling that sets beautifully, never watery, and never grainy.
- Classic Comfort: It captures that quintessential warm spice flavor that instantly makes any day feel like Thanksgiving.
Ingredients You’ll Need
We’ll break this down into two parts: the Crust and the Filling.
For the Gluten-Free Pie Crust (9-inch pie plate)
- 1 ¼ cups gluten-free all-purpose flour blend (one containing xanthan gum is best!)
- ½ teaspoon salt
- ½ cup (1 stick) very cold, unsalted butter, cut into small cubes
- 3-5 tablespoons ice water
For the Creamy Pumpkin Filling
- 1 (15-ounce) can pure pumpkin puree (not pumpkin pie filling)
- 1 (12-ounce) can evaporated milk (or full-fat coconut milk for dairy-free)
- ¾ cup packed light brown sugar
- 2 large eggs, lightly beaten
- 1 teaspoon vanilla extract
- 1 ½ teaspoons ground cinnamon
- ½ teaspoon ground ginger
- ¼ teaspoon ground nutmeg
- ¼ teaspoon ground cloves
- ½ teaspoon salt
- 1 tablespoon cornstarch (this is our secret binder!)
Step-by-Step Baking Bliss
Part 1: Making the Gluten-Free Crust
1. Mix Dry Ingredients: In a large bowl, whisk together the GF flour blend and salt.
2. Cut in the Butter: Add the cold butter cubes. Use a pastry blender or your fingertips to quickly cut the butter into the flour until the mixture resembles coarse crumbs with some pea-sized pieces remaining. Work fast so the butter stays cold!
3. Add Water: Sprinkle 3 tablespoons of ice water over the mixture. Mix gently with a fork until the dough just starts to come together. If it seems too dry, add the remaining water, one teaspoon at a time.
4. Chill and Roll: Form the dough into a flat disk, wrap it in plastic wrap, and chill in the refrigerator for at least 30 minutes.
5. Prep the Pan: On a lightly floured GF surface, roll the chilled dough out into a 12-inch circle. Carefully transfer it to your 9-inch pie plate. Trim and crimp the edges as desired.
6. Blind Bake (Crucial Step!): Preheat your oven to 375°F (190°C). Line the crust with parchment paper and fill it with pie weights or dried beans. Bake for 15 minutes. Remove the weights and parchment, and bake for another 5 minutes until the crust looks dry. Set aside to cool slightly while you make the filling.
Part 2: Preparing the Dreamy Filling
1. Preheat and Prepare: Keep the oven set at 375°F (190°C).
2. Whisk Wet Ingredients: In a large bowl, whisk together the pumpkin puree, evaporated milk, brown sugar, and lightly beaten eggs until smooth.
3. Spice It Up: Add the vanilla extract, cornstarch, salt, cinnamon, ginger, nutmeg, and cloves. Whisk thoroughly until everything is completely combined and there are no lumps of cornstarch remaining. Sifting the spices helps prevent clumps!
4. Pour and Bake: Carefully pour the pumpkin mixture into your pre-baked crust.
5. Bake Time: Bake for 50 to 60 minutes. Important Tip: To prevent the edges from burning, loosely tent the edges of the crust with foil after about 35 minutes.
6. Check for Doneness: The pie is done when the edges are set and the center jiggles only slightly when gently nudged (like firm Jell-O). A knife inserted near the center should come out clean.
7. Cool Down: Remove the pie from the oven and let it cool completely on a wire rack. This usually takes 2-3 hours. The pie must be fully cool before slicing, or the filling will deflate. Chill for at least 4 hours (or overnight) before serving for the best texture.
Serving Suggestions
A slice of this perfect pumpkin pie demands the right accompaniments!
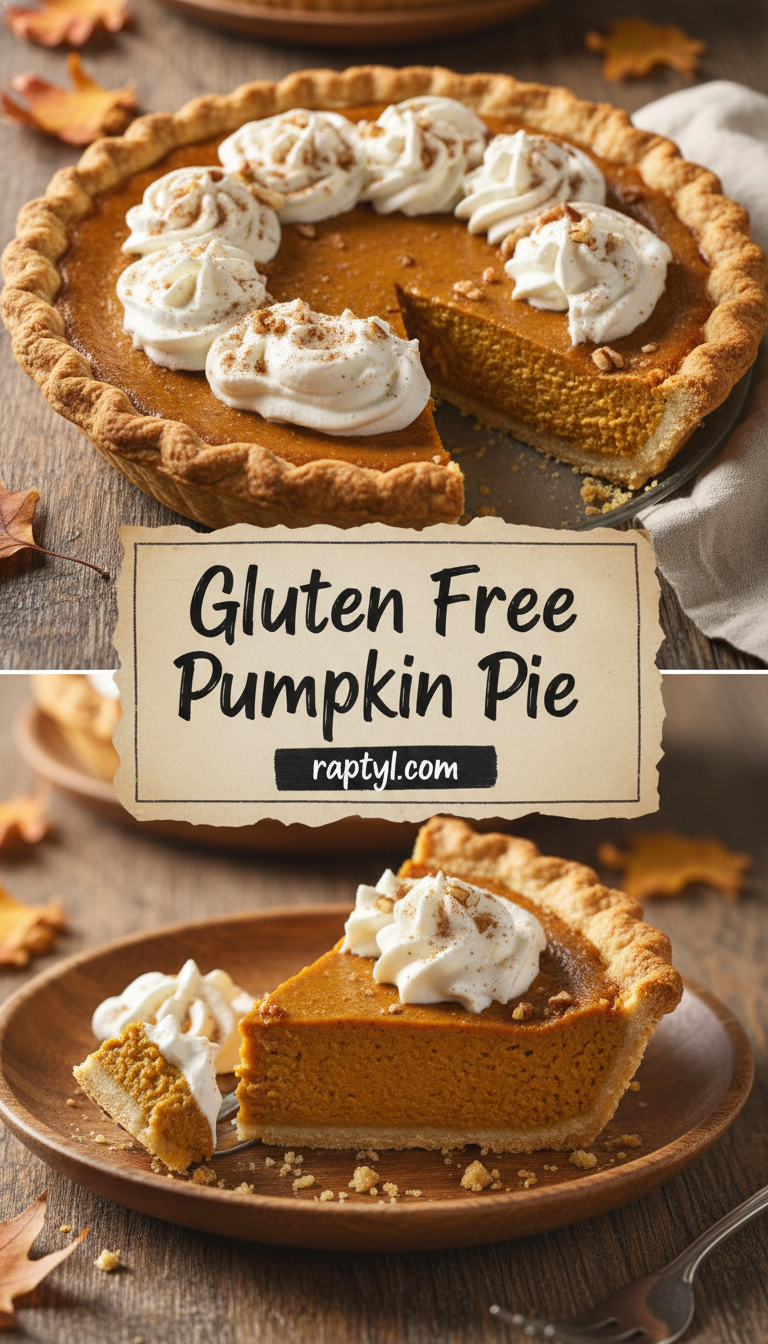
- Classic Whipped Cream: Freshly whipped cream dusted with cinnamon is non-negotiable for me.
- Salted Caramel Drizzle: A drizzle of homemade salted caramel sauce cuts through the richness beautifully.
- Vanilla Ice Cream: A scoop of high-quality vanilla bean ice cream melting slowly next to the slice is pure heaven.
Tips for Customization & Variations
Want to shake things up? Here are a few simple switches:
- Dairy-Free Delight: Easily swap the evaporated milk for full-fat canned coconut milk. The result is rich and unbelievably creamy!
- Spice Lover: If you like a real kick, add ¼ teaspoon of black pepper to your spice blend—it deepens the warmth of the ginger and cinnamon.
- Nutty Crust: If you have a favorite nut flour (like almond flour), you can substitute up to ¼ cup of the GF blend in the crust for a richer flavor.
Estimated Nutritional Information
Please note: This is a rough estimate based on 8 slices, excluding added toppings like whipped cream.
Calories: Approximately 350-380 kcal per slice
Fat: 18g
Carbohydrates: 45g
Protein: 7g
Frequently Asked Questions (FAQs)
Q1: Can I make this pie ahead of time?
A: Yes! In fact, I highly recommend it. Once completely cooled, cover the pie tightly with plastic wrap and refrigerate it for up to 3 days. The flavor actually deepens overnight.
Q2: My crust is soggy on the bottom. What did I do wrong?
A: This is usually due to insufficient blind baking or moisture seeping up. Ensure your pie weights cover the bottom and sides completely during the first baking phase. Also, make sure your crust is well-chilled before baking, and your oven is fully preheated.
Q3: What is the best way to store leftovers?
A: Store leftover pumpkin pie tightly covered in the refrigerator for up to 3 days. If you need to store it longer, it freezes wonderfully! Wrap the cooled, unsliced pie tightly in plastic wrap and then foil, and freeze for up to 2 months. Thaw overnight in the fridge.
Happy baking, friends! Enjoy this slice of pure, gluten-free comfort!