Hello, lovely bakers! If you’ve ever craved that classic, buttery, slightly chewy goodness of a sugar cookie but needed a gluten-free option that actually works, then you’ve hit the jackpot today. Forget crumbly messes and dry textures! These Gluten-Free Sugar Cookie Bars are soft, perfectly sweet, and so incredibly easy to make. They are everything a comfort dessert should be, minus the gluten drama.
Grab your apron; we’re making magic happen in a 9×13 pan!
Quick Facts
Here’s a snapshot of what you need to know before you start mixing:
Prep time: 15 minutes
Baking time: 20–25 minutes
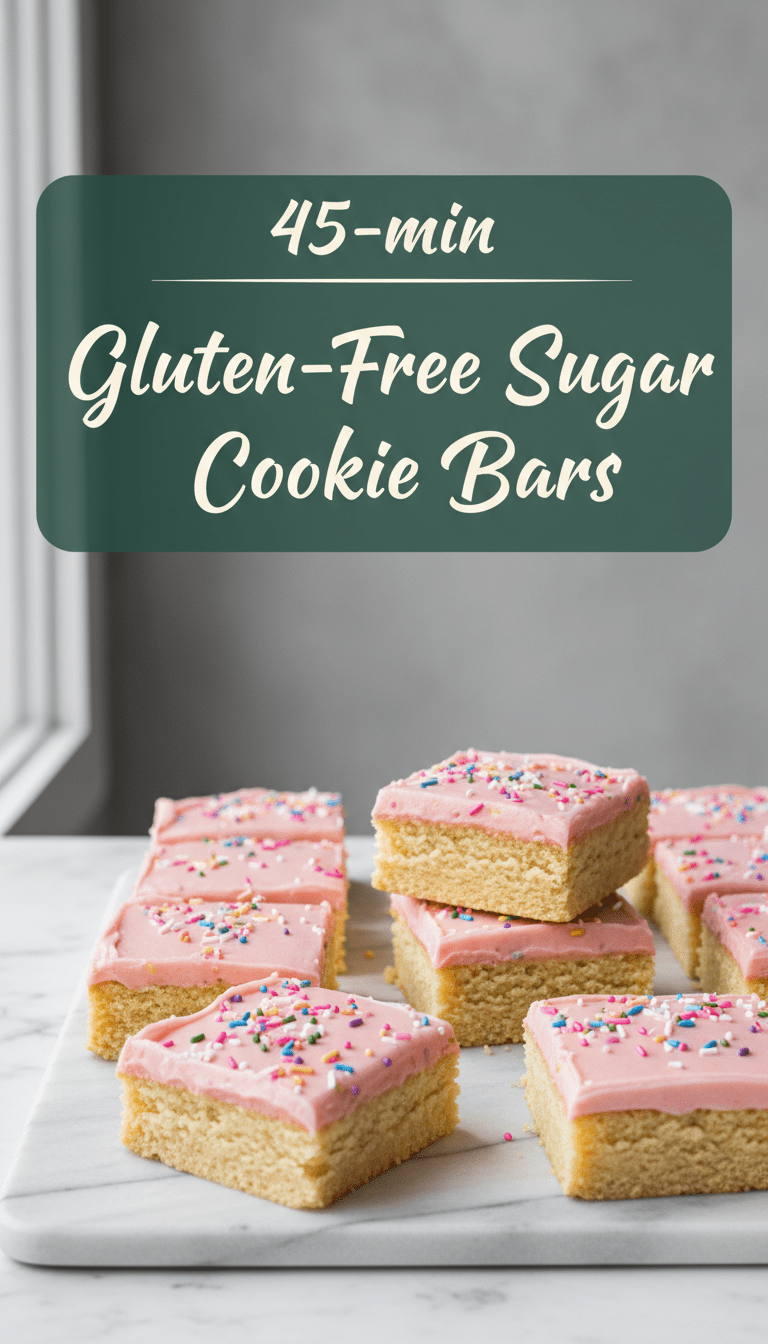
Total time: About 40 minutes (plus cooling time)
Serving size: 16 generous bars
Why You’ll Love This Recipe
These aren’t just “good for gluten-free”; they are genuinely great.
- Texture Heaven: They bake up perfectly soft and slightly chewy in the center, with just the right amount of crisp edge.
- Easy Peasy: No chilling required! You mix, press, bake, and frost. It’s a one-bowl wonder (mostly!).
- Versatile Base: This plain bar is the perfect canvas for any topping or sprinkle combination you can dream up.
- Kid-Approved: Even my pickiest eaters can’t tell these are gluten-free. Success!
Ingredients You’ll Need
This recipe relies on a good quality all-purpose gluten-free flour blend that already contains xanthan gum. If yours doesn’t, just add 1 teaspoon of xanthan gum to the dry ingredients.
For the Cookie Bars:
- 2 1/4 cups all-purpose gluten-free flour blend (with xanthan gum)
- 1 teaspoon baking powder
- 1/2 teaspoon salt
- 1 cup (2 sticks) unsalted butter, softened to room temperature
- 1 1/2 cups granulated sugar
- 2 large eggs
- 2 teaspoons pure vanilla extract
For the Simple Vanilla Glaze (Optional but Recommended!):
- 2 cups powdered sugar (confectioners’ sugar)
- 3–4 tablespoons milk (dairy or non-dairy)
- 1 teaspoon pure vanilla extract
Step-by-Step Instructions: Creating Cookie Perfection
Preheat your oven to 350°F (175°C). Line a 9×13 inch baking pan with parchment paper, leaving an overhang on two sides to easily lift the bars out later. Lightly grease the paper.
Step 1: Whisk the Dry Stuff
In a medium bowl, whisk together the gluten-free flour blend, baking powder, and salt. Set this aside.
Step 2: Cream the Wet Ingredients
In a large bowl (or the bowl of a stand mixer), beat the softened butter and granulated sugar together until light and fluffy—this usually takes about 3 minutes. Scrape down the sides of the bowl as needed.
Step 3: Add Eggs and Vanilla
Beat in the eggs, one at a time, mixing well after each addition. Stir in the vanilla extract. The mixture should look smooth and creamy.
Step 4: Combine Everything
Gradually add the dry ingredient mixture to the wet ingredients, mixing on low speed until just combined. Be careful not to overmix once the flour is added; we want soft bars, not tough ones!
Step 5: Press into the Pan
Transfer the dough to your prepared baking pan. Because this dough is soft, the easiest way to spread it evenly is to lightly spray your hands with cooking spray (or dampen them slightly) and gently press the dough into an even layer across the bottom of the pan.
Step 6: Bake Until Golden
Bake for 20 to 25 minutes. You want the edges to be lightly golden brown, and the center should look set but still soft. It’s better to slightly underbake these than overbake them if you want that chewy texture!
Step 7: Cool Completely
Let the bars cool completely in the pan on a wire rack. This is crucial! If you try to frost them warm, the glaze will melt right off.
Step 8: Glaze and Slice
While the bars cool, whisk together the powdered sugar, vanilla, and milk for the glaze. Start with 3 tablespoons of milk and add the fourth only if the glaze seems too thick. It should be thick enough to coat the back of a spoon. Drizzle or spread the glaze evenly over the cooled bars. Allow the glaze to set for about 15 minutes before slicing into 16 squares.
Serving Suggestions
These bars are delicious all on their own, but here are a few ways to dress them up:
- Sprinkle Fun: Before the glaze sets, top generously with gluten-free sprinkles for birthdays or holidays.
- Citrus Zest: Add the zest of one lemon or orange to the glaze for a bright, refreshing twist.
- Drizzle Deluxe: After the vanilla glaze sets, drizzle melted chocolate chips over the top for a bakery-style finish.
Tips for Customization & Variations
Want to switch things up? No problem! The base recipe is a winner:
1. Almond Extract Swap: For a more traditional almond flavor, substitute 1 teaspoon of vanilla extract with 1/2 teaspoon of almond extract.
2. Fruity Twist: Gently fold 1/2 cup of dried cranberries or finely chopped dried apricots into the dough right before pressing it into the pan.
3. Brown Sugar Swap: For a slightly richer, softer cookie, replace half of the granulated sugar (3/4 cup total) with packed light brown sugar.
Estimated Nutritional Information
Please note: This is a rough estimate based on standard ingredient calculations for 1/16th of the recipe, not including heavy frosting.
Calories: Approximately 250–280
Fat: 12g
Carbohydrates: 36g
Protein: 3g
Frequently Asked Questions (FAQs)
Q1: Can I use a different gluten-free flour?
It’s best to stick to a cup-for-cup or 1:1 gluten-free baking blend. These are specifically formulated to mimic wheat flour structure. Single flours like almond or coconut flour will result in a totally different texture that won’t work well for this bar recipe.
Q2: My dough seems stiff. What did I do wrong?
Gluten-free doughs often look and feel denser than traditional wheat doughs. If it seems too stiff to spread, you can either let it sit on the counter for 5 minutes to soften the butter slightly, or spray your hands heavily with cooking spray before pressing it into the pan.
Q3: How long will these bars last?
Stored in an airtight container at room temperature, these bars will stay wonderfully soft for up to 4 days. You can also freeze the unglazed bars (or even glazed ones!) for up to 3 months. Thaw overnight on the counter.
Happy baking, everyone! Let me know in the comments how your bars turned out!