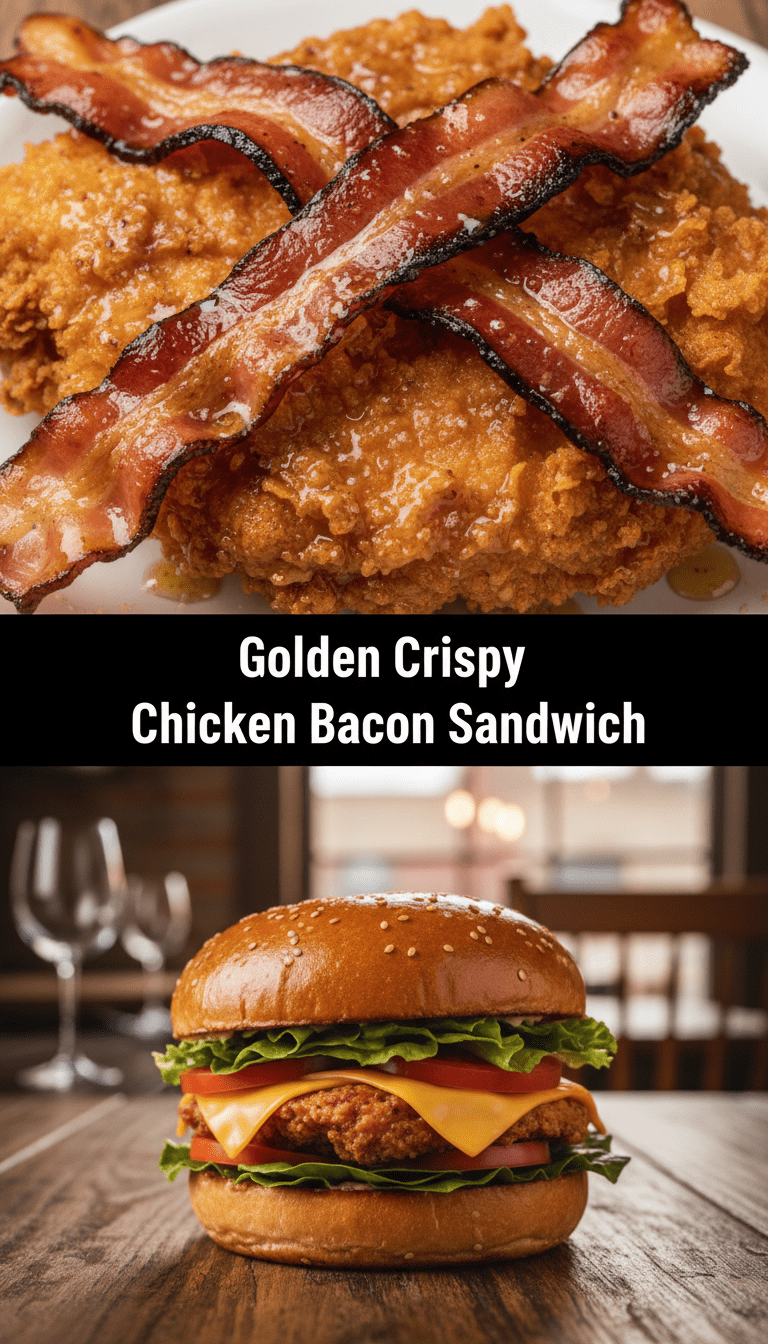
Hey food lovers! Welcome back to my kitchen. Today, we are diving headfirst into sandwich heaven. Forget your boring lunchtime routine; we are elevating things with the Golden Crispy Chicken Bacon Sandwich. Seriously, this isn’t just a sandwich; it’s an experience—a perfect harmony of juicy chicken, salty, crunchy bacon, and that glorious golden crust.
Trust me, once you try making this at home, you’ll never look back. It’s easier than you think, and oh-so-rewarding. Let’s get cooking!
Quick Facts
Prep time: 20 minutes
Cooking time: 25 minutes
Total time: 45 minutes
Serving size: 2 satisfying sandwiches
Why You’ll Love This Recipe
If you crave texture, this is your moment. We are achieving maximum crispiness on the chicken without deep-frying the whole thing—we’re pan-frying smart! The salty bacon cuts through the richness of the chicken, and a tangy sauce brings everything together. It’s hearty, comforting, and feels like a gourmet treat without the fuss. Plus, it makes fantastic leftovers (if you manage to have any!).
Ingredients You’ll Need
For the Crispy Chicken:
- 2 Boneless, skinless chicken breasts (about 6 oz each), halved horizontally to create four thinner cutlets
- 1/2 cup All-purpose flour
- 1 large Egg, lightly beaten
- 1 cup Panko breadcrumbs (this is the secret to ultimate crispiness!)
- 1 teaspoon Smoked paprika
- 1/2 teaspoon Garlic powder
- Salt and black pepper to taste
- Vegetable or canola oil for shallow frying (about 1/2 inch depth in the pan)
For the Assembly:
- 4 Slices of good quality bread (Sourdough or thick-cut white work best)
- 4-6 Slices of crispy cooked bacon
- 2 slices Provolone or Swiss cheese
- 2 tablespoons Mayonnaise
- 1 teaspoon Dijon mustard
- 1 teaspoon Honey (optional, for a touch of sweetness)
- Lettuce leaves (Romaine or Butter lettuce)
- 2 slices Tomato
Step-by-Step Instructions: Building the Golden Dream
Follow these steps carefully, and you’ll have that perfect crunch every time!
Step 1: Prep the Chicken Cutlets
1. Place your chicken cutlets between two sheets of plastic wrap and gently pound them to an even 1/2-inch thickness. This ensures even cooking.
2. Set up your dredging station: one shallow dish with flour seasoned with salt and pepper; a second dish with the beaten egg; and a third dish with Panko breadcrumbs mixed with smoked paprika and garlic powder.
3. Dredge each cutlet first in the flour, shaking off the excess.
4. Dip it into the egg mixture, letting any excess drip off.
5. Finally, press firmly into the Panko mixture, ensuring the entire surface is coated thickly. Set aside on a plate.
Step 2: Cook the Bacon and Chicken
1. In a large skillet, cook your bacon over medium heat until perfectly crisp. Remove the bacon and set it on a paper towel to drain. Keep about 1 tablespoon of the rendered bacon grease in the pan for extra flavor (or use fresh oil if preferred).
2. Add enough vegetable oil to the skillet to reach about a 1/2-inch depth. Heat the oil over medium-high heat until shimmering (about 350°F).
3. Carefully place two chicken cutlets into the hot oil (do not overcrowd the pan). Fry for 3–4 minutes per side until deeply golden brown and cooked through (internal temperature should reach 165°F).
4. Remove the cooked chicken and place it on a wire rack or paper towel-lined plate to drain excess oil. Repeat with the remaining chicken.
Step 3: The Melty Finish
1. While the chicken is still hot, place one slice of cheese on top of each cutlet. Let it sit for a minute to soften and melt slightly.
Step 4: Toast and Sauce
1. Lightly toast your bread slices to your preference—I like mine golden brown and sturdy.
2. In a small bowl, whisk together the mayonnaise, Dijon mustard, and honey (if using) to create your signature sauce.
Step 5: Assembly Time!
1. Spread a generous layer of your sauce on both interior sides of your toasted bread.
2. On the bottom slice, layer lettuce, then tomato.
3. Place the cheesy, golden crispy chicken on top of the tomatoes.
4. Top the chicken with 2-3 slices of your crisp bacon.
5. Cap it with the second slice of bread. Slice diagonally (it just tastes better that way, trust me!) and serve immediately.
Serving Suggestions
This sandwich is a powerhouse on its own, but if you need sides, keep it simple:
- A small bowl of crispy sweet potato fries.
- A light, vinegary coleslaw to cut the richness.
- Dill pickle spears on the side for a nice acidic bite.
Tips for Customization & Variations
- Spice it Up: Add a pinch of cayenne pepper to your flour dredge, or drizzle a little hot sauce over the chicken before the cheese melts.
- Herbaceous Boost: Mix finely chopped fresh parsley or chives into your Panko breadcrumb mixture.
- The Bacon Swap: If you aren’t a fan of pork bacon, use turkey bacon or even crispy prosciutto for a salty alternative.
- Extra Crunch: Instead of just mayo, try adding a thin smear of mashed avocado for healthy fats and creaminess.
Estimated Nutritional Information (Per Serving)
Please note: This is an estimate and will vary based on exact portion sizes and ingredients used.
Calories: Approximately 550-650 kcal
Protein: 40g
Fat: 30-35g
Carbohydrates: 40g
Frequently Asked Questions (FAQs)
Q1: Can I bake the chicken instead of frying it?
A: Yes, you absolutely can! Preheat your oven to 400°F (200°C). Place the breaded cutlets on a wire rack set over a baking sheet. Spray both sides lightly with cooking spray or olive oil. Bake for 18–20 minutes, flipping halfway through, until golden and cooked through. It won’t be quite as rich, but still delicious!
Q2: How can I make the chicken ahead of time?
A: You can bread the chicken up to 24 hours in advance. Store the breaded cutlets in a single layer in an airtight container in the refrigerator. Cook them right before serving for the best texture.
Q3: What type of bread holds up best to these juicy fillings?
A: Sturdy breads are key! Sourdough, Texas toast, or even a good quality brioche (toasted well) will prevent your sandwich from getting soggy under the weight of the chicken and bacon.
Enjoy every single, golden, crispy bite! Let me know in the comments when you make this masterpiece! Happy cooking!
