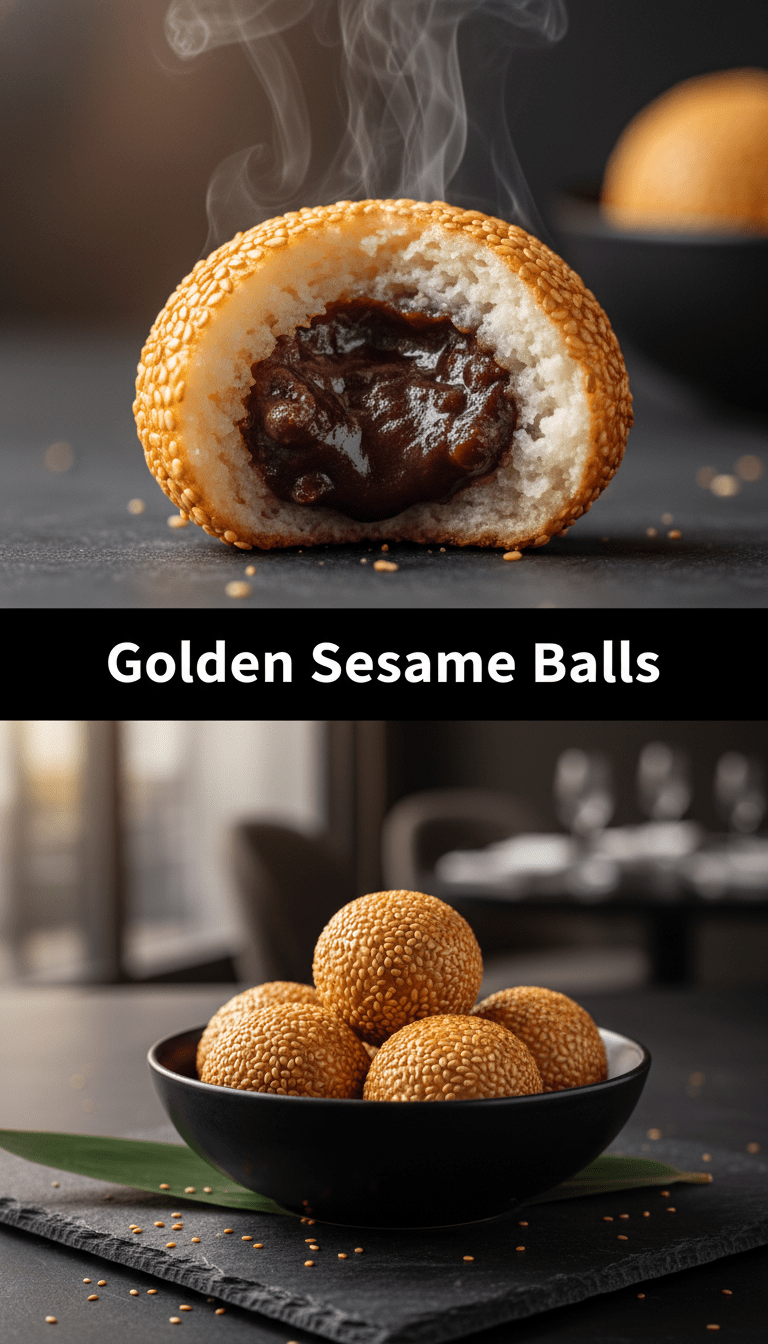
Hello, fellow food lovers! Are you ready to dive into a treat that’s crispy on the outside, wonderfully chewy on the inside, and coated in a beautiful blanket of toasted sesame seeds? Today, we’re making Golden Sesame Balls, known as Jian Dui in Mandarin or Bánh Cam in Vietnamese. These aren’t just desserts; they’re little pockets of joy, perfect for celebrations or just when you need a sweet, satisfying snack. Trust me, once you master these, you’ll be making them every weekend!
Quick Facts: How Fast Can We Get These Golden Goodies?
Here’s a snapshot of what you need to know before we start mixing:
Prep time: 30 minutes (plus resting time)
Cooking time: 15 minutes
Total time: Approximately 1 hour 15 minutes
Serving size: Makes about 12-15 balls
Why You’ll Love This Recipe
These Golden Sesame Balls are truly special. Why?
- Texture Heaven: The contrast between the shatteringly crisp exterior and the soft, slightly sticky mochi-like dough is pure magic.
- Sweet & Simple Filling: We use a classic, subtly sweet red bean paste that pairs perfectly with the sesame flavor.
- Impressive Results: They look fancy, but honestly, the process is straightforward enough for any beginner baker or cook!
The Treasure Chest: Ingredients You’ll Need
We are dividing our ingredients into three parts: the Dough, the Filling, and the Coating.
For the Dough:
- 2 cups Glutinous Rice Flour (this is key for chewiness!)
- 1/4 cup Granulated Sugar
- 1 cup Hot Water (nearly boiling)
- 1/4 cup All-Purpose Flour (just a little binder)
- 1 teaspoon Baking Powder
- 1 tablespoon Vegetable Oil (for handling)
For the Filling:
- 1 cup Pre-made Sweet Red Bean Paste (or substitute with lotus seed paste or even Nutella!)
For the Coating & Frying:
- 1 cup White Sesame Seeds
- Vegetable or Peanut Oil, for deep frying (you’ll need about 3-4 cups)
Let’s Get Cooking: Step-by-Step Instructions
This process involves mixing, shaping, and the fun part—frying!
Step 1: Making the Dough Magic
1. In a large bowl, whisk together the glutinous rice flour, sugar, all-purpose flour, and baking powder.
2. Slowly pour the hot water into the dry ingredients while stirring continuously with a wooden spoon or spatula.
3. Once it forms a shaggy mass, turn the dough out onto a lightly oiled surface. Knead it gently for about 5-7 minutes until it becomes smooth, soft, and slightly elastic—like an earlobe!
4. Cover the dough with a damp cloth and let it rest for 20 minutes. This allows the flour to fully hydrate.
Step 2: Filling and Shaping the Balls
1. While the dough rests, prepare your sesame seeds by spreading them out on a large plate or baking sheet.
2. Divide your rested dough into small, equal pieces, about 1.5 inches in diameter (roughly the size of a large walnut).
3. Take one piece of dough and flatten it into a small disc in the palm of your hand.
4. Place about one teaspoon of red bean paste in the center. Gently wrap the dough around the filling, sealing it completely to form a smooth ball. Make sure there are no cracks where the filling could leak out during frying!
5. Roll the sealed ball firmly into the sesame seeds, pressing gently so they stick all over. Set aside on a lined tray. Repeat with the remaining dough.
Step 3: The Golden Transformation (Frying)
1. Pour your frying oil into a deep, heavy-bottomed pot or Dutch oven. Heat the oil to a medium-low temperature—about 300°F (150°C). This lower temperature is crucial! If the oil is too hot, the outside will burn before the inside cooks and puffs up.
2. Carefully place 3-4 sesame balls into the oil. Do not overcrowd the pot.
3. Fry them for about 5-7 minutes, gently turning them occasionally with a spider strainer. You’ll notice they start to puff up and float.
4. The Trick: Once they are lightly golden, slightly increase the heat to medium (around 325°F or 160°C) and continue frying for another 2-3 minutes until they achieve that deep, beautiful golden-brown color.
5. Remove the balls with a slotted spoon and drain them immediately on a wire rack lined with paper towels. They will crisp up further as they cool slightly.
How to Serve Your Golden Treasures
Golden Sesame Balls are best served warm! They are traditionally eaten as a sweet snack or dessert.
Serving Suggestions:
- Enjoy them simply as they are—the warm, chewy center is divine.
- For a fancy touch, dust lightly with powdered sugar (though traditional recipes skip this).
- Pair them with a hot cup of unsweetened green tea to balance the sweetness.
Customization Corner: Making Them Your Own
Don’t feel bound by red bean paste! These dough balls are versatile:
- Savory Twist: Skip the sugar in the dough entirely, use a pinch of salt, and fill them with seasoned ground pork or vegetables (this is more like a Chinese savory doughnut).
- Nutty Filling: Mix the red bean paste with chopped peanuts or walnuts for extra crunch.
- Flavor Infusion: Add a tiny drop of vanilla extract or almond essence to the dough mixture before kneading.
Estimated Nutritional Snapshot
Disclaimer: This is a rough estimate and can vary widely based on exact filling and oil absorption.
Per Ball (approx.): 120-150 Calories, 3g Protein, 25g Carbohydrates, 3g Fat. High in carbs due to the rice flour.
Frequently Asked Questions (FAQs)
Q1: Why did my sesame balls deflate after frying?
This usually happens for two reasons: either the oil was too hot, causing the outside to set before the inside could fully expand, or the filling wasn’t completely sealed, allowing steam to escape unevenly. Always fry at a lower temperature first!
Q2: Can I use regular sweet rice flour instead of glutinous rice flour?
No, you absolutely must use glutinous rice flour (also labeled as sweet rice flour). Regular rice flour will not create the sticky, chewy texture characteristic of sesame balls.
Q3: How do I store leftovers?
Golden Sesame Balls are best eaten the day they are made. If you have leftovers, store them in an airtight container at room temperature for up to two days. To refresh them, you can briefly reheat them in an air fryer or a toaster oven for a minute or two to crisp the exterior again. Avoid the microwave, which makes them tough.
Happy Cooking, everyone! Let me know in the comments how your Golden Sesame Balls turned out!