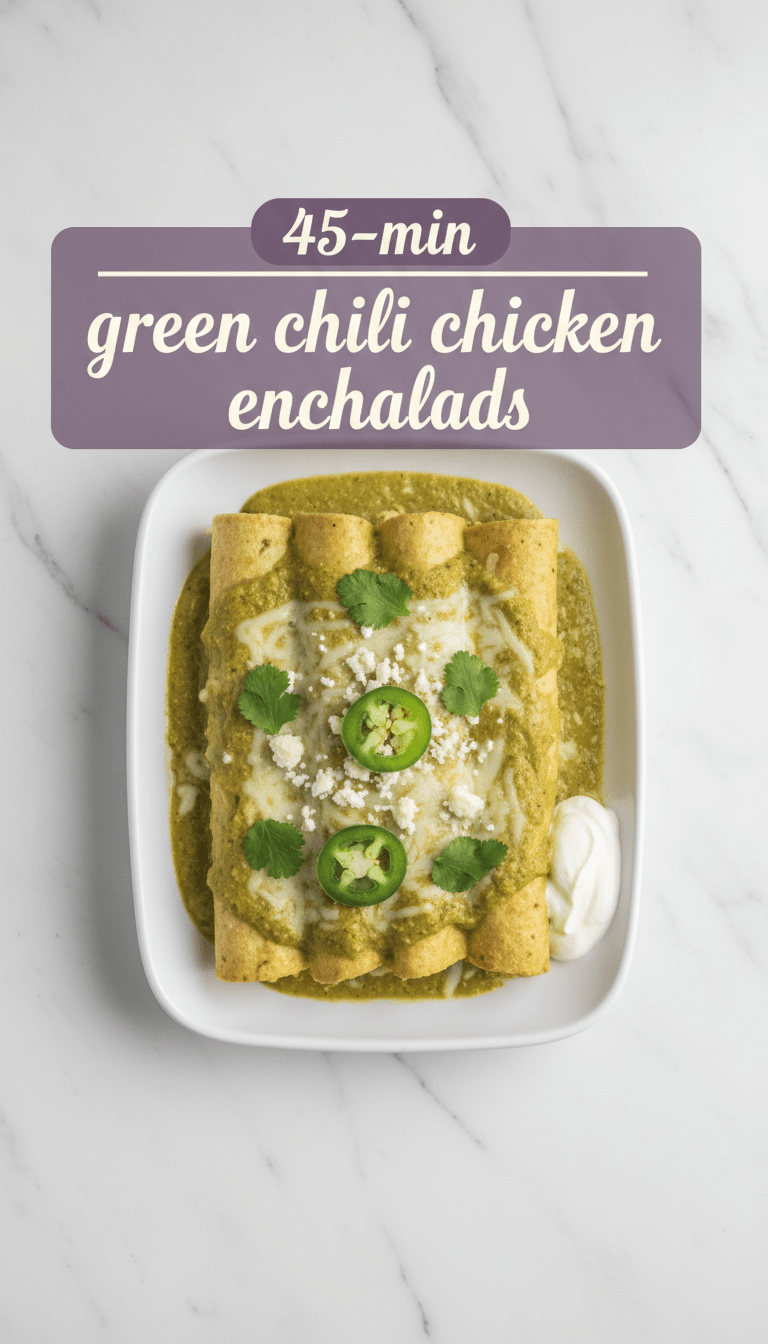
Hey food lovers! Are you ready to meet your new favorite comfort food? Forget those heavy, sometimes bland enchiladas you might have tried before. Today, we’re diving headfirst into something bright, tangy, and perfectly spicy: Green Chili Chicken Enchiladas!
These aren’t just any enchiladas. We’re using vibrant, smoky green chiles and a creamy, dreamy sauce that coats shredded chicken beautifully. It’s the kind of meal that tastes like you spent hours lovingly preparing it, but honestly, it comes together faster than you think. Grab your apron, because we’re making magic happen in the kitchen!
Quick Facts
Prep time: 20 minutes
Cooking time: 30 minutes
Total time: 50 minutes
Serving size: 8 Enchiladas (Serves 4 generously)
Why You’ll Love This Recipe
If you crave flavor that pops, you’re in the right place. Here’s why these green chili chicken enchiladas will become a staple in your home:
- Flavor Bomb: The combination of roasted green chiles and tangy sour cream creates a sauce that is rich without being heavy.
- Easy Prep: Using rotisserie chicken makes this recipe incredibly fast for a weeknight dinner.
- Crowd-Pleaser: Even those who are hesitant about spice usually adore the mild, smoky heat of this dish.
Ingredients You’ll Need
This recipe is split into three parts: the filling, the sauce, and the assembly.
For the Green Chili Chicken Filling:
- 2 cups cooked, shredded chicken (Rotisserie chicken works perfectly!)
- 1 (4 ounce) can diced green chiles, undrained (mild or hot, depending on your preference)
- 1/2 cup shredded Monterey Jack cheese (or Pepper Jack for extra kick)
- 1/4 teaspoon cumin
- Salt and black pepper to taste
For the Creamy Green Sauce (Salsa Verde Base):
- 1 tablespoon olive oil
- 1 small yellow onion, finely chopped
- 2 cloves garlic, minced
- 1 (10 ounce) can of mild or medium green enchilada sauce (or high-quality salsa verde)
- 1/2 cup chicken broth
- 1/2 cup sour cream or Mexican crema
- 1/4 cup all-purpose flour (for thickening, optional but recommended)
For Assembly & Topping:
- 8 corn or flour tortillas (I prefer corn for authentic texture)
- 1 cup shredded Monterey Jack or Oaxaca cheese, for topping
- Optional toppings: Sliced avocado, fresh cilantro, extra sour cream
Step-by-Step Instructions: Rollin’ Up the Goodness
Let’s get cooking! Preheat your oven to 375°F (190°C) and lightly grease a 9×13 inch baking dish.
Step 1: Prepare the Filling
In a medium bowl, combine the shredded chicken, diced green chiles (including the juice!), 1/2 cup of the shredded cheese, cumin, salt, and pepper. Mix everything gently until just combined. Set aside.
Step 2: Whisk Up the Creamy Green Sauce
This is where the magic happens!
1. Heat the olive oil in a medium saucepan over medium heat. Add the chopped onion and sauté until softened, about 5 minutes. Add the minced garlic and cook for 1 minute until fragrant.
2. If you like a thicker sauce, sprinkle the flour over the onions and whisk constantly for one minute to cook out the raw flour taste (this creates a quick roux).
3. Slowly whisk in the green enchilada sauce and the chicken broth until smooth. Bring the mixture to a gentle simmer. Let it bubble lightly for 3-5 minutes, stirring occasionally, until it thickens slightly.
4. Remove the saucepan from the heat. Stir in the sour cream until the sauce is completely smooth and creamy. Taste and adjust seasoning—it might need a little more salt!
Step 3: Warm the Tortillas (Crucial Step!)
If you skip this, your tortillas will crack when you roll them! Briefly warm your tortillas. You can quickly dip them in warm sauce, or wrap them in a damp paper towel and microwave for 30 seconds. This makes them pliable.
Step 4: Assemble the Enchiladas
Now for the fun part: rolling!
1. Pour about 1/4 cup of the green sauce into the bottom of your prepared baking dish and spread it around.
2. Take one warmed tortilla. Place about 1/4 cup of the chicken mixture down the center. Roll the tortilla tightly and place it seam-side down in the baking dish. Repeat until all 8 tortillas are rolled and nestled snugly in the dish.
3. Pour the remaining green sauce evenly over the top of the rolled enchiladas, making sure they are all well-covered.
4. Sprinkle the remaining 1 cup of cheese over the top layer.
Step 5: Bake to Perfection
Bake for 20 to 25 minutes, or until the cheese is melted, bubbly, and the edges are starting to lightly brown.
Let them rest for 5 minutes before serving—this helps them hold their shape!
Serving Suggestions
These enchiladas are hearty enough to stand alone, but a few fresh toppings take them over the top:
- A dollop of plain Greek yogurt or crema.
- Freshly chopped cilantro or sliced green onions.
- A side of black beans or Mexican rice.
- Sliced avocado or a simple lime wedge for extra brightness.
Tips for Customization & Variations
Want to change things up? I love experimenting with this base recipe!
- Make it Extra Spicy: Use hot salsa verde, add a diced jalapeño to the filling, or drizzle with Cholula before serving.
- Swap the Protein: This recipe works wonderfully with shredded pork carnitas or seasoned ground turkey instead of chicken.
- Cheese Blend: Try using Oaxaca cheese or Queso Fresco for a more authentic, melty texture.
- Healthier Swaps: Use low-fat sour cream and skip the flour in the sauce by simply simmering the liquids longer until they reduce and thicken naturally.
Estimated Nutritional Information (Per serving, 2 enchiladas)
Please note: This is an estimate and will vary based on specific ingredient brands and portion sizes.
Calories: Approximately 420-480
Protein: 30g
Fat: 22g
Carbohydrates: 30g
Frequently Asked Questions (FAQs)
Can I make these ahead of time?
Yes! Assemble the entire dish (sauce, filling, rolling, topping with cheese) in the baking dish, cover tightly with foil, and refrigerate for up to 24 hours. When ready to bake, let it sit at room temperature for about 20 minutes, then bake as directed, adding 5-10 minutes to the total baking time since it’s starting cold.
Can I freeze green chili chicken enchiladas?
Absolutely! You can freeze them baked or unbaked. If freezing unbaked, cover very well with plastic wrap then foil, and freeze for up to 3 months. Thaw overnight in the fridge before baking.
What if I don’t like cumin?
Cumin adds that quintessential earthy depth, but if you’re not a fan, you can substitute it with a pinch of dried oregano or even a dash of smoked paprika for a different kind of smokiness.
Enjoy this incredibly flavorful, easy-to-make dish! Let me know in the comments when you try them! Happy cooking!