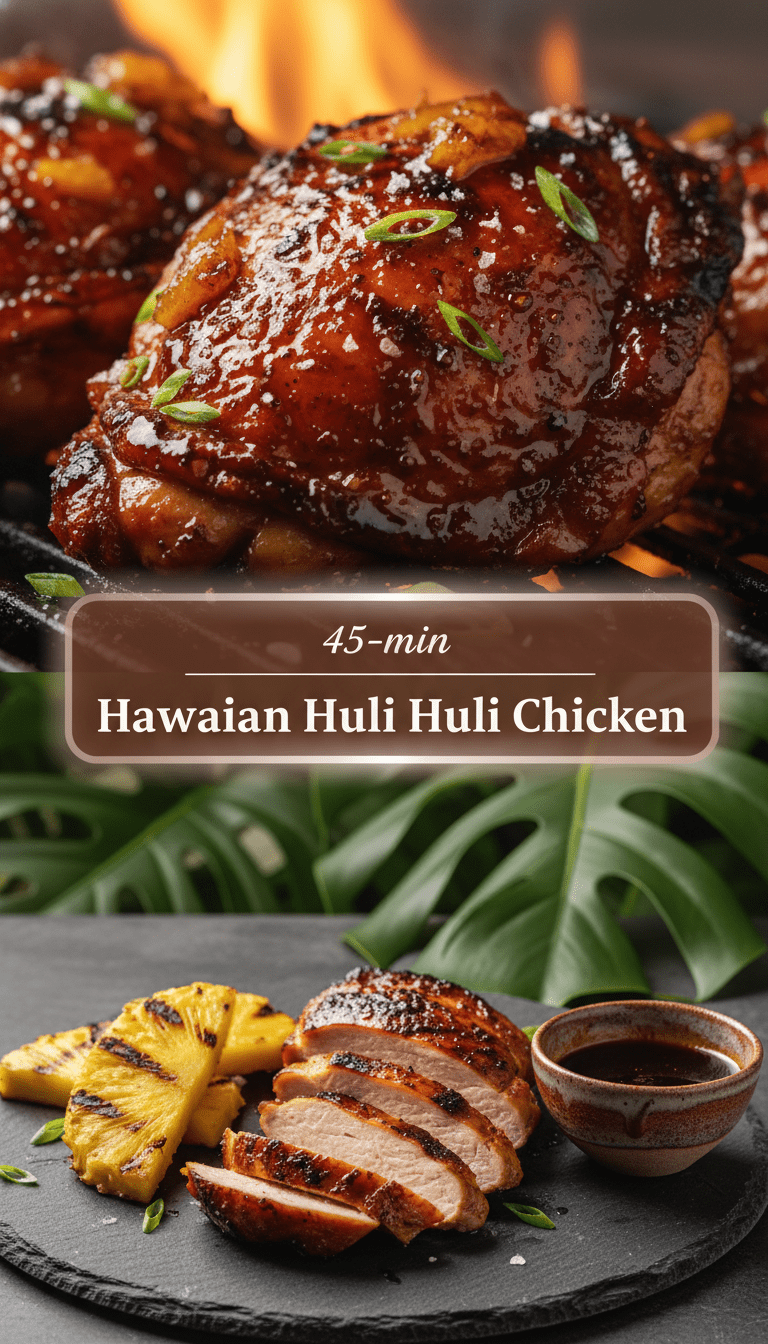
Aloha, food lovers! If you’ve ever dreamt of a sun-drenched beach, the sound of crashing waves, and the irresistible aroma of BBQ, then today’s recipe is your ticket there. We’re diving deep into one of Hawaii’s most beloved roadside delights: Huli Huli Chicken.
“Huli” means “turn” in Hawaiian, and traditionally, this chicken is cooked on a rotisserie over hot coals, constantly being turned (or huli-ed). But don’t worry! I’ve adapted this island classic so you can achieve that smoky, sticky, sweet-and-tangy perfection right on your backyard grill or even in your oven. Trust me, once you taste this glaze, you’ll be making it all summer long!
Quick Facts
- Prep time: 20 minutes (plus 2 hours marinating time)
- Cooking time: 30-40 minutes
- Total time: Approximately 2 hours 40 minutes
- Serving size: 4-6 people
Why You’ll Love This Recipe
This isn’t just grilled chicken; it’s a flavor explosion! The secret lies in that incredible Huli Huli sauce—a perfect balance of salty soy, sweet pineapple, a little zing from ginger, and that subtle kick of spice. It caramelizes beautifully on the grill, creating a sticky, irresistible crust. It’s incredibly easy to make, budget-friendly, and guarantees smiles at your next cookout.
Ingredients You’ll Need
For the Chicken:
- 2 lbs boneless, skinless chicken thighs (or drumsticks/whole pieces, bone-in works great too!)
- 1 teaspoon salt
- 1/2 teaspoon black pepper
For the Magical Huli Huli Glaze/Marinade:
- 1 cup pineapple juice (the unfiltered kind is best!)
- 1/2 cup low-sodium soy sauce
- 1/2 cup ketchup (yes, ketchup is key!)
- 1/4 cup packed brown sugar
- 1/4 cup apple cider vinegar
- 2 tablespoons grated fresh ginger
- 2 cloves garlic, minced
- 1 teaspoon toasted sesame oil
- 1/2 teaspoon Sriracha or other chili garlic sauce (adjust to your heat preference)
- 1 tablespoon cornstarch mixed with 2 tablespoons cold water (for thickening the final glaze)
Step-by-Step Island Cooking Magic
Follow these simple steps, and you’ll be saying “Mahalo” to your tastebuds!
Step 1: Prep the Chicken
Trim any excess fat off your chicken pieces. In a large bowl or a sealable bag, toss the chicken with the salt and pepper.
Step 2: Whisk Up the Huli Huli Sauce
In a medium bowl, whisk together all the glaze ingredients except the cornstarch slurry. This will be your marinade. Pour about three-quarters of this mixture over the chicken, ensuring every piece is coated well. Keep the remaining one-quarter of the sauce aside—this is what we will reduce for basting later!
Step 3: The Aloha Rest (Marinating)
Seal the bag or cover the bowl and refrigerate for at least 2 hours, or ideally, up to 6 hours. This allows the chicken to truly soak up those tropical flavors.
Step 4: Cook Down the Basting Glaze
About 15 minutes before you plan to start grilling, pour that reserved one-quarter of the marinade into a small saucepan. Bring it to a simmer over medium heat. Whisk in the cornstarch slurry. Continue simmering and stirring until the sauce thickens beautifully, looking glossy and syrupy. Remove from heat immediately. This thickened sauce is for basting only—do not use it on raw chicken!
Step 5: Grill Time!
Preheat your grill to medium heat (about 350°F). Clean and lightly oil the grates.
Place the marinated chicken on the hot grill. Cook for about 6-8 minutes per side.
Step 6: The “Huli” Turn and Baste
After the initial searing, start turning the chicken frequently—every 4 to 5 minutes—to ensure even cooking and prevent burning from the sugars in the sauce.
During the final 10 minutes of cooking, begin brushing the chicken liberally with your thickened, reduced Huli Huli glaze every time you turn it. Keep turning until the internal temperature of the chicken reaches 165°F and the glaze is sticky, caramelized, and gorgeous.
Step 7: Rest and Serve
Remove the chicken from the grill and let it rest for 5 minutes before serving. This keeps all those delicious juices locked in!
Perfect Pairings & Serving Suggestions
Huli Huli Chicken begs for classic island sides! Try serving it with:
- Fluffy white rice or coconut rice.
- A simple, crunchy macaroni salad.
- Grilled pineapple rings (grill them alongside the chicken!).
- A refreshing side of sliced tomatoes and cucumbers.
Tips for Customization & Variations
Want to make it your own? Here are a few tweaks:
- Smoky Oven Method: If you don’t have a grill, bake the chicken at 400°F (200°C) for 20 minutes. Then, brush with glaze and switch the oven to broil for the last 5-7 minutes, watching very closely so it doesn’t burn!
- Extra Tang: Add a tablespoon of freshly squeezed lime juice to the marinade for an extra bright finish.
- Spice it Up: For true heat lovers, double the Sriracha or add a pinch of red pepper flakes to the glaze.
Estimated Nutritional Information (Per Serving, based on 6 servings)
Please remember this is an estimate and will vary based on exact ingredients and cuts of meat used.
- Calories: 350 – 400 kcal
- Protein: 35g
- Fat: 12g
- Carbohydrates: 25g
- Sugar: 20g (Mostly from pineapple and brown sugar)
Frequently Asked Questions (FAQs)
Q: Can I use chicken breasts instead of thighs?
A: Absolutely! Chicken breasts are leaner and might dry out faster. If using breasts, pound them to an even thickness (about 1 inch) and reduce the grilling time by a few minutes. Baste them generously to keep them moist.
Q: How long can I marinate the chicken?
A: Because this marinade contains acid (from the vinegar and pineapple), marinating for too long can start to break down the meat fibers. 6 hours is the sweet spot. Don’t go past 12 hours.
Q: Can I make this ahead of time?
A: Yes! You can mix the marinade and prep the chicken up to a day in advance. You can also make the reduced basting glaze and store it in the fridge for up to 3 days. Just reheat the basting glaze gently before use.
Now go forth and grill! You’re just minutes away from bringing the flavor of the Hawaiian islands right to your dinner table. Happy cooking!