Hey everyone, and welcome back to the kitchen! If you’re anything like me, you’re always looking for that perfect snack that tastes amazing but actually fuels your day without a sugar crash. Store-bought protein bars? They’re usually loaded with ingredients I can’t even pronounce, and honestly, they cost a small fortune!
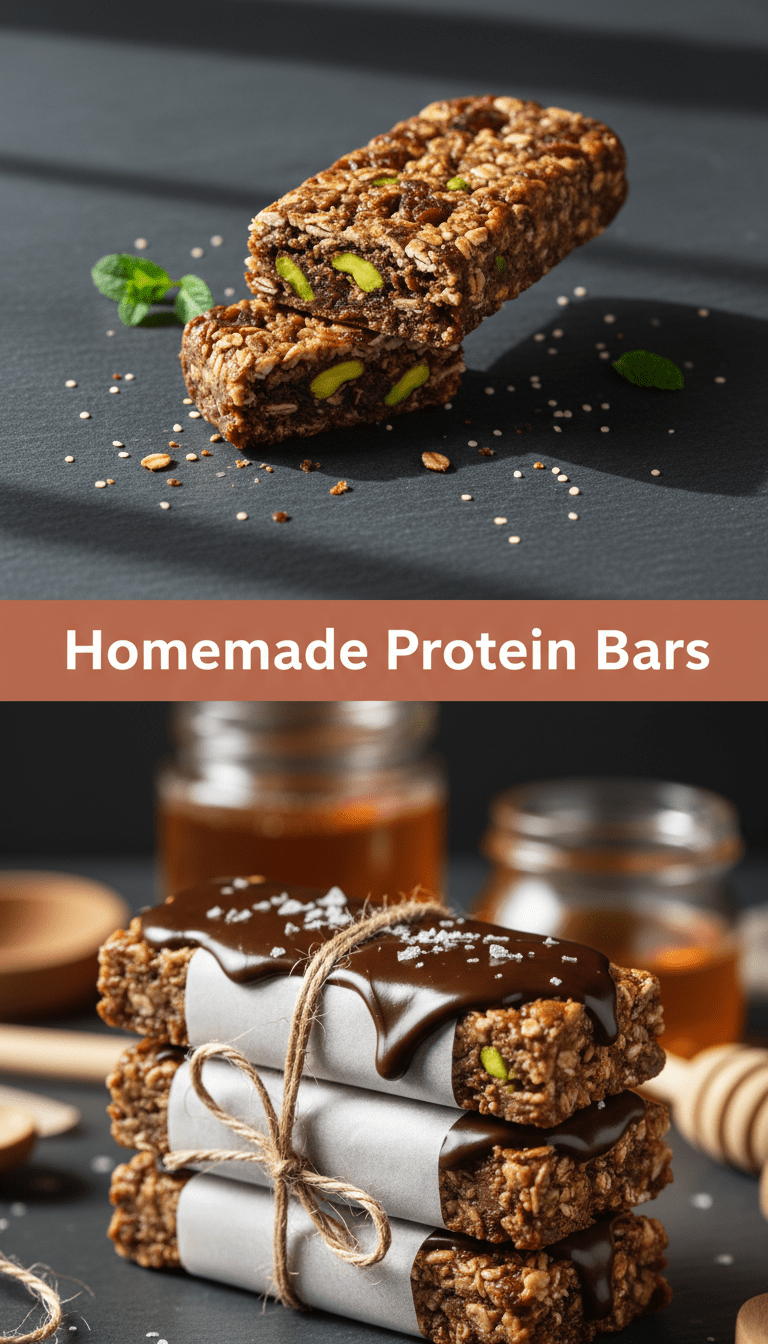
That’s why today, I’m sharing my absolute favorite, super simple, No-Bake Chewy Chocolate Peanut Butter Protein Bars. These are totally customizable, packed with goodness, and seriously taste like a treat. Let’s get baking—or should I say, not baking!
Quick Facts
Here’s the lowdown on how fast you can whip these up:
Prep time: 15 minutes
Cooking time: 0 minutes (It’s no-bake!)
Chilling time: 1 hour
Total time: About 1 hour 15 minutes (mostly chilling!)
Serving size: 12 bars
Why You’ll Love This Recipe
This recipe is a game-changer for busy people. First off, there’s no oven required, which is a huge win, especially in the summer! They are incredibly easy to adjust based on your dietary needs—vegan, gluten-free, low-carb—you name it, we can tweak it. Most importantly, they taste so much better than the chalky ones you find at the checkout counter. Think soft, chewy, chocolatey goodness that keeps you full until your next meal.
Ingredients You’ll Need
Gathering these ingredients is the hardest part! Make sure you have a 9×9 inch baking pan ready for this.
For the Base:
- 2 cups rolled oats (use certified gluten-free if needed)
- 1 cup natural peanut butter (creamy works best for binding)
- 1/2 cup vanilla or unflavored protein powder (whey or plant-based)
- 1/2 cup honey or maple syrup (for vegan option)
- 1/4 cup ground flaxseed or chia seeds (for healthy fats!)
- 1 teaspoon vanilla extract
- A pinch of sea salt
For the Chocolate Topping (Optional but highly recommended):
- 1/2 cup dark chocolate chips (or sugar-free chips)
- 1 tablespoon coconut oil
Step-by-Step Instructions: Making Magic Happen
Follow these simple steps, and you’ll have delicious bars ready in no time!
Step 1: Combine the Dry Stuff
In a large mixing bowl, combine the rolled oats, protein powder, and flaxseed/chia seeds. Give it a good whisk to make sure the protein powder is evenly distributed—nobody wants a clump of unmixed powder! Add your pinch of salt too.
Step 2: Bring in the Wet Ingredients
Now, we add the sticky stuff! Add the peanut butter, honey (or maple syrup), and vanilla extract to the bowl.
Step 3: Mix Until Combined
This part requires a little muscle! Use a sturdy spoon or even clean hands to mix everything together. It will seem dry at first, but keep mixing and pressing. You are aiming for a very thick, uniform dough that holds together when squeezed. If it seems too dry and crumbly, add 1 teaspoon of water or milk at a time until it just sticks together. If it’s too wet, add another tablespoon of protein powder.
Step 4: Press into the Pan
Line your 9×9 inch pan with parchment paper, leaving some overhang on the sides—this will be your lifting sling later! Press the mixture firmly and evenly into the bottom of the pan. Use the bottom of a glass or measuring cup to really pack it down tight. A tight pack prevents crumbling later!
Step 5: Chill Out
Place the pan in the refrigerator and let it chill for at least one hour. This is crucial for setting the bars so they cut cleanly.
Step 6: The Chocolate Finish
While the base is chilling, prepare the topping. In a microwave-safe bowl, combine the chocolate chips and coconut oil. Microwave in 30-second intervals, stirring well in between, until smooth and glossy.
Step 7: Slice and Enjoy!
Once the base is firm, lift it out of the pan using the parchment paper sling. Pour the melted chocolate evenly over the top. Spread quickly with an offset spatula. Let the chocolate set up for about 10 minutes at room temperature, or pop it back in the fridge for 15 minutes until firm.
Finally, use a sharp knife to slice the slab into 12 even bars. Store them in an airtight container in the fridge!
Serving Suggestions
These bars are amazing exactly as they are, but here are a few ways I like to mix things up:
- Pre-Workout Boost: Eat one about 30 minutes before hitting the gym.
- Dessert Swap: Warm a bar slightly in the microwave for 10 seconds and serve with a dollop of Greek yogurt.
- On-the-Go Breakfast: Pair half a bar with a piece of fruit for a fast morning meal.
Tips for Customization & Variations
This recipe is practically begging to be customized!
- Nut Swap: Use almond butter or sunflower seed butter instead of peanut butter.
- Flavor Boost: Add 1/4 cup of unsweetened cocoa powder to the dry mix for double chocolate flavor.
- Texture Additions: Fold in 1/4 cup mini chocolate chips, chopped dried fruit (like cranberries), or shredded unsweetened coconut into the base mixture before pressing into the pan.
- Protein Powder Choice: Feel free to experiment with different flavors of protein powder—cinnamon roll or chocolate work wonderfully!
Nutritional Information (Estimated)
Please note: These are estimates based on using standard whey protein and honey.
Per bar (1 of 12): Approximately 220 calories, 12g protein, 24g carbohydrates, 9g fat.
Frequently Asked Questions (FAQs)
Can I make these bars vegan?
Absolutely! Just make sure you use maple syrup instead of honey, and use a plant-based protein powder (like pea or brown rice protein).
How long do these homemade protein bars last?
Because they contain fresh ingredients and no artificial preservatives, they are best kept in an airtight container in the refrigerator. They should stay fresh and delicious for up to two weeks. You can also freeze them for up to three months!
My mixture is too sticky to handle. What should I do?
This usually happens if your peanut butter is very runny. Pop the whole bowl into the freezer for 10 minutes—that will firm things up enough for you to handle the dough!
Can I use quick oats instead of rolled oats?
You can, but rolled oats give these bars the best chewy texture. Quick oats tend to break down more and can result in a softer, more crumbly bar once set.