Hey everyone, and welcome back to my kitchen! Today, we are tackling a classic that never fails to bring smiles to the dinner table: chicken wings. But these aren’t just any wings; these are my absolute favorite Honey Garlic Chicken Wings. They are sticky, perfectly glazed, incredibly flavorful, and so easy to make you’ll wonder why you ever ordered takeout!
If you’ve been searching for that perfect balance between sweet honey and savory garlic, stop looking. This recipe delivers crispy-on-the-outside, juicy-on-the-inside perfection every single time. Let’s get cooking!
Quick Facts
Here’s what you need to know before diving in:
Prep time: 15 minutes
Cooking time: 35–40 minutes
Total time: About 55 minutes
Serving size: 4 happy people (or 2 very hungry ones!)
Why You’ll Love This Recipe
Trust me, once you try these, they’ll become a staple.
1. The Perfect Glaze: The sauce caramelizes beautifully in the oven, creating that irresistible sticky coating without being overly complicated.
2. Minimal Fuss: We’re baking these babies! Less oil splattering means less cleanup.
3. Crowd-Pleaser: Whether it’s game day, a weeknight treat, or a party appetizer, everyone loves a good honey garlic wing.
Ingredients You’ll Need
To make these heavenly wings, you’ll need two main components: the wings themselves and the incredible sauce.
For the Wings:
- 2 lbs (about 1 kg) chicken wings (flats and drumettes separated)
- 1 teaspoon salt
- 1/2 teaspoon black pepper
- 1/2 teaspoon garlic powder
- 1 tablespoon cornstarch (this is the secret to crispy skin!)
For the Honey Garlic Glaze:
- 1/2 cup honey
- 1/4 cup soy sauce (low sodium preferred)
- 4 cloves garlic, minced very fine
- 2 tablespoons apple cider vinegar (or rice vinegar)
- 1 tablespoon ketchup (optional, for color and depth)
- 1 teaspoon grated fresh ginger (optional, but recommended!)
Step-by-Step Instructions: Getting That Perfect Glaze
This process is simple: prep, bake, then toss in that glorious sauce!
Step 1: Prepping the Crispy Base
1. Preheat your oven to a hot 400°F (200°C). Line a large baking sheet with parchment paper or aluminum foil for easy cleanup. Place a wire rack on top of the baking sheet—this allows air to circulate, ensuring the bottoms get crispy too!
2. Pat your chicken wings very dry using paper towels. This is crucial for crispiness.
3. In a medium bowl, toss the dry wings with the salt, pepper, garlic powder, and cornstarch until they are lightly coated.
4. Arrange the wings in a single layer on the wire rack.
Step 2: The Bake
1. Bake the wings for 30 minutes.
2. Flip the wings over and bake for another 5–10 minutes, until they are golden brown and cooked through (internal temperature should reach 165°F or 74°C).
Step 3: Whipping Up the Sticky Sauce
1. While the wings are finishing up their second bake, make the sauce. In a small saucepan, combine the honey, soy sauce, minced garlic, vinegar, ketchup (if using), and ginger (if using).
2. Bring the mixture to a gentle simmer over medium heat. Stir frequently.
3. Let it simmer for about 3–5 minutes, stirring constantly, until the sauce thickens slightly and coats the back of a spoon. It should look glossy. Remove from the heat immediately.
Step 4: The Glorious Toss
1. Once the wings are perfectly baked, transfer them immediately to a large clean bowl.
2. Pour about two-thirds of the honey garlic glaze over the hot wings. Toss gently but thoroughly until every wing is fully coated in the sticky sauce.
3. Serve immediately with the remaining glaze on the side for dipping, if desired!
Serving Suggestions
These wings are robust enough to be the main event, but they are wonderful paired with lighter sides to balance the sweetness.
- Cooling Sides: A simple cucumber salad or a quick, crisp coleslaw is perfect for cutting through the richness.
- Classic Comfort: Serve alongside some homemade potato wedges or a side of fluffy white rice to soak up any extra sauce.
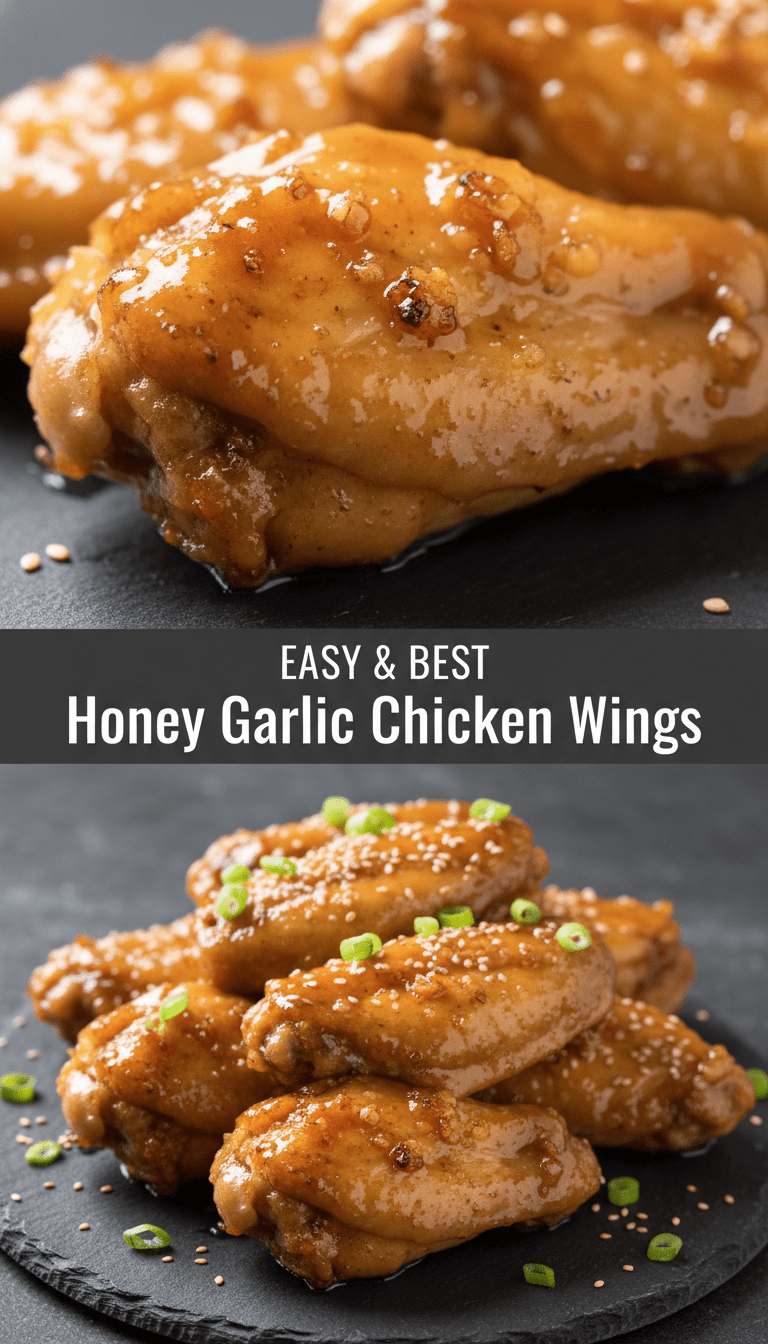
- Garnish: Sprinkle with toasted sesame seeds and finely chopped green onions just before serving for a professional look and extra crunch.
Tips for Customization and Variations
Want to switch things up? Here are a few of my favorite tweaks:
- For Extra Heat: Add 1 teaspoon of sriracha or a pinch of red pepper flakes to the simmering sauce mixture.
- Make it Smoky: Whisk in 1/2 teaspoon of smoked paprika with the dry ingredients before baking.
- Glaze Consistency Check: If your finished glaze seems too thin after simmering, create a slurry by mixing 1 teaspoon of cornstarch with 1 tablespoon of cold water, then whisk it into the simmering sauce until it thickens rapidly.
Nutritional Information (Estimated per Serving)
Please remember this is a general estimate and can vary based on exact measurements and brands used.
Calories: Approximately 450–500 per serving (without heavy side dishes)
Protein: High
Fat: Moderate
Carbohydrates: Varies based on honey/sugar content
Frequently Asked Questions (FAQs)
Q1: Can I make these wings in an air fryer instead of baking?
A: Absolutely! Air frying gives amazing results. Toss the wings with the dry ingredients, and air fry at 380°F (195°C) for 20 minutes, flipping halfway. Then toss with the sauce and air fry for another 2–3 minutes until the sauce is sticky and caramelized.
Q2: My sauce isn’t getting thick enough. What should I do?
A: If your sauce is taking too long, it might need a little help. As mentioned above, create a small cornstarch slurry (1 tsp cornstarch mixed with 1 tbsp cold water) and whisk it into the simmering sauce until it starts to bubble and thicken. Remove from heat immediately after thickening.
Q3: How far in advance can I make the sauce?
A: The honey garlic glaze stores beautifully! You can make it up to one week ahead of time and keep it stored in an airtight container in the refrigerator. Just warm it gently on the stovetop or microwave before tossing with your cooked wings.
Enjoy every sticky, sweet, savory bite! Happy cooking, friends!