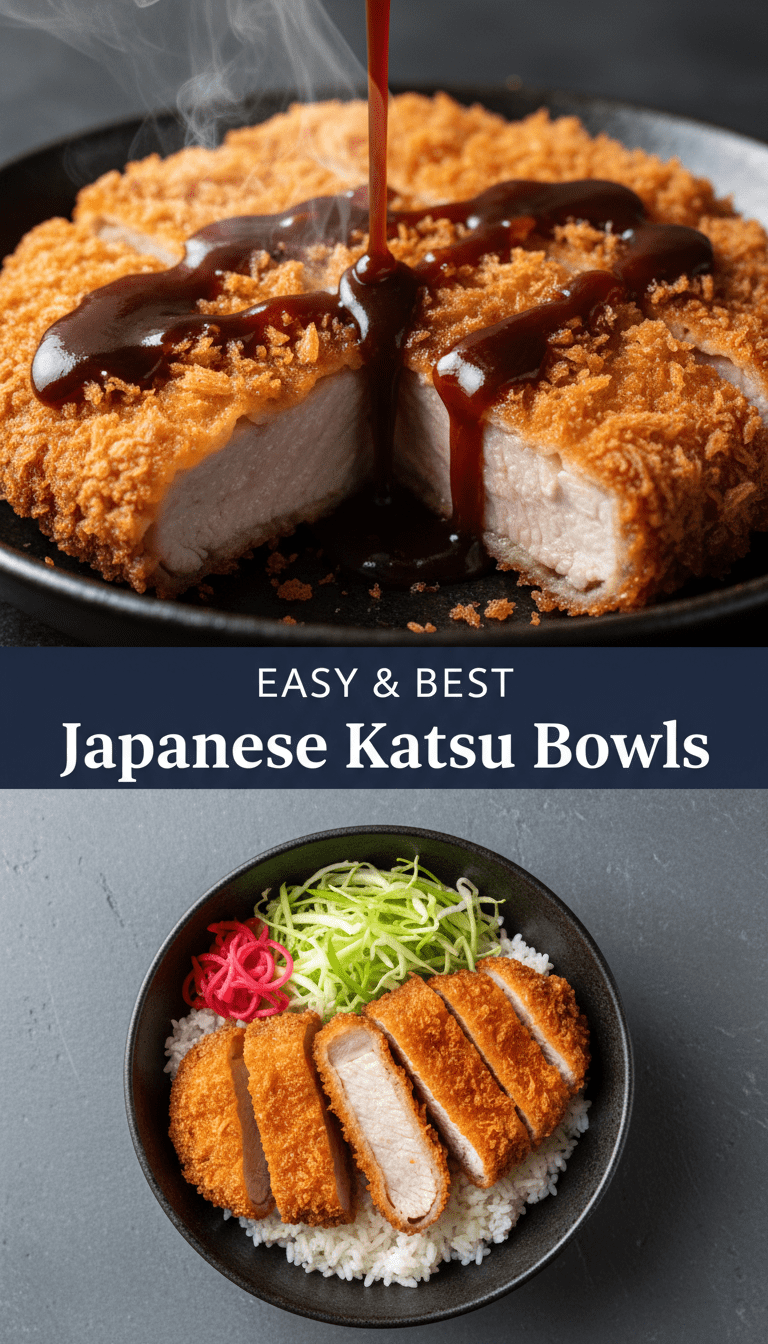
Hey food lovers! Welcome back to the kitchen. Today, we are diving headfirst into one of my absolute favorite comfort foods that just screams deliciousness: Japanese Katsu Bowls. Forget takeout; making crispy, juicy chicken (or pork) cutlets served over fluffy rice with that addictive, savory sauce right at home is surprisingly simple and so rewarding. Trust me, once you try this, you’ll be making it every week!
Quick Facts: Get Cooking Fast!
Here’s the lowdown on how quickly you can get this amazing meal on the table.
Prep time: 20 minutes
Cooking time: 20 minutes
Total time: 40 minutes
Serving size: 4 generous bowls
Why You’ll Love This Recipe
This isn’t just another fried chicken recipe; this is Katsu! What makes it so irresistible?
1. The Crunch Factor: We achieve an unbelievable, shatteringly crisp exterior thanks to the panko breadcrumbs.
2. Sauce Heaven: The sweet, tangy, and savory Katsu sauce drizzled generously over everything ties the whole bowl together.
3. Perfectly Balanced Meal: You get your protein, carbs, and optional veggies all in one satisfying bowl. It’s truly comfort food perfected.
Gathering Your Ingredients
This recipe is split into three parts: The Katsu cutlets, the sauce, and the base.
For the Crispy Katsu (Chicken or Pork)
- 4 boneless, skinless chicken breasts or pork cutlets (about 6 oz each)
- Salt and freshly ground black pepper
- 1/2 cup all-purpose flour
- 2 large eggs, lightly beaten
- 1 1/2 cups panko breadcrumbs (essential for texture!)
- Vegetable oil or canola oil, for shallow frying (about 1 inch deep)
For the Quick Katsu Sauce
- 1/2 cup ketchup
- 1/4 cup Worcestershire sauce
- 2 tablespoons soy sauce
- 1 tablespoon granulated sugar
- 1 teaspoon Dijon mustard (optional, for tang)
For Assembling the Bowls
- 4 cups cooked short-grain Japanese rice
- Shredded green cabbage or lettuce (optional, for crunch)
- Sesame seeds, for garnish
- Thinly sliced scallions, for garnish
Step-by-Step Cooking Instructions
Let’s get cooking! Make sure you set up a standard breading station—it makes the process much smoother.
Step 1: Prepare the Katsu Meat
1. Place the chicken breasts or pork cutlets between two sheets of plastic wrap. Using a meat mallet or the bottom of a heavy pan, pound them gently until they are about 1/2 inch thick. This ensures even cooking.
2. Season both sides of the cutlets generously with salt and pepper.
Step 2: Set Up the Breading Station
Arrange three shallow dishes in a row:
1. Dish 1: Flour.
2. Dish 2: Beaten eggs.
3. Dish 3: Panko breadcrumbs.
Dredge each cutlet first in the flour (shaking off excess), then dip it completely in the egg wash, and finally, press it firmly into the panko breadcrumbs, making sure both sides are thoroughly coated. Set the breaded cutlets aside on a clean plate.
Step 3: Whisk Up the Sauce
In a small bowl, whisk together the ketchup, Worcestershire sauce, soy sauce, sugar, and Dijon mustard (if using). Taste it—if you like it sweeter, add a touch more sugar! Set aside.
Step 4: Fry the Katsu Perfection
1. Pour about 1 inch of oil into a large, heavy-bottomed skillet and heat it over medium-high heat until it reaches about 350°F (175°C). If you don’t have a thermometer, drop a single panko crumb in; if it sizzles immediately, you’re ready!
2. Carefully place 1 or 2 cutlets in the hot oil, ensuring you don’t overcrowd the pan. Fry for 3 to 4 minutes per side until deeply golden brown and cooked through.
3. Remove the katsu and place them on a wire rack lined with paper towels to drain excess oil. Let them rest for a minute.
Step 5: Assemble Your Masterpiece Bowl
1. Slice the hot, crispy katsu cutlets crosswise into thick strips (about 1 inch wide).
2. Place a generous serving of hot rice into each bowl. If using, lay down a small bed of shredded cabbage next to the rice.
3. Arrange the sliced katsu neatly over the rice.
4. Drizzle the homemade Katsu sauce liberally over the meat and rice.
5. Garnish with sesame seeds and sliced scallions. Serve immediately!
Serving Suggestions
The beauty of a Katsu Bowl is its simplicity, but here are a few ways to elevate it:
- Tangy Side: Serve with a small side of quick pickled cucumber or daikon radish for a refreshing contrast.
- Egg Topping: A soft-boiled or jammy egg placed on top of the rice before the Katsu adds incredible richness.
- Extra Veggies: Steamed broccoli or blanched green beans work wonderfully alongside the rice.
Tips for Customization & Variations
- Vegetarian Option: Try substituting the meat with thick slices of eggplant or large portobello mushroom caps, following the same breading process.
- Gluten-Free Katsu: Swap the all-purpose flour for gluten-free flour and ensure your Worcestershire sauce is certified GF (some brands contain barley).
- Spice it Up: Add a dash of Sriracha or chili flakes to your Katsu sauce mixture for a spicy kick!
Estimated Nutritional Information (Per Serving, based on Chicken Katsu)
Please note: This is an estimate and will vary based on portion sizes and oil absorption.
Calories: Approximately 650-750
Protein: 45g
Fat: 30g
Carbohydrates: 70g
Frequently Asked Questions (FAQs)
Q1: Can I bake or air-fry the Katsu instead of frying?
A: Yes! For a lighter version, spray the breaded cutlets generously with cooking spray. Bake at 400°F (200°C) for 15 minutes, flipping halfway. For an air fryer, cook at 375°F (190°C) for about 12 minutes, flipping halfway, until deeply golden. They won’t be quite as evenly browned as deep-fried, but still delicious!
Q2: What is the difference between Tonkatsu and Chicken Katsu?
A: Tonkatsu specifically refers to a pork cutlet prepared in this style, while Chicken Katsu uses chicken breast or thigh. The cooking method and sauce are identical!
Q3: How long does the Katsu sauce last?
A: Because the sauce is relatively stable (ketchup and Worcestershire based), it can be stored in an airtight container in the refrigerator for up to 2 weeks.
Q4: Why must I use Panko breadcrumbs?
A: Panko are Japanese breadcrumbs made from crustless white bread. They are lighter and flakier than standard breadcrumbs, resulting in that signature, airy, super-crispy texture that defines Katsu. Don’t substitute if you can help it!
Enjoy making these incredible Japanese Katsu Bowls! Let me know in the comments how yours turned out! Happy cooking!