Hey there, fellow food adventurers! If you’ve ever dreamed of embarking on a grand journey—or just making it through a Tuesday afternoon slump—you know the importance of good provisions. Today, we’re diving into a recipe inspired by the legendary waybread of Middle-earth: Lembas Bread Bars. Forget dry, crumbly rations; these bars are moist, subtly sweet, and packed with energy. They are the perfect, slightly mystical treat to keep you going!
Quick Facts About Your New Favorite Snack
Here’s the lowdown on how quickly you can whip up these elven delights:
Prep time: 20 minutes
Cooking time: 25-30 minutes
Total time: About 50 minutes (plus cooling)
Serving size: 16 satisfying bars
Why You’ll Love This Recipe
Honestly, what’s not to love? These Lembas Bread Bars are:
- Surprisingly Simple: Despite their magical inspiration, the ingredients are pantry staples, and the process is straightforward.
- Travel-Friendly: They hold together beautifully, making them ideal for lunchboxes, picnics, or even long hikes (though hopefully, you won’t need them to survive for days!).
- Subtly Sweet & Comforting: They have a delicate flavor profile—not overly sugary—that truly feels nourishing. Think of a sophisticated shortbread meets a dense, moist cake.
Gathering Your Provisions: Ingredients List
You’ll need standard baking supplies to create these golden bars. Measure everything carefully for the best results!
- 1 cup (2 sticks) unsalted butter, softened
- ¾ cup granulated sugar
- 2 large eggs
- 1 teaspoon pure vanilla extract
- 2 cups all-purpose flour
- 1 teaspoon baking powder
- ½ teaspoon salt
- 2 tablespoons honey (for that authentic touch!)
- Zest of 1 small lemon (optional, but highly recommended for brightness)
- 2-3 large banana leaves or parchment paper (for wrapping/lining)
The Elven Baking Ritual: Step-by-Step Instructions
Follow these simple steps, and you’ll have loaves fit for the halls of Lothlórien in no time!
Step 1: Prep the Realm (Preheating and Pan)
Preheat your oven to 350°F (175°C). Lightly grease and then line an 8×8 inch baking pan with parchment paper, ensuring the paper hangs over the sides like little handles—this makes lifting the baked bars out so much easier later.
Step 2: Creaming the Foundation
In a large bowl, use an electric mixer (or some serious elbow grease!) to cream together the softened butter and granulated sugar until the mixture is light and fluffy. This usually takes about 3 minutes.
Step 3: Wet Ingredients Unite
Beat in the eggs one at a time, mixing well after each addition. Stir in the vanilla extract and the honey. If you are using lemon zest, mix it in now!
Step 4: The Dry Mix
In a separate medium bowl, whisk together the all-purpose flour, baking powder, and salt. Make sure the baking powder is evenly distributed.
Step 5: Bringing It All Together
Gradually add the dry ingredients to the wet mixture, mixing on low speed until just combined. Be careful not to overmix! Overmixing develops the gluten too much, which leads to tough bars, and we want tender, melt-in-your-mouth goodness.
Step 6: Baking the Bounty
Scrape the batter into your prepared 8×8 pan and gently spread it into an even layer. Bake for 25 to 30 minutes, or until the edges are lightly golden brown and a toothpick inserted into the center comes out clean or with just a few moist crumbs attached.
Step 7: Cooling and Cutting
Let the bars cool completely in the pan on a wire rack. This is crucial! Once fully cooled, use those parchment paper handles to lift the entire block out. Slice into 16 neat squares.
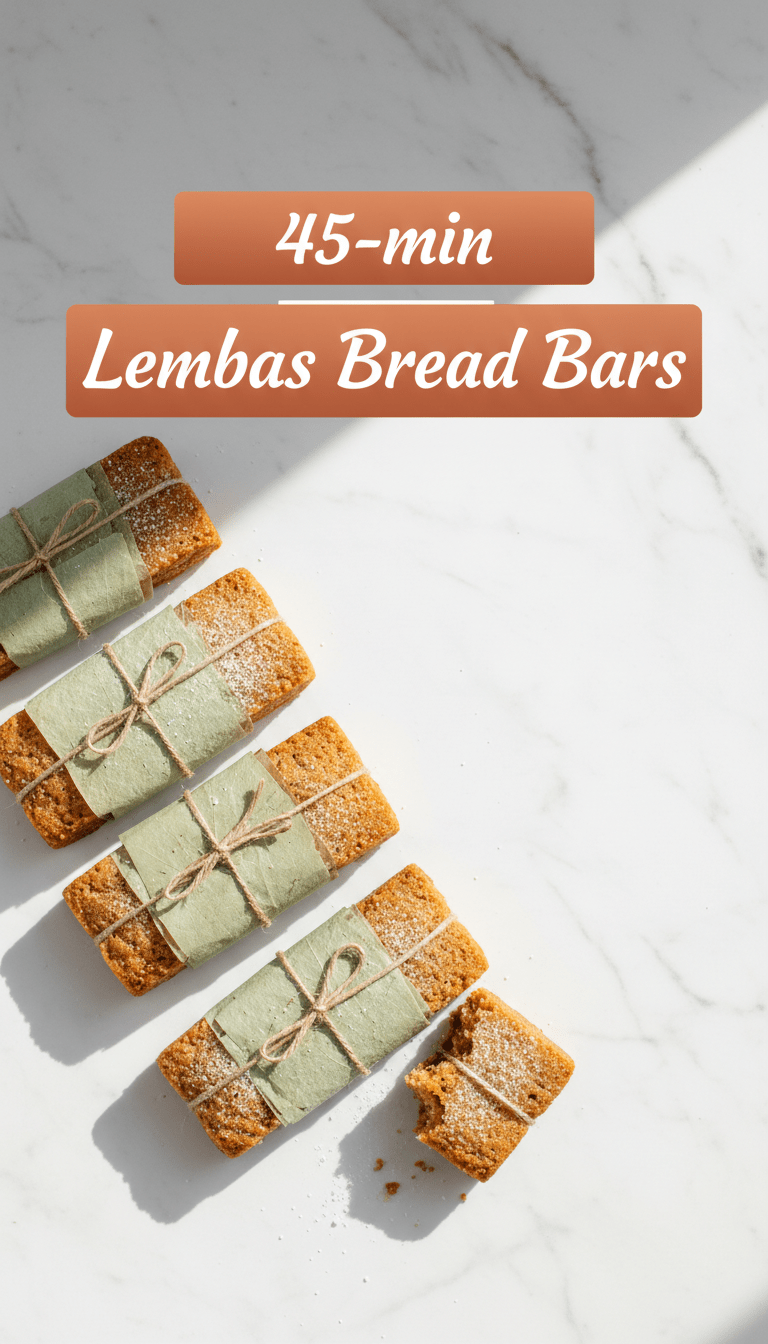
Step 8: The Final Touch (Optional Wrapping)
If you want the truly authentic look, cut squares of parchment paper (or banana leaves, if you can find them!) slightly larger than your bars. Wrap each individual bar tightly.
Serving Suggestions: How to Enjoy Your Lembas
Lembas bread is traditionally eaten slowly, perhaps with a sip of water or tea.
- For Morning Fuel: Enjoy alongside a strong cup of coffee or herbal tea.
- As an Afternoon Pick-Me-Up: Great straight from the wrapper during a busy workday.
- Elevated Treat: Drizzle with a very thin glaze made from powdered sugar and a tiny bit of milk just before serving for an extra sweet treat.
Tips for Customization and Variations
These bars are wonderfully versatile! Try these easy swaps:
- Nutty Journey: Fold in ½ cup of finely chopped toasted pecans or walnuts during Step 5 for added crunch and flavor.
- Spice Trail: Add ½ teaspoon of ground cardamom or a tiny pinch of nutmeg to the dry ingredients for a warmer, earthier taste.
- Gluten-Free Quest: Substitute the all-purpose flour with a good quality 1-to-1 gluten-free baking blend.
Estimated Nutritional Information (Per Bar)
Please remember these are estimations and will vary based on exact measurements and additions.
Calories: Approximately 180-200
Fat: 10g
Carbohydrates: 22g
Sugar: 10g
Protein: 2g
Frequently Asked Questions (FAQs)
Q: Can I make these ahead of time?
Absolutely! Lembas bars keep very well. Store them wrapped tightly in an airtight container at room temperature for up to 4 days, or freeze them for up to 2 months. If freezing, let them thaw on the counter before enjoying.
Q: Why are my bars crumbly?
This usually happens for two reasons: either you didn’t use enough butter/liquid, or you overbaked them. Ensure your butter is truly soft (not melted) when creaming, and pull them out as soon as the toothpick comes out clean—they will continue to set as they cool.
Q: Can I use brown sugar instead of white sugar?
You can, but the flavor profile will change significantly! Brown sugar will give the bars a richer, molasses flavor, making them taste more like a traditional cookie bar. If you prefer the delicate, pure flavor associated with Lembas, stick to white sugar.
Happy baking, and may your travels—whether across the living room or across the map—be well provisioned!