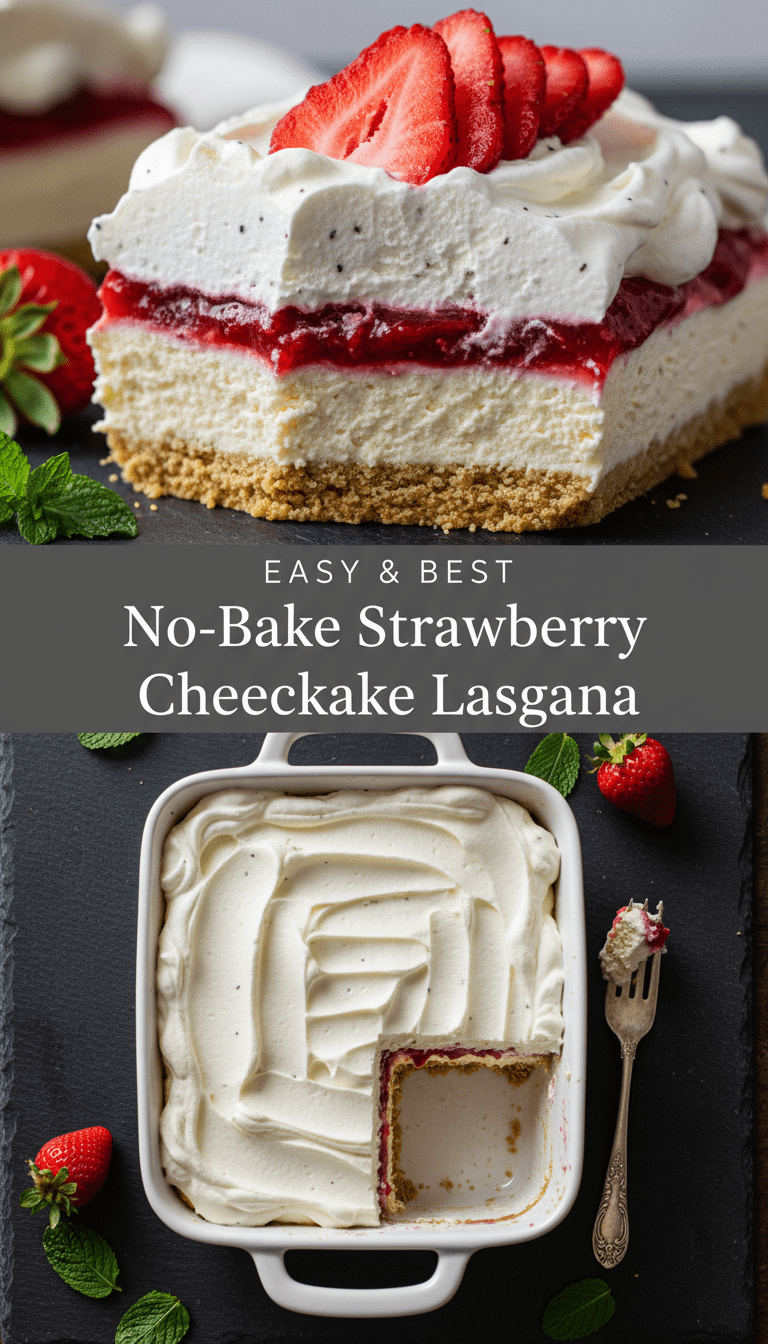
Hello, dessert lovers! Are you ready for a treat that requires zero oven time but delivers maximum flavor impact? Today, I’m sharing my absolute favorite, go-to summer dessert: No-Bake Strawberry Cheesecake Lasagna.
This isn’t your grandma’s heavy lasagna; it’s layers upon layers of creamy, tangy cheesecake filling, sweet strawberry goodness, and a crunchy graham cracker crust. It’s ridiculously easy, requires simple ingredients, and truly tastes like heaven on a plate. Trust me, you need this in your life!
Quick Facts About This Delight
Here’s the lowdown on how quickly you can get this beauty assembled:
Prep time: 25 minutes
Chilling time: Minimum 4 hours (or overnight is best!)
Total time: About 4 hours 25 minutes (mostly chilling)
Serving size: 10-12 generous slices
Why You’ll Love This Recipe
This dessert is a certified crowd-pleaser for so many reasons!
- No Baking Required: Perfect for hot summer days when you don’t want to turn on the oven.
- Layered Perfection: The combination of textures—crunchy crust, smooth filling, and luscious fruit topping—is addictive.
- Make-Ahead Marvel: It actually tastes better after chilling overnight, making it perfect for parties.
- Strawberry Heaven: If you love fresh strawberries, this recipe highlights them perfectly!
Gather Your Goodies: Ingredients List
We are building this lasagna in four main layers. Make sure everything is ready to go!
For the Graham Cracker Crust:
- 1 ½ cups graham cracker crumbs (about 1 sleeve of crackers)
- ½ cup (1 stick) unsalted butter, melted
- ¼ cup granulated sugar
For the Cheesecake Filling:
- 2 (8 ounce) packages cream cheese, softened to room temperature
- 1 cup powdered sugar (sifted is best!)
- 1 teaspoon pure vanilla extract
- 1 (12 ounce) container frozen whipped topping (like Cool Whip), thawed
For the Strawberry Layer:
- 1 (21 ounce) can strawberry pie filling
Optional Garnish:
- 1 cup fresh strawberries, sliced
- A little extra whipped topping or a dollop of cream cheese mixture
Assembling Your Dream Dessert: Step-by-Step Instructions
We’ll use a standard 9×13 inch baking dish for this recipe. Get ready to layer!
Step 1: Creating the Crunchy Base
1. In a medium bowl, mix the graham cracker crumbs, melted butter, and ¼ cup of granulated sugar until everything is evenly moistened—it should look like wet sand.
2. Press this mixture firmly and evenly into the bottom of your 9×13 dish. Use the bottom of a measuring cup to really pack it down for a sturdy crust.
3. Place the dish in the freezer while you prepare the next layer (about 10 minutes).
Step 2: Whipping Up the Creamy Center
1. In a large bowl (using a hand mixer or stand mixer is easiest), beat the softened cream cheese until it is completely smooth and fluffy. Make sure there are no lumps!
2. Gradually beat in the powdered sugar and vanilla extract until combined. Scrape down the sides of the bowl as needed.
3. Gently fold in the entire container of thawed whipped topping using a rubber spatula. Be careful not to deflate the fluffiness! This is your main cheesecake layer.
Step 3: Layering It Up!
1. Remove the crust from the freezer. Spread the entire cream cheese mixture evenly over the graham cracker base. Smooth the top gently.
2. Now for the beautiful strawberry layer! Open your can of strawberry pie filling and gently spoon it over the cheesecake layer. Spread it carefully so you don’t mix it into the white filling underneath.
Step 4: The Chilling Marathon
1. Cover the dish tightly with plastic wrap.
2. Refrigerate for at least 4 hours, but honestly, overnight chilling is the secret sauce for the best texture! This allows the layers to fully set up and makes cutting clean slices possible.
Step 5: Serve and Amaze!
1. Right before serving, decorate the top with your sliced fresh strawberries and any extra dollops of whipped cream if desired.
2. Slice and enjoy this incredible, no-bake masterpiece!
Serving Suggestions
This dessert is rich, so a smaller slice goes a long way! I love serving it slightly chilled, right from the fridge.
- Classic Pairing: A dollop of fresh, slightly sweetened whipped cream on top of each serving.
- Coffee Companion: It pairs beautifully with a cup of hot, black coffee to cut through the sweetness.
- Extra Crunch: Sprinkle a few extra graham cracker crumbs around the edge of the plate for visual appeal.
Tips for Customization and Variations
Want to switch things up? This lasagna is super adaptable!
- Chocolate Lover’s Dream: Swap the graham cracker crust for Oreo cookie crumbs mixed with melted butter. Use chocolate syrup swirled into the cheesecake layer instead of strawberries.
- Key Lime Zing: Replace the strawberry pie filling with canned key lime filling, and use vanilla wafers for the crust. Fold the zest of one lime into the cream cheese mixture.
- Alternative Toppings: If strawberries aren’t in season, try cherry pie filling, blueberry topping, or even a simple caramel sauce.
Estimated Nutritional Information
Please note: This is a very rough estimate based on standard ingredient usage and serving 12 people. This is definitely a treat!
Per Serving (Estimated): Calories: 380-450, Fat: 24g, Carbohydrates: 40g, Protein: 5g.
Frequently Asked Questions (FAQs)
Q1: Can I use fresh strawberries instead of canned pie filling?
A: You absolutely can! If using fresh berries, you’ll need about 4 cups of sliced strawberries. To get a jammy texture that spreads well, toss the sliced berries with ¼ cup of granulated sugar and let them sit for about 30 minutes. You can also lightly simmer them with 1 tablespoon of cornstarch mixed with 2 tablespoons of water until slightly thickened, then cool completely before layering.
Q2: My cream cheese layer looks lumpy. What did I do wrong?
A: Lumps usually mean the cream cheese wasn’t soft enough. For the smoothest filling, your cream cheese must be at true room temperature (about an hour out of the fridge). If it’s still lumpy after beating, try beating it longer, or briefly microwave the mixture (10-15 seconds) and beat again until smooth before folding in the whipped topping.
Q3: How long can this last in the refrigerator?
A: Because it contains dairy and fresh fruit (if used), it’s best eaten within 3 to 4 days when stored tightly covered in the refrigerator.
Q4: Can I freeze this dessert?
A: Yes, you can! Assemble the entire lasagna, cover it very well with plastic wrap followed by aluminum foil, and freeze for up to one month. Thaw it in the refrigerator overnight before serving. If you added fresh fruit topping, it’s best to add that after thawing.
Enjoy every creamy, crunchy, strawberry-filled bite! Let me know in the comments when you make it! Happy baking (or, well, no-baking)!