Hello, baking buddies! If there’s one thing that screams “holiday cheer” louder than jingle bells, it’s the delightful combination of cool peppermint and buttery, melt-in-your-mouth cookies. Today, I’m sharing my absolute favorite recipe for Peppermint Meltaway Cookies. These little snowballs of deliciousness are so tender, they literally dissolve the second they hit your tongue. Seriously, they are magic.
If you’ve been searching for a simple, impressive cookie recipe that requires minimal effort but delivers maximum festive flavor, stop scrolling—you’ve found it! Let’s get baking!
Quick Facts
Here’s the lowdown on how quickly you can get these beauties on your cooling rack:
Prep time: 20 minutes
Chill time (optional but recommended): 30 minutes
Baking time: 10-12 minutes
Total time: About 1 hour (including a short chill)
Serving size: Makes approximately 3 dozen cookies
Why You’ll Love This Recipe
This recipe is foolproof, friend! Here’s why these Meltaways are going straight to the top of your annual baking list:
- Truly Melt-in-Your-Mouth Texture: Thanks to the powdered sugar mixed right into the dough, these cookies have an unbeatable soft, tender crumb.
- Simple Ingredients: You likely have most of what you need in your pantry already. No fancy extracts or obscure items required!
- Perfectly Peppermint: The flavor is present but perfectly balanced—not toothpaste-y, just pure, refreshing minty goodness.
- Freezer Friendly: Bake a batch now and freeze them for spontaneous holiday gatherings!
Ingredients: What You’ll Need
We’re keeping this list short and sweet. Remember, quality butter makes a huge difference here!
For the Cookies:
- 1 cup (2 sticks or 226g) unsalted butter, softened to room temperature
- 1 cup powdered sugar, plus extra for rolling
- 1 teaspoon pure vanilla extract
- 1/2 teaspoon peppermint extract (start here, you can add a touch more if you love a strong flavor!)
- 2 1/4 cups all-purpose flour
- 1/4 teaspoon salt
For the Glaze and Garnish (Optional but Recommended):
- 1 cup powdered sugar
- 2-3 tablespoons milk or heavy cream
- 1/4 teaspoon peppermint extract
- Crushed candy canes or festive sprinkles for topping
Step-by-Step Instructions: Creating Cookie Bliss
Follow these simple steps, and you’ll be swimming in delightful minty mounds!
Step 1: Cream the Foundation
In a large bowl, using a hand mixer or a stand mixer fitted with the paddle attachment, beat the softened butter until it’s light and creamy—about 2 minutes. Gradually beat in 1 cup of powdered sugar until well combined and fluffy.
Step 2: Add the Minty Magic
Beat in the vanilla extract and the peppermint extract. Mix just until incorporated. Remember, we are using extracts here, not just mint chips!
Step 3: Bring in the Dry Ingredients
In a separate medium bowl, whisk together the flour and salt. Gradually add the dry ingredients to the wet ingredients on low speed until just combined. Do not overmix! The dough will be soft.
Step 4: Chill for Success (The Secret Step!)
Wrap the dough in plastic wrap and flatten it slightly into a disc. Chill the dough in the refrigerator for at least 30 minutes. This makes rolling so much easier!
Step 5: Scoop and Bake
Preheat your oven to 350°F (175°C). Line baking sheets with parchment paper.
Once chilled, roll the dough into small balls, about 1 inch in diameter. Place them 2 inches apart on the prepared baking sheets. Do not flatten them! They spread slightly on their own.
Bake for 10 to 12 minutes. The edges should be set, but the centers should still look very pale—this keeps them soft.
Step 6: The Meltaway Finish
Remove the cookies from the oven and let them cool on the baking sheet for 5 minutes. They are very fragile when hot. Then, carefully transfer them to a wire rack to cool completely.
Step 7: Glaze and Garnish (If Using)
While the cookies cool, whisk together the powdered sugar, milk/cream, and peppermint extract until smooth. You want a thick but pourable consistency.
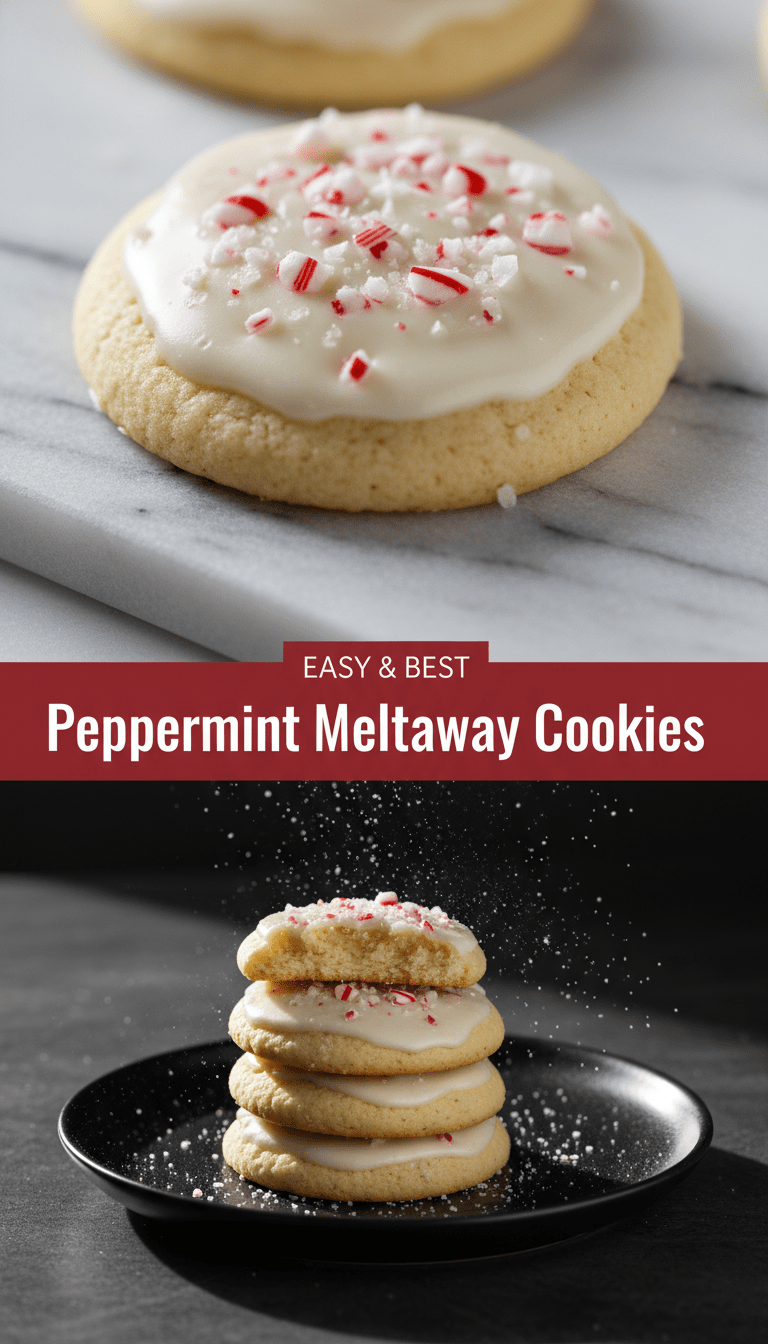
Once completely cool, drizzle the glaze over the cookies. Immediately sprinkle with crushed candy canes before the glaze sets.
Serving Suggestions
These cookies are perfection as is, but here are a few ways I love to serve them:
- Hot Cocoa Companion: They pair beautifully with a mug of rich, dark hot chocolate.
- Cookie Swap Star: Their festive look makes them a standout on any holiday cookie platter.
- Simple Dusting: If you skip the glaze, simply roll the warm, baked cookies in extra powdered sugar for a classic “snowball” look.
Tips for Customization or Variations
Want to tweak these beauties? Go for it!
1. Chocolate Lovers: Add 1/4 cup of unsweetened cocoa powder to the dry ingredients and use a white chocolate glaze instead of the peppermint one.
2. Crunch Factor: Fold in 1/2 cup of finely chopped white chocolate chips before chilling the dough.
3. Dipping: Instead of glazing, simply dip half of each cooled cookie into melted dark chocolate and let it set on wax paper.
Nutritional Information (Estimated)
Please note: This is a very rough estimate per cookie, depending on size and exact ingredient measurements.
Calories: Approximately 85-95 kcal
Fat: 5g
Carbohydrates: 10g
Sugar: 7g
Protein: 1g
Frequently Asked Questions (FAQs)
Q1: Why are my cookies spreading too much?
A: This is almost always due to using butter that is too soft or too warm, or skipping the chilling step. Cold butter ensures the cookies hold their ball shape while baking. Also, make sure you are measuring your flour correctly—spoon it lightly into the measuring cup and level it off, rather than scooping directly from the bag.
Q2: Can I use artificial peppermint extract?
A: You can, but I highly recommend using pure peppermint extract for the best flavor. Artificial extracts can sometimes taste sharp or chemical. Start with a small amount, even if the recipe calls for more.
Q3: How long do these cookies stay fresh?
A: Stored in an airtight container at room temperature, these Meltaways stay wonderfully soft for about 5 to 7 days. They are best enjoyed within the first three days!
Happy Baking! Let me know in the comments below if you try these—I can’t wait to hear what you think!