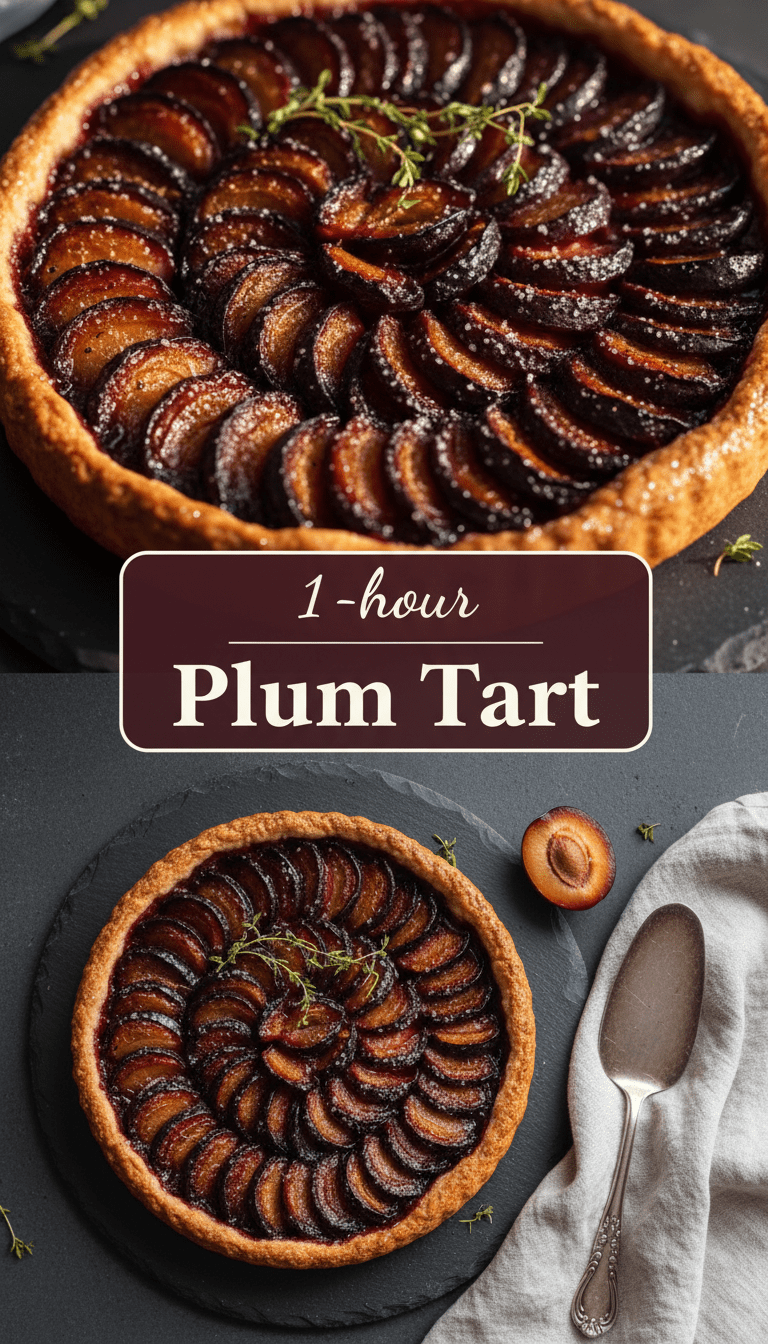
Hello, fellow food lovers! I’m so excited to share one of my absolute favorite recipes for the late summer season. When those gorgeous, ruby-red plums start flooding the markets, you know exactly what time it is: time to make a Plum Tart!
This isn’t just any tart; it’s an elegant yet incredibly simple dessert that lets the natural sweetness and slight tang of the plums shine. The buttery, crumbly crust paired with the tender fruit is pure magic. Trust me, this recipe is foolproof, even if you’ve never made a tart before. Let’s dive in!
Quick Facts
Here’s a snapshot of what you need to know before you start baking:
Prep time: 30 minutes (plus chilling time for the pastry)
Cooking time: 45–50 minutes
Total time: About 1 hour 30 minutes (including chilling)
Serving size: 8 generous slices
Why You’ll Love This Recipe
Why did I choose this specific version of a plum tart to share? Well, for starters:
- Simple Pastry: We’re using a quick, no-fuss pâte sablée (sweet shortcrust pastry) that requires minimal handling. No more tough crusts!
- Showstopper Looks: The way the plums overlap creates a beautiful, rustic pattern. It looks fancy, but honestly, it’s surprisingly easy to achieve.
- Perfect Balance: It balances the sweet jammy texture of baked plums with a hint of spice and a rich, buttery base. It’s the taste of early autumn comfort!
Ingredients You’ll Need
This recipe is divided into two parts: the delicious crust and the fruity filling.
For the Sweet Shortcrust Pastry (Pâte Sablée)
- 1 ½ cups (180g) all-purpose flour
- ½ cup (115g) cold, unsalted butter, cubed
- ¼ cup (50g) granulated sugar
- 1 large egg yolk
- 1–2 tablespoons ice water
- A pinch of salt
For the Plum Filling
- About 1 ½ pounds (700g) fresh plums (about 8-10 medium plums), halved and pitted
- ¼ cup (50g) light brown sugar (you can use less if your plums are very sweet)
- 1 tablespoon cornstarch (to help thicken juices)
- 1 teaspoon vanilla extract
- ½ teaspoon ground cinnamon
- 1 tablespoon fresh lemon juice
- 2 tablespoons apricot jam or preserves (for glazing)
Step-by-Step Baking Magic
Follow these steps closely, and you’ll have a masterpiece coming out of your oven!
Step 1: Making the Dreamy Crust
1. In a large bowl (or a food processor), combine the flour, sugar, and salt.
2. Cut in the cold, cubed butter using your fingertips or a pastry blender until the mixture resembles coarse breadcrumbs. It’s important to work quickly so the butter stays cold!
3. Add the egg yolk and mix until just combined. Add the ice water, one tablespoon at a time, mixing only until the dough just comes together. Do not overmix!
4. Form the dough into a flat disc, wrap it tightly in plastic wrap, and chill in the refrigerator for at least 30 minutes. This is crucial for a flaky crust!
Step 2: Preparing the Tart Shell
1. Preheat your oven to 375°F (190°C).
2. On a lightly floured surface, roll out the chilled dough into a circle about 12 inches wide.
3. Carefully transfer the dough to a 9-inch tart pan with a removable bottom. Gently press the dough into the sides and bottom. Trim any excess dough hanging over the edge.
4. Prick the bottom of the crust all over with a fork.
5. Blind Baking (Optional but recommended): Line the crust with parchment paper, fill it with pie weights or dried beans, and bake for 15 minutes. Remove the weights and paper, and bake for another 5 minutes until lightly golden. Let it cool slightly.
Step 3: Perfecting the Plum Filling
1. While the shell is cooling, slice your pitted plums into uniform wedges (about 1/4-inch thick).
2. In a medium bowl, gently toss the plum slices with the brown sugar, cornstarch, vanilla extract, cinnamon, and lemon juice until everything is lightly coated. The cornstarch will prevent a soggy bottom!
Step 4: Assembling and Baking
1. Arrange the seasoned plum slices artfully inside your pre-baked tart shell. You can overlap them in neat rows, or just pile them in appealingly.
2. Bake the tart for 45 to 50 minutes, or until the crust is golden brown and the plums are soft and bubbly.
3. While the tart is still hot from the oven, gently warm the apricot jam in a small saucepan or microwave. Brush the warm jam lightly over the top of the plums to give them a beautiful, shiny glaze.
4. Let the tart cool completely on a wire rack before slicing. This allows the filling to set properly.
Serving Suggestions
This tart is divine served slightly warm or at room temperature.
- A simple dusting of powdered sugar makes it look professional.
- Serve alongside a dollop of freshly whipped cream.
- For an extra decadent treat, pair it with high-quality vanilla bean ice cream.
Tips for Customization and Variations
Want to make this recipe your own? Here are a few ideas:
- Nutty Addition: Before adding the plums, sprinkle a thin layer of ground almonds or finely chopped pecans onto the bottom of the crust. This adds texture and absorbs any excess moisture.
- Boozy Boost: Add 1 tablespoon of dark rum or brandy to the plum mixture for a deeper flavor profile.
- Different Fruit: This recipe works wonderfully with apricots, nectarines, or even firm peaches! Just adjust the sugar slightly based on the fruit’s sweetness.
- Gluten-Free Crust: You can substitute the all-purpose flour with a high-quality 1-to-1 gluten-free baking blend.
Estimated Nutritional Information
Please note: This is a rough estimate per serving, based on 8 slices, and will vary depending on specific ingredient brands and portion sizes.
Calories: Approximately 380-420 kcal
Fat: 22g
Carbohydrates: 45g
Sugar: 25g
Protein: 5g
Frequently Asked Questions (FAQs) About Plum Tarts
Q1: Can I use frozen plums instead of fresh ones?
A1: Yes, you absolutely can! If using frozen plums, do not thaw them first. Toss them directly with the sugar and cornstarch mixture, but you might need to add an extra 5-10 minutes to the baking time, as they release more initial moisture.
Q2: My crust shrank after baking. What went wrong?
A2: This is usually because the dough wasn’t chilled long enough, or you stretched it when fitting it into the pan. Always chill the dough thoroughly, and gently ease it into the pan without pulling or stretching it.
Q3: How far in advance can I make this tart?
A3: The tart is best eaten the day it’s made, but it will keep well covered at room temperature for up to 2 days. If you need to prepare ahead, you can bake the shell completely a day before, cool it, and then fill and bake it with the fruit right before serving.
Happy baking, everyone! Enjoy this beautiful taste of the season!