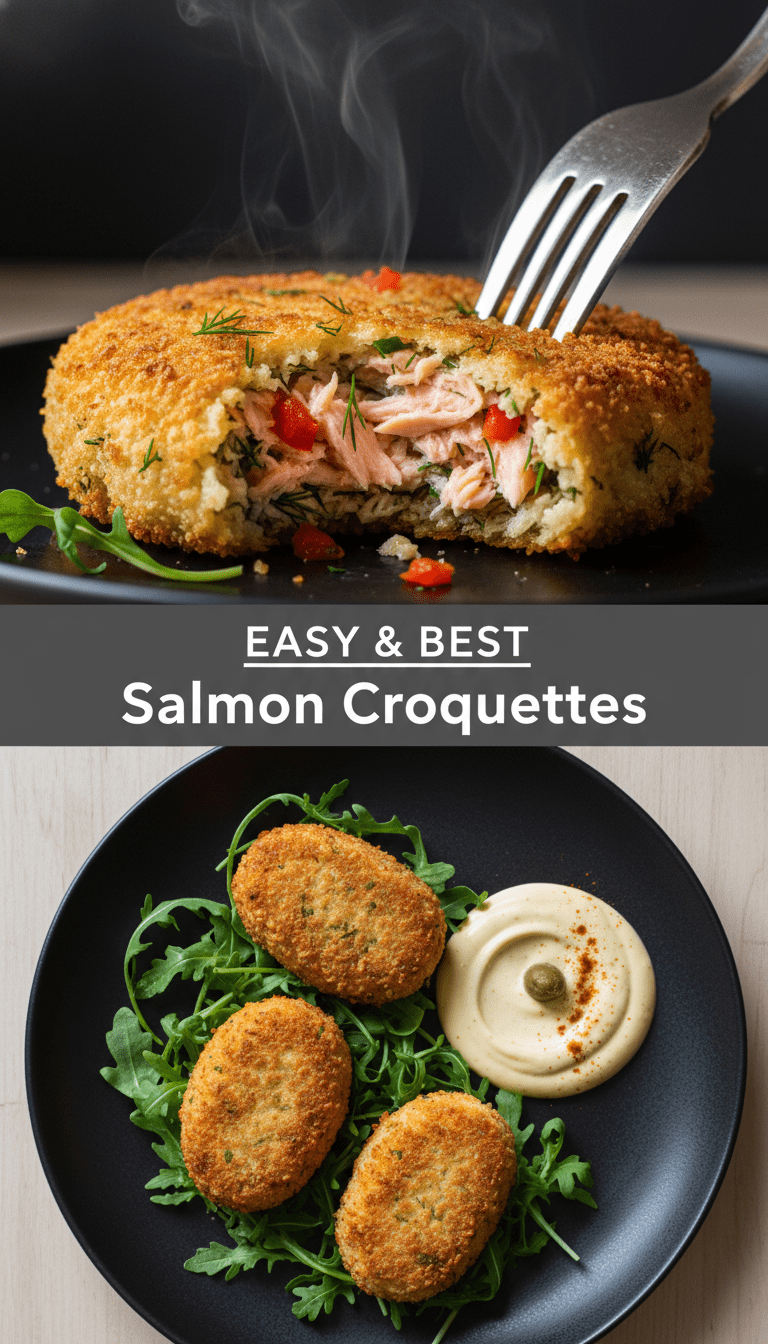
Hey everyone, and welcome back to my kitchen! Today, we’re diving headfirst into a classic that brings back all the cozy, satisfying vibes: Salmon Croquettes. Forget those dry, crumbly versions you might remember. We’re making these golden, crunchy delights perfectly moist on the inside and ridiculously flavorful. They are so easy, budget-friendly, and frankly, they deserve a spot back on your dinner rotation. Let’s get cooking!
Quick Facts Snapshot
Here’s what you need to know before you start mixing!
Prep time: 20 minutes
Cooking time: 10–12 minutes
Total time: About 30–32 minutes
Serving size: Makes about 10–12 medium croquettes
Why You’ll Love This Recipe
Seriously, what’s not to love?
First off, these are fantastic for using up leftover cooked salmon—zero waste, maximum flavor! They are wonderfully versatile; serve them hot for dinner, or pack them cold for lunch. They have an incredible texture contrast: that crispy, golden crust against the tender, savory interior. Plus, they freeze beautifully, making them perfect for busy weeknights. They truly are comfort food elevated.
Gather Your Goodies: Ingredients List
You likely have most of these ingredients already! This recipe works wonderfully with canned, fresh, or leftover baked salmon.
- 1 can (14.75 oz) wild-caught salmon, drained well (or about 1.5 cups cooked, flaked salmon)
- 1 large egg, lightly beaten
- 1/4 cup finely chopped celery
- 1/4 cup finely chopped yellow onion
- 2 tablespoons fresh parsley, chopped
- 1 teaspoon Dijon mustard
- 1/2 teaspoon smoked paprika (optional, but highly recommended!)
- 1/4 teaspoon black pepper
- 1/2 teaspoon salt (adjust based on the saltiness of your salmon)
- 1/2 cup plain breadcrumbs (Panko works best for texture) PLUS 1 cup for coating
- 2 tablespoons mayonnaise or plain Greek yogurt (for binding and moisture)
- Oil for shallow frying (vegetable, canola, or light olive oil)
Step-by-Step: Creating Croquette Magic
Follow these steps, and you’ll have perfect croquettes every time!
Step 1: Prep the Salmon Base
If you are using canned salmon, drain it thoroughly. Place the flaked salmon into a medium mixing bowl. Use a fork to gently break it up further, removing any tiny bones if you prefer (though they are great for calcium!).
Step 2: Mix in the Flavor Builders
Add the beaten egg, celery, onion, parsley, Dijon mustard, smoked paprika, salt, and pepper to the bowl. Mix everything gently until just combined. You don’t want to overmix; we still want some nice chunks of salmon texture.
Step 3: Binding and Shaping
Stir in the 1/2 cup of breadcrumbs and the mayonnaise (or yogurt). This mixture should hold together when squeezed. If it seems too wet, add another tablespoon of breadcrumbs. Let the mixture rest for about 5 minutes—this allows the breadcrumbs to absorb moisture.
Now, gently form the mixture into small patties or ovals, about 1.5 inches thick. They should be firm enough to handle.
Step 4: The Crunchy Coating
Pour the remaining 1 cup of breadcrumbs onto a shallow plate. Take each shaped croquette and gently dredge it completely in the breadcrumbs, pressing lightly so the crumbs adhere well to all sides.
Step 5: Time to Fry!
Pour about 1/2 inch of oil into a large, heavy-bottomed skillet. Heat the oil over medium-high heat until it shimmers—a small crumb dropped in should sizzle immediately.
Carefully place the croquettes into the hot oil, ensuring you don’t overcrowd the pan (work in batches!). Fry for about 3 to 5 minutes per side, flipping gently, until they are a deep, beautiful golden brown and crispy.
Step 6: Drain and Serve
Use a slotted spatula to transfer the finished croquettes onto a plate lined with paper towels to drain any excess oil. Serve immediately while piping hot!
Serving Suggestions: What Goes Best?
Salmon croquettes are wonderfully adaptable!
- Classic Comfort: Serve with a dollop of tartar sauce or creamy lemon aioli.
- Bright & Fresh: Pair with a simple side salad dressed with a light vinaigrette.
- Dinner Style: They are amazing alongside roasted asparagus or creamy mashed potatoes.
- Lunch Box Ready: Serve them cold with crunchy pickles and good quality mustard.
Customization Corner: Make It Yours!
Don’t be afraid to experiment with these flavor bombs:
- Herb Swap: Try using fresh dill instead of parsley for a more traditional Scandinavian flavor profile.
- Spicy Kick: Add a dash of cayenne pepper or a teaspoon of finely minced jalapeño to the mix.
- Cheese Please: Fold in 1/4 cup of grated sharp cheddar or Parmesan cheese for extra richness.
- Air Fryer Option: For a lighter version, lightly spray the breaded croquettes with oil and air fry at 375°F (190°C) for 10–12 minutes, flipping halfway through.
Nutritional Snapshot (Estimated)
Please remember these are estimates and will vary based on the type of salmon used and the amount of oil absorbed during frying.
Per one medium croquette (excluding sides):
Calories: Approximately 150–180
Protein: 10g
Fat: 8g
Carbohydrates: 10g
Frequently Asked Questions (FAQs)
Q: Can I use fresh salmon instead of canned?
A: Absolutely! If using fresh salmon, you’ll need about 1 pound of raw salmon fillet. Bake or steam it until just cooked through, then flake it before mixing with the other ingredients. Adjust the salt slightly, as fresh salmon might be less salty than canned.
Q: Why are my croquettes falling apart during frying?
A: This usually means one of two things: either the mixture was too wet, or you didn’t chill them long enough. Make sure your binding ingredients (egg, mayo) are adequate, and after shaping, try chilling the coated croquettes on a baking sheet in the freezer for 15 minutes before frying. This helps the coating set firmly.
Q: How far in advance can I make the mixture?
A: You can prepare the un-coated mixture and keep it covered in the refrigerator for up to 24 hours. When ready to cook, shape them, coat them, and proceed with frying.
Enjoy these delightful Salmon Croquettes! They are truly a culinary hug in patty form. Happy cooking!