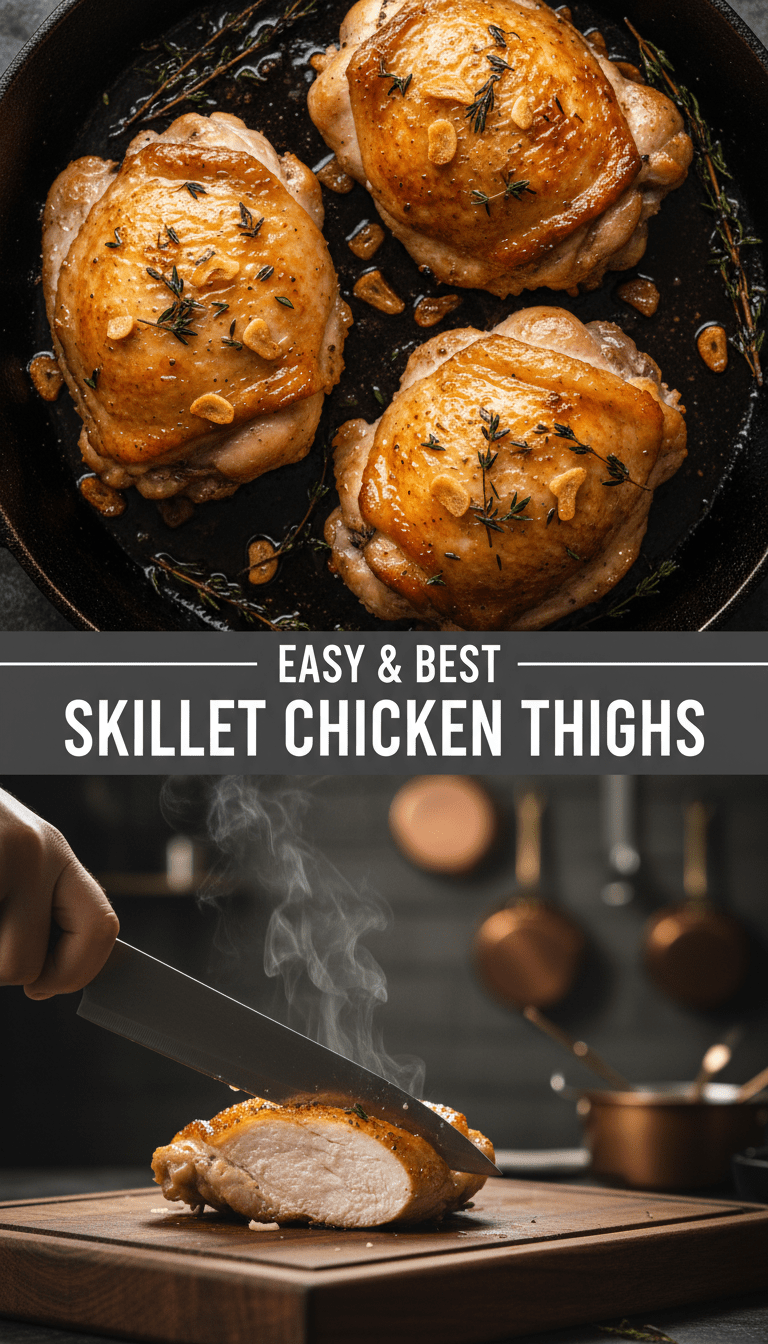
Hey everyone, and welcome back to my kitchen! If you’re anything like me, you crave meals that are packed with flavor but don’t require a mountain of dishes or hours of slaving over the stove. Well, today I have the absolute winner for you: Skillet Chicken Thighs.
Trust me, these aren’t your grandma’s dry chicken thighs (unless your grandma was a secret culinary genius!). We are talking perfectly crisped, golden-brown skin, meat so tender it practically melts, and a simple pan sauce that ties everything together beautifully. This recipe is a game-changer for busy weeknights. Let’s get cooking!
Quick Facts
Here’s a quick snapshot so you know exactly what you’re getting into:
Prep time: 10 minutes
Cooking time: 30–35 minutes
Total time: About 45 minutes
Serving size: 4 people
Why You’ll Love This Recipe
This recipe shines because it’s incredibly straightforward yet delivers restaurant-quality results.
- Incredible Texture: Cooking them skin-side down first ensures that glorious, crackly skin we all dream about.
- One-Pan Wonder: Seriously, everything happens right there in one oven-safe skillet. Less cleanup means more time for relaxing!
- Flavor Bomb: Simple seasoning elevates the chicken, making it taste like it cooked all day long.
- Budget-Friendly: Chicken thighs are usually more affordable than breasts, and they hold up better to high heat, resulting in juicier meat every time.
Gather Your Goodies: Ingredients List
You probably have most of these staples already!
- 4 bone-in, skin-on chicken thighs (about 6–8 ounces each)
- 1 tablespoon olive oil (or avocado oil)
- 1 teaspoon kosher salt (plus more for seasoning)
- 1/2 teaspoon black pepper (freshly ground is best!)
- 1 teaspoon smoked paprika
- 1/2 teaspoon garlic powder
- 1/2 teaspoon dried thyme
- 2 cloves garlic, smashed (optional, for flavor infusion)
- 2 tablespoons unsalted butter
- 1/4 cup chicken broth (or water)
- 1 tablespoon fresh parsley, chopped (for garnish)
Step-by-Step: Making Magic in Your Skillet
This is where the deliciousness happens. Follow these steps closely, especially the skin-down part—it’s the secret weapon!
Step 1: Prep and Season the Thighs
First things first: pat those chicken thighs bone dry using paper towels. This is non-negotiable for crispy skin! If the skin is wet, it steams instead of searing.
In a small bowl, mix the salt, pepper, smoked paprika, garlic powder, and thyme. Generously rub this seasoning mixture all over the chicken thighs, making sure to get under the skin folds a little bit too.
Step 2: The Searing Secret
Place a large, oven-safe skillet (cast iron is my favorite here) over medium heat. Add the olive oil. Once the oil shimmers slightly, carefully place the chicken thighs skin-side down into the skillet. Do not crowd the pan!
Now, here’s the patient part: Let them cook undisturbed on medium-low heat for about 15–20 minutes. You want the fat to slowly render out, turning that skin deep golden brown and perfectly crisp. Resist the urge to flip them too early!
Step 3: Flip and Finish
Once the skin is beautifully crisp, flip the thighs over. They should release easily from the pan if the skin is done.
If you are using the optional smashed garlic cloves, toss them into the pan now around the chicken. Cook the second side for about 3–4 minutes.
Step 4: The Butter Baste and Oven Assist
Add the 2 tablespoons of butter to the pan. As it melts, use a spoon to scoop the melted butter over the tops of the chicken thighs repeatedly for about a minute—this is the basting magic!
Pour the 1/4 cup of chicken broth into the pan around the chicken (not directly over the skin!).
Transfer the entire skillet to a preheated oven at 400°F (200°C). Bake for another 8–12 minutes, or until the internal temperature of the thickest part of the thigh reaches 175°F to 180°F (chicken thighs are best cooked slightly past the standard 165°F).
Step 5: Rest and Serve
Carefully remove the skillet from the oven. Transfer the chicken thighs to a cutting board and let them rest for 5 minutes. While they rest, you can quickly scrape up the delicious pan drippings and drizzle them over the chicken. Garnish with fresh parsley. Dinner is served!
Serving Suggestions
These deeply flavorful chicken thighs pair wonderfully with sides that can soak up those amazing pan juices:
- Creamy mashed potatoes or garlic roasted potatoes.
- Simple steamed green beans or roasted asparagus.
- A bright, fresh side salad with a vinaigrette to cut through the richness.
Tips for Customization and Variations
Want to switch things up next time? No problem!
- Add Heat: Add 1/4 teaspoon of cayenne pepper or red pepper flakes to your seasoning blend for a spicy kick.
- Citrus Zest: Before seasoning, rub the skin with the zest of one lemon for a bright, Mediterranean flavor profile.
- Herbal Swap: Replace the thyme with rosemary for a deeper, woodsy aroma.
- Make a Quick Sauce: After removing the chicken, put the pan back on the stovetop. Whisk in a teaspoon of Dijon mustard and a splash of white wine or balsamic vinegar, scraping up the browned bits (fond) from the bottom of the pan until slightly thickened. Pour this sauce over the resting chicken.
Nutritional Information (Estimated Per Serving)
Please remember these are approximate values based on average thigh size:
Calories: 450–500
Protein: 40g
Fat: 30g
Carbohydrates: 1g
Frequently Asked Questions (FAQs)
Q: Can I use chicken breasts instead?
A: You can, but the results will be different. Chicken breasts cook faster and are prone to drying out. If you use breasts, drastically reduce the initial searing time to 5–7 minutes per side, and bake only until the internal temperature hits 165°F. Thighs are definitely superior for this method!
Q: Do I have to use bone-in, skin-on?
A: For the crispiest skin and juiciest meat, yes! The bones help insulate the meat, preventing it from overcooking too quickly, and the fat under the skin keeps everything moist. Boneless, skinless thighs will work, but you’ll skip the searing step and bake them until done (about 20 minutes).
Q: How do I know when they are done without a thermometer?
A: The juices should run completely clear when pierced deeply with a fork. However, investing in an instant-read thermometer is the single best way to guarantee perfect chicken every time!
Enjoy every crispy, juicy bite of your new favorite weeknight meal! Happy cooking!