Hey coffee lovers! If you’re anything like me, those trips to Starbucks for that perfectly crisp, refreshing iced coffee can really add up. Well, guess what? I’ve cracked the code! Today, I’m sharing my go-to, foolproof recipe for making Starbucks-style iced coffee right in your kitchen. Trust me, once you try this, you’ll never look back. It’s bold, smooth, and totally customizable. Let’s dive in!
Quick Facts
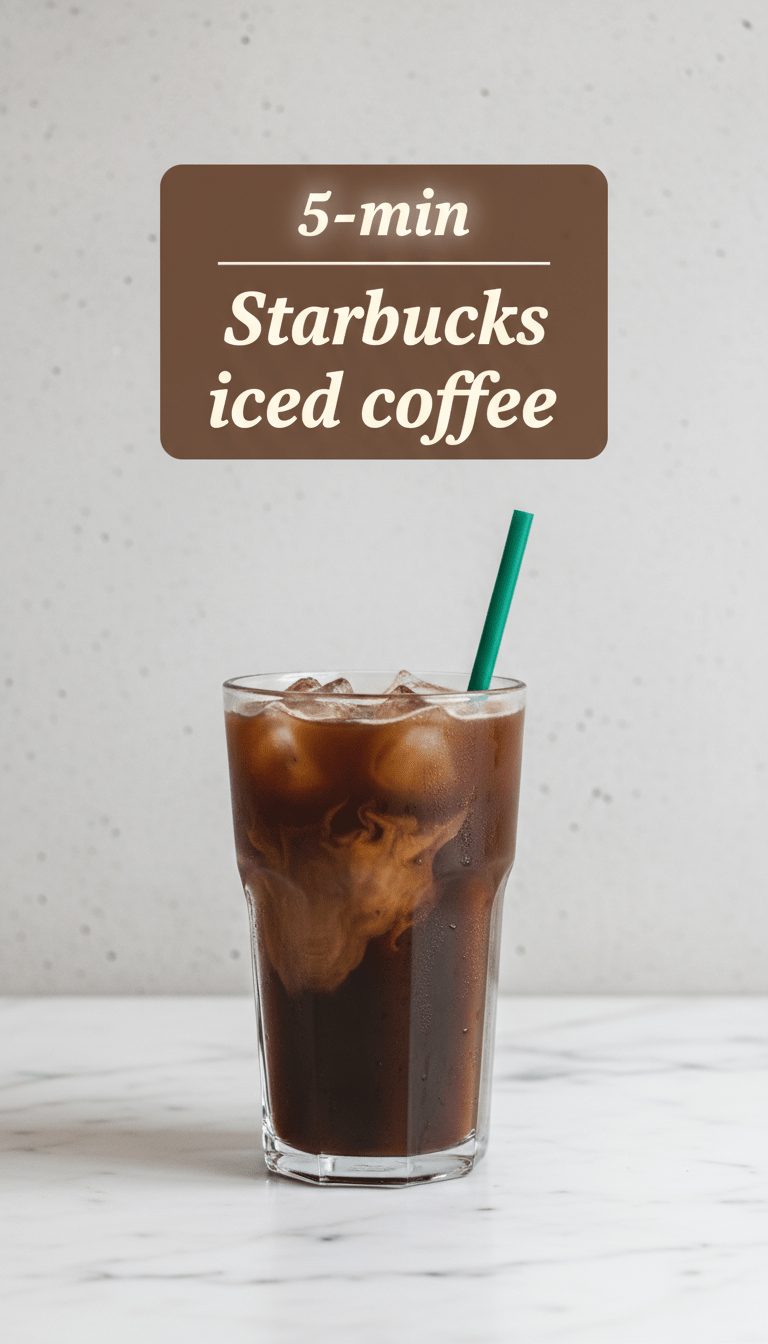
Here’s what you need to know before we start brewing magic:
Prep time: 5 minutes
Brewing/Cooling time: 1 hour (mostly inactive waiting for it to chill)
Total time: 1 hour 5 minutes
Serving size: 2 large servings (about 16 oz each)
Why You’ll Love This Recipe
This isn’t just any iced coffee; it’s Starbucks-level iced coffee. Why make it at home?
- Save Your Wallet: Seriously, the savings are huge!
- Perfect Strength: You control how strong or light you want your coffee.
- Ultra-Smooth Flavor: We use a specific technique to avoid that watery, bitter taste you sometimes get when pouring hot coffee over ice.
- Ready When You Are: Brew ahead of time and have refreshing coffee ready for days!
Ingredients You’ll Need
To achieve that signature Starbucks flavor, we need quality ingredients. Don’t skimp on the coffee!
- For the Coffee Concentrate:
* 1 cup (about 60g) of medium or dark roast ground coffee (I prefer a good cold brew blend or Pike Place roast)
* 2 cups of filtered hot water (just off the boil)
- For Serving (Per Glass):
* 1 cup of the prepared coffee concentrate
* 1 cup of cold water (or less, depending on strength preference)
* Plenty of ice cubes
* Sweetener of choice (simple syrup works best!)
* Splash of milk or cream (optional, vanilla sweet cream is heavenly here)
Step-by-Step Instructions: Brewing the Best Iced Coffee
The key to non-watery iced coffee is making a strong concentrate first.
Step 1: Brewing the Concentrate
1. Heat Water: Bring 2 cups of filtered water to a boil, then let it sit for about 30 seconds so it’s just below boiling (around 200°F is ideal).
2. Combine Coffee: Place your 1 cup of ground coffee into a large heat-safe pitcher or container.
3. The Bloom: Slowly pour about half of the hot water over the grounds, ensuring they are fully saturated. Let this sit for 30 seconds—this is called the “bloom” and releases the best flavor!
4. Finish Pouring: Pour the remaining water over the grounds. Give it a gentle stir.
5. Steep: Let the coffee mixture steep at room temperature for about 1 hour. If you need it faster, you can steep for 30 minutes, but 1 hour gives that deeper Starbucks flavor.
Step 2: Chilling and Straining
1. Strain: Once steeped, you need to separate the grounds. You can pour the mixture through a fine-mesh sieve lined with cheesecloth, or use a standard paper coffee filter set over a bowl. This step is crucial for clarity!
2. Chill: Transfer your strained coffee concentrate into an airtight container. Place it in the refrigerator and chill for at least 30 minutes until it is thoroughly cold. This concentrate will stay fresh in the fridge for up to a week!
Step 3: Assembling Your Perfect Glass
1. Ice It Up: Fill a large glass (about 16 oz) completely with ice cubes.
2. Add Concentrate: Pour about 1 cup of the chilled coffee concentrate over the ice.
3. Dilute (Optional): Add about 1/2 cup of cold water. Taste it—if it’s too strong, add a splash more water.
4. Sweeten: Stir in your preferred sweetener. If you’re using granulated sugar, dissolve it first in a tiny bit of hot water to make a quick syrup, as granulated sugar doesn’t dissolve well in cold liquid.
5. Finish: Top with your milk or cream of choice, give it one final gentle stir, and enjoy your homemade Starbucks iced coffee!
Serving Suggestions
For the ultimate café experience, try these additions:
- Vanilla Sweet Cream: Mix heavy cream, a splash of milk, and a teaspoon of vanilla syrup. Gently pour a layer over the top of your finished drink.
- Mocha Magic: Add a tablespoon of chocolate syrup to the bottom of your glass before adding the ice.
- Extra Zing: A tiny dash of almond extract really brightens the flavor profile!
Tips for Customization and Variations
This recipe is your blank canvas!
- Make it a Cold Brew (Easier!): If you prefer true cold brew, use the same coffee-to-water ratio (1:4), but steep the grounds in cold water for 12 to 18 hours instead of hot water for 1 hour. Strain and enjoy!
- Flavor Infusions: Add a few cinnamon sticks or a couple of thin slices of orange peel to the coffee concentrate while it’s steeping (remove before chilling).
- Go Stronger: Use a 1:3 coffee-to-water ratio (e.g., 1 cup coffee to 3 cups water) for a super strong concentrate that tastes amazing with lots of milk.
Nutritional Information (Estimated per 16 oz Serving, Unsweetened)
Please remember this is an estimation based on standard brewing and doesn’t include added syrups or milk.
Calories: 10-15
Fat: 0g
Carbohydrates: 2g
Protein: 1g
Caffeine: Varies widely, typically 150-250mg.
Frequently Asked Questions (FAQs)
Q1: Can I just use regular brewed hot coffee and pour it over ice?
A: You can, but it often leads to a weak, watered-down, or bitter flavor once the ice melts. By brewing a strong concentrate first, you ensure the flavor holds up perfectly against the melting ice.
Q2: What is the best type of coffee bean to use?
A: Starbucks typically uses a medium or dark roast blend. Look for beans labeled “Breakfast Blend,” “Pike Place,” or any smooth dark roast. Avoid anything too fruity or acidic for this recipe.
Q3: How long does the concentrate last?
A: Stored properly in an airtight container in the refrigerator, the concentrate should stay fresh and flavorful for about 5 to 7 days.
Q4: Do I have to use filtered water?
A: I highly recommend it! Since coffee is 98% water, using filtered water removes chlorine and mineral flavors, allowing the true coffee flavor to shine through.