Hey there, fellow dessert lovers! Are you ready for a treat that screams springtime perfection but is ridiculously easy to make? I’m talking about Strawberry Cheesecake Bars. Forget fussy springform pans and wobbly layers—these bars are sturdy, creamy, and packed with that irresistible sweet-tart strawberry flavor nestled on a buttery graham cracker crust. Seriously, if you can press crumbs into a pan, you can master this recipe.
Let’s get baking!
Quick Facts
Prep time: 20 minutes
Chill time (before baking): 15 minutes
Cooking time: 35-40 minutes
Total time: Approximately 1 hour 10 minutes (plus cooling/chilling)
Serving size: 16 generous bars
Why You’ll Love This Recipe
Honestly, what’s not to love?
- Simplicity at Its Best: These are baked in a simple 8×8 inch square pan. No water baths needed!
- Perfect Texture: You get that crunchy, sweet base, a velvety smooth cheesecake filling, and bright, fruity strawberry swirls on top.
- Make-Ahead Marvel: They actually taste better the next day, making them perfect for potlucks or parties.
Ingredients You’ll Need
We’re breaking this down into three easy parts: The Crust, The Filling, and The Topping.
For the Graham Cracker Crust
- 1 ½ cups graham cracker crumbs (about 12 full sheets)
- ¼ cup granulated sugar
- ½ cup (1 stick) unsalted butter, melted
For the Creamy Cheesecake Filling
- 2 (8-ounce) packages full-fat cream cheese, softened to room temperature
- ¾ cup granulated sugar
- 2 large eggs, room temperature
- 1 teaspoon pure vanilla extract
- 1 tablespoon fresh lemon juice
For the Strawberry Swirl Topping
- 1 cup fresh or frozen (thawed) strawberries, chopped
- 2 tablespoons granulated sugar
- 1 teaspoon cornstarch (optional, for slight thickening)
Step-by-Step Baking Bliss
Follow these steps, and you’ll have golden perfection coming out of your oven!
Step 1: Prep Your Pan and Oven
Preheat your oven to 350°F (175°C). Line an 8×8 inch baking pan with parchment paper, leaving an overhang on two sides. This sling makes removal a breeze later! Lightly grease the bottom.
Step 2: Make the Buttery Crust
In a medium bowl, combine the graham cracker crumbs and ¼ cup sugar. Pour in the melted butter and mix until all the crumbs are evenly moistened—it should resemble wet sand. Press this mixture firmly and evenly into the bottom of your prepared pan.
Quick Tip: Use the bottom of a flat measuring cup to really pack it down tight!
Bake the crust for 8 minutes. While it’s baking, move on to the filling.
Step 3: Whip Up the Cheesecake Filling
In a large bowl (or the bowl of a stand mixer), beat the softened cream cheese until it is completely smooth and lump-free. This is crucial for creamy bars! Add the ¾ cup of sugar and beat until just combined. Add the eggs one at a time, mixing only until each egg is incorporated. Finally, stir in the vanilla extract and lemon juice. Don’t overmix!
Step 4: Prepare the Strawberry Swirl
In a small saucepan, combine the chopped strawberries, 2 tablespoons of sugar, and cornstarch (if using). Cook over medium heat, stirring occasionally, until the mixture thickens slightly and the berries have broken down a bit, about 5-7 minutes. Let this cool slightly while you assemble.
Step 5: Layer and Swirl
Pour the cheesecake filling evenly over the warm, pre-baked crust. Drop spoonfuls of the strawberry mixture randomly over the top of the cheesecake batter. Take a butter knife or a skewer and gently drag it through the strawberry dollops to create those gorgeous swirls. Don’t swirl too much, or your colors will blend!
Step 6: Bake and Chill
Bake for 35 to 40 minutes. The edges should look set, and the center should have just a slight jiggle remaining (it will firm up completely as it cools).
Turn the oven off, prop the door open slightly, and let the bars cool in the oven for 30 minutes. This slow cool-down prevents cracking. Once cooled, remove the pan and chill in the refrigerator for at least 4 hours, but ideally overnight, before slicing.
Serving Suggestions
These bars are fantastic as is, but here are a few ways to elevate them:
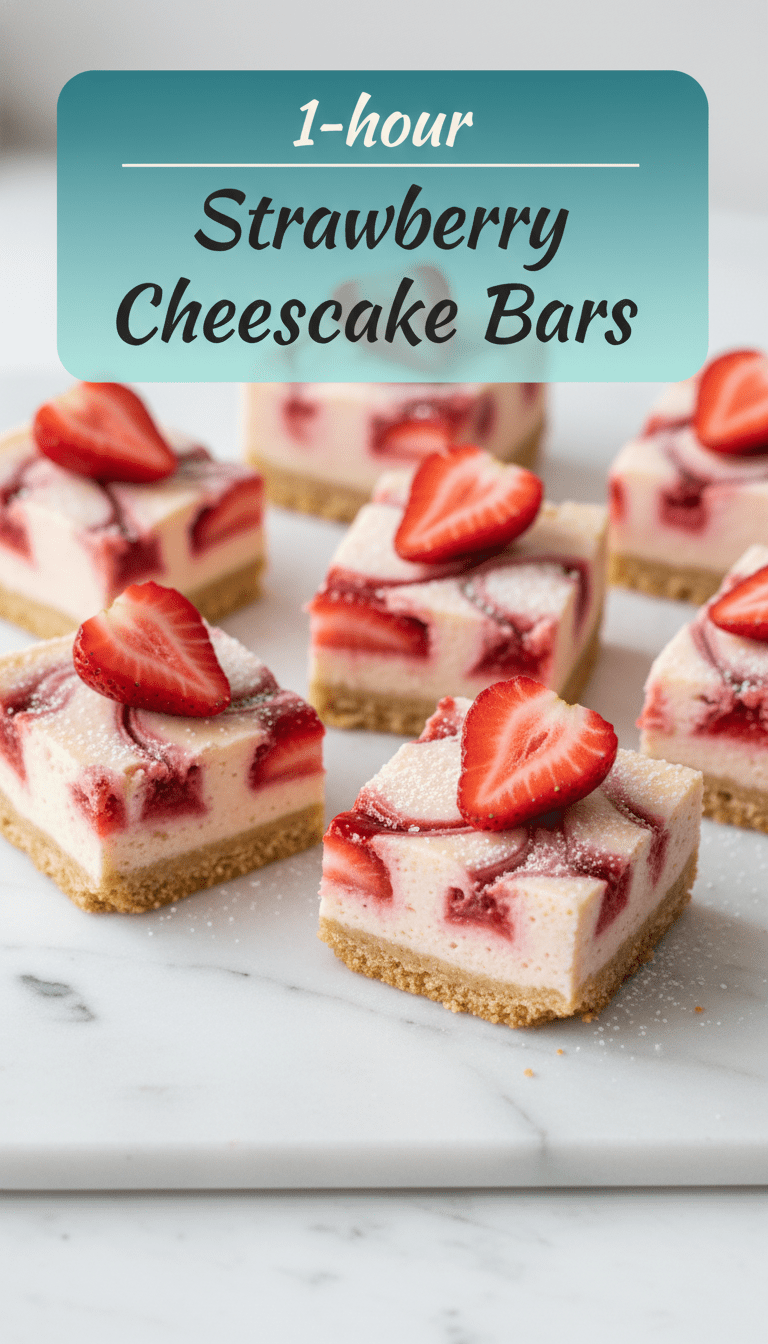
1. Whipped Cream Dream: Top each bar with a dollop of freshly whipped cream and a single fresh strawberry slice just before serving.
2. Dusting Delight: A light dusting of powdered sugar looks elegant and adds a touch of sweetness.
3. Chocolate Drizzle: If you’re feeling decadent, a drizzle of melted white chocolate over the chilled bars is heavenly.
Tips for Customization & Variations
Want to switch things up? Here are my favorite tweaks:
- Crust Swap: Instead of graham crackers, try using vanilla wafers or shortbread cookies for a different base flavor.
- Lemon Zest: Add the zest of one lemon to the cheesecake filling for an extra bright flavor pop.
- Strawberry Jam Shortcut: If you’re really short on time, use ½ cup of high-quality store-bought strawberry jam instead of making the fresh reduction—just swirl it in!
Nutritional Information (Estimated Per Bar)
Please remember these are approximations and will vary based on exact ingredient brands.
Calories: 280-320 kcal
Fat: 18g
Saturated Fat: 10g
Carbohydrates: 28g
Sugar: 20g
Protein: 4g
Frequently Asked Questions (FAQs)
Q1: Why did my cheesecake bars crack?
Cracking usually happens for two reasons: either the batter was over-mixed (incorporating too much air) or the temperature change was too drastic (going straight from the hot oven to the cold counter). Using the slow cooling method in the oven helps tremendously!
Q2: Can I use frozen strawberries for the swirl?
Yes! Just make sure to thaw them completely first and pat them dry before cooking them down with the sugar. If they are too watery, your swirl might bleed too much into the filling.
Q3: How long do Strawberry Cheesecake Bars last?
Stored properly in an airtight container in the refrigerator, they will stay delicious for up to 5 days. They actually firm up nicely after the first 24 hours, which many people prefer!
Happy baking, friends! Enjoy every single creamy, crumbly bite!