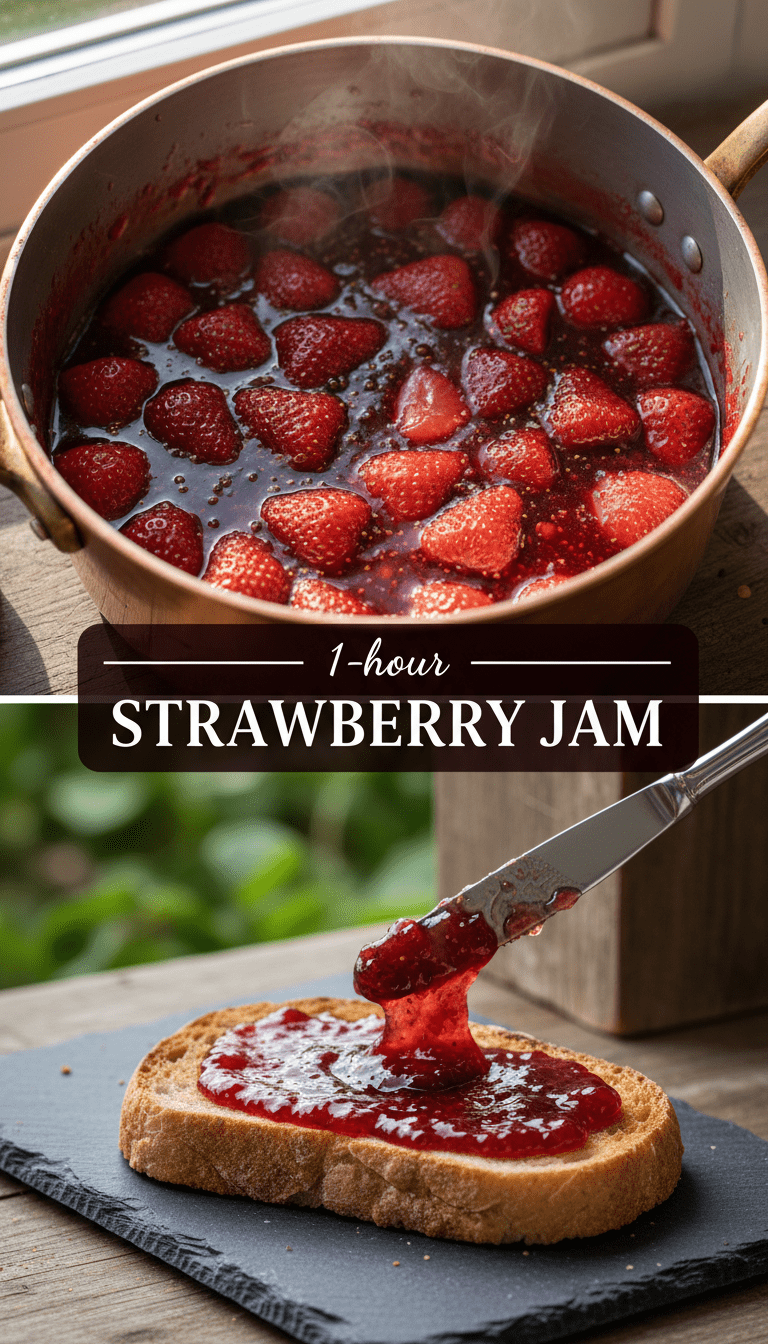
Hello, fellow food lovers! There’s something truly magical about the taste of summer preserved in a jar. And what better way to capture that sunshine than with homemade strawberry jam? Forget those overly sweet, watery store-bought versions. Today, I’m sharing my absolute favorite, foolproof recipe that results in a jam that is vibrant, richly flavored, and perfectly spreadable. Trust me, once you make this, you’ll never go back!
Quick Facts
Let’s get down to the essentials so you know exactly what you’re diving into!
Prep time: 20 minutes (plus optional maceration time)
Cooking time: 30–40 minutes
Total time: Around 1 hour (plus cooling/setting time)
Serving size: Approximately 3 standard small jars (8 oz each)
Why You’ll Love This Recipe
This isn’t just any strawberry jam recipe; it’s the best one!
- Incredibly Fresh Flavor: Using fresh, ripe strawberries means the flavor pops! It tastes exactly like biting into a perfect berry.
- Simple Ingredients: You only need three main ingredients—no complicated pectin needed here!
- Perfect Set: We use a little lemon juice, which naturally contains pectin, to ensure a beautiful, glossy set without the fuss.
- Customizable Sweetness: You are in control of how sweet your jam turns out.
What You’ll Need: Our Simple Ingredient List
The beauty of this jam lies in its simplicity. Choose the freshest strawberries you can find!
- 2 pounds (about 6 cups) fresh strawberries, hulled and roughly chopped
- 4 cups granulated sugar
- 1/4 cup fresh lemon juice (this is crucial for setting!)
Step-by-Step Guide to Jam Perfection
Ready to transform those sweet berries? Let’s get cooking!
Step 1: The Maceration Magic (Optional but Recommended)
Place your chopped strawberries and the granulated sugar into a large, non-reactive pot (stainless steel is great). Stir gently to combine. Cover the pot and let it sit on the counter for at least 30 minutes, or up to 4 hours in the fridge. This process, called maceration, draws the juices out of the berries, which helps the jam cook more evenly.
Step 2: Getting to the Boil
Once the mixture has released some liquid, add the fresh lemon juice. Place the pot over medium-high heat. Stir constantly until the sugar has completely dissolved and you see the mixture starting to bubble gently.
Step 3: The Rolling Boil
Once the jam reaches a vigorous, “rolling boil” (meaning it keeps boiling even when you stir it), you must keep stirring frequently to prevent scorching on the bottom. This is where the magic happens! The mixture will start to thicken. This usually takes about 20 to 30 minutes from the moment it hits the full boil.
Step 4: Checking for the Set
This is the trickiest part, but don’t worry, I have an easy test! You need to reach 220°F (104°C) on a candy thermometer. If you don’t have one, try the Freezer Plate Test:
1. Before you start cooking, place a few small saucers or plates in your freezer.
2. When you think the jam is done, remove the pot from the heat. Drop a teaspoon of hot jam onto one of the frozen plates.
3. Return the plate to the freezer for 1 minute.
4. Push the jam with your finger. If the surface wrinkles and doesn’t immediately run back together, it’s set! If it’s still runny, keep boiling for another 5 minutes and test again.
Step 5: Jarring Your Harvest
Once you achieve the perfect set, skim off any foam that has risen to the surface using a spoon (this keeps your jam looking clear and pretty). Carefully ladle the hot jam into sterilized jars, leaving about 1/4 inch of headspace at the top. Wipe the rims clean, secure the lids, and process them in a boiling water bath for 10 minutes for shelf stability (or just let them cool on the counter for refrigerator jam).
Serving Suggestions: More Than Just Toast!
This bright jam is incredibly versatile!
- Classic Breakfast: Spread generously on warm scones, crumpets, or homemade sourdough toast.
- Dessert Drizzle: Swirl it into plain Greek yogurt, layer it in trifles, or use it as a filling for thumbprint cookies.
- Savory Twist: Try serving a dollop alongside baked brie or goat cheese for a fantastic appetizer.
Tips for Customization and Variations
Want to put your own spin on this classic? Here are a few ideas:
- Spice it Up: Add 1/2 teaspoon of ground cardamom or a tiny pinch of cayenne pepper along with the sugar for a surprising warmth.
- Vanilla Infusion: Split a vanilla bean and toss it into the pot during the last 10 minutes of cooking. Remove the bean before jarring.
- Boozy Berries: Add 2 tablespoons of good quality brandy or strawberry liqueur just after removing the jam from the heat.
Estimated Nutritional Information
Please note these are rough estimates based on the full recipe yield before canning, serving as a general guide.
Per 1 Tablespoon Serving (Approximate):
Calories: 50–60
Total Sugars: 14g
Carbohydrates: 15g
Frequently Asked Questions (FAQs) About Strawberry Jam
Q: Do I really need the lemon juice?
A: Yes, absolutely! Lemon juice provides the necessary acidity and, more importantly, the natural pectin needed to help the jam gel properly. Without it, you risk having runny jam.
Q: How long will my homemade jam last?
A: If properly canned using the water bath method, it’s best used within one year. If you simply store it in clean jars in the refrigerator (no canning), it should last for about 3–4 weeks.
Q: Can I use frozen strawberries instead of fresh?
A: You certainly can! If using frozen berries, do not thaw them first. Add them directly to the pot with the sugar and let them sit longer during the maceration phase (maybe an hour) until they release sufficient liquid before turning on the heat.
Happy jamming, friends! Enjoy the taste of summer all year long!