Hey food lovers! Welcome back to the kitchen. Today, we’re tackling a little powerhouse ingredient that can truly elevate your homemade sushi experience: Sushi Sauce. Forget those tiny, overpriced packets you get at the takeout place. We’re making a homemade version that’s perfectly balanced—salty, sweet, and incredibly savory. Trust me, once you try this, you’ll never go back!
This sauce is versatile too; it’s not just for sushi! Drizzle it over grilled fish, stir-fries, or even use it as a fantastic dipping sauce for crispy gyoza. Let’s get saucy!
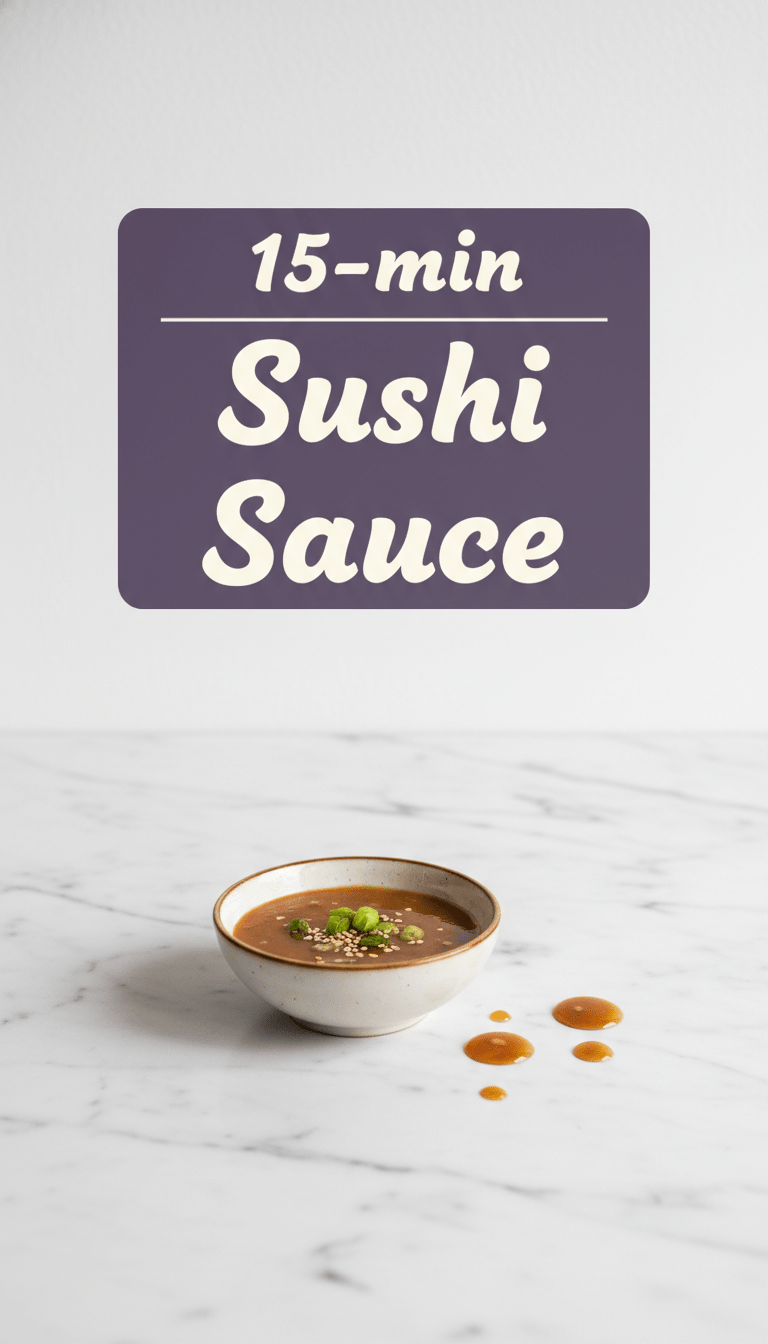
Quick Facts
Prep time: 5 minutes
Cooking time: 10 minutes
Total time: 15 minutes
Serving size: About 1 cup (perfect for 4-6 sushi rolls or a generous batch of appetizers)
Why You’ll Love This Recipe
This recipe is a total game-changer because it’s quick, requires pantry staples, and gives you total control over the flavor profile. We achieve that wonderful, thick, glossy texture without any weird additives. It’s the perfect sweet-and-savory glaze that brings all the flavors of your fresh ingredients together. Plus, it’s incredibly satisfying to make something so professional right in your own kitchen!
Ingredients You’ll Need
Gather these simple components for the best homemade sushi sauce:
- 1/2 cup Soy Sauce (Use low-sodium if preferred)
- 1/4 cup Mirin (Japanese sweet rice wine—don’t skip this!)
- 2 tablespoons Granulated Sugar
- 1 tablespoon Water
- 1 teaspoon Cornstarch (This is our thickening agent!)
Step-by-Step Instructions: Making Magic Happen
It’s surprisingly simple. We are essentially creating a quick glaze, sometimes referred to as Nitsume sauce, but much easier!
Step 1: Combine the Liquids
In a small saucepan, pour in the soy sauce and mirin. Add the granulated sugar. Place the saucepan over medium heat.
Step 2: Dissolve and Heat
Stir constantly until the sugar is completely dissolved. You want the mixture to heat up until it just begins to simmer gently around the edges. Do not let it come to a rolling boil yet!
Step 3: Create the Slurry
While the sauce is warming, take a tiny bowl and mix the 1 teaspoon of cornstarch with the 1 tablespoon of cold water. Stir vigorously until the cornstarch is completely dissolved and you have a smooth, milky liquid—this is called a slurry.
Step 4: Thicken the Sauce
Once the sauce mixture is simmering slightly, slowly drizzle in the cornstarch slurry while whisking continuously.
Step 5: Simmer to Perfection
Keep whisking gently over medium heat. You will notice the sauce begin to thicken almost immediately. Let it bubble gently for about 1 to 2 minutes until it coats the back of a spoon nicely and looks glossy. It should look like a thin syrup, not a heavy gravy.
Step 6: Cool and Store
Remove the saucepan from the heat immediately. Let the sauce cool completely. It will thicken up even more as it cools down. Transfer your finished sauce to an airtight container.
Serving Suggestions
This sauce is best used fresh or slightly warmed!
- Classic Drizzle: Drizzle generously over California rolls, eel (unagi) rolls, or vegetable rolls just before serving.
- Yakitori Glaze: Brush this on chicken skewers while grilling for an authentic, sticky finish.
- Tofu Topping: Pour over pan-fried or baked tofu for an instant flavor boost.
- Dipping Delight: Use it alongside wasabi and pickled ginger for dipping shrimp tempura.
Tips for Customization and Variations
Want to put your own spin on this classic? Here are a few easy swaps:
1. Spicy Kick: Add 1/2 teaspoon of Sriracha or a pinch of red pepper flakes while heating the liquids.
2. Garlic Infusion: Add one finely minced garlic clove to the saucepan during the heating process. Strain it out before you thicken the sauce if you prefer a smooth texture.
3. Ginger Zing: For a brighter flavor, add a small sliver of fresh ginger to the heating sauce and remove it before cooling.
4. Less Sweet: If you prefer a more savory profile, reduce the sugar down to 1 tablespoon.
Estimated Nutritional Information (Per 2 Tablespoons Serving)
Please note: This is an estimate and will vary based on the specific brands of soy sauce and mirin used.
Calories: 45-55
Sugar: 7g
Sodium: 550mg (This will be higher if using regular soy sauce)
Fat: 0g
Frequently Asked Questions (FAQs)
Q1: Can I make this sauce ahead of time?
Absolutely! This sauce stores beautifully. Keep it in a sealed, airtight container in the refrigerator for up to two weeks. If it gets too thick when cold, simply microwave it for 10-15 seconds or warm it gently on the stovetop until you reach your desired consistency.
Q2: What is the difference between Mirin and regular rice vinegar?
They are very different! Mirin is a sweet rice wine used primarily for cooking and glazing—it adds sweetness and a beautiful shine. Rice vinegar is acidic and sour, used for seasoning sushi rice. Do not substitute rice vinegar for mirin here!
Q3: Can I skip the cornstarch?
You can, but the texture will be very thin, more like a seasoned soy sauce rather than a thick, drizzle-able sushi sauce. If you skip the cornstarch, you’ll need to simmer the mixture much longer (15-20 minutes) to naturally reduce and thicken it, which can result in a slightly darker, more caramelized flavor.
Happy rolling, and enjoy making your incredible sushi even better with this homemade drizzle! Let me know in the comments how you plan to use your batch!