Hey food lovers! Have you ever craved something that hits all the right notes? Sweet, savory, a little bit sticky, and with just the right little kick of heat? Well, stop searching, because today I’m sharing my absolute favorite go-to dish: Sweet and Spicy Honey Pepper Chicken.
This recipe is ridiculously easy, uses ingredients you probably already have, and tastes like it came straight from your favorite takeout spot—only way better because you made it! Seriously, you need this in your life. Let’s get cooking!
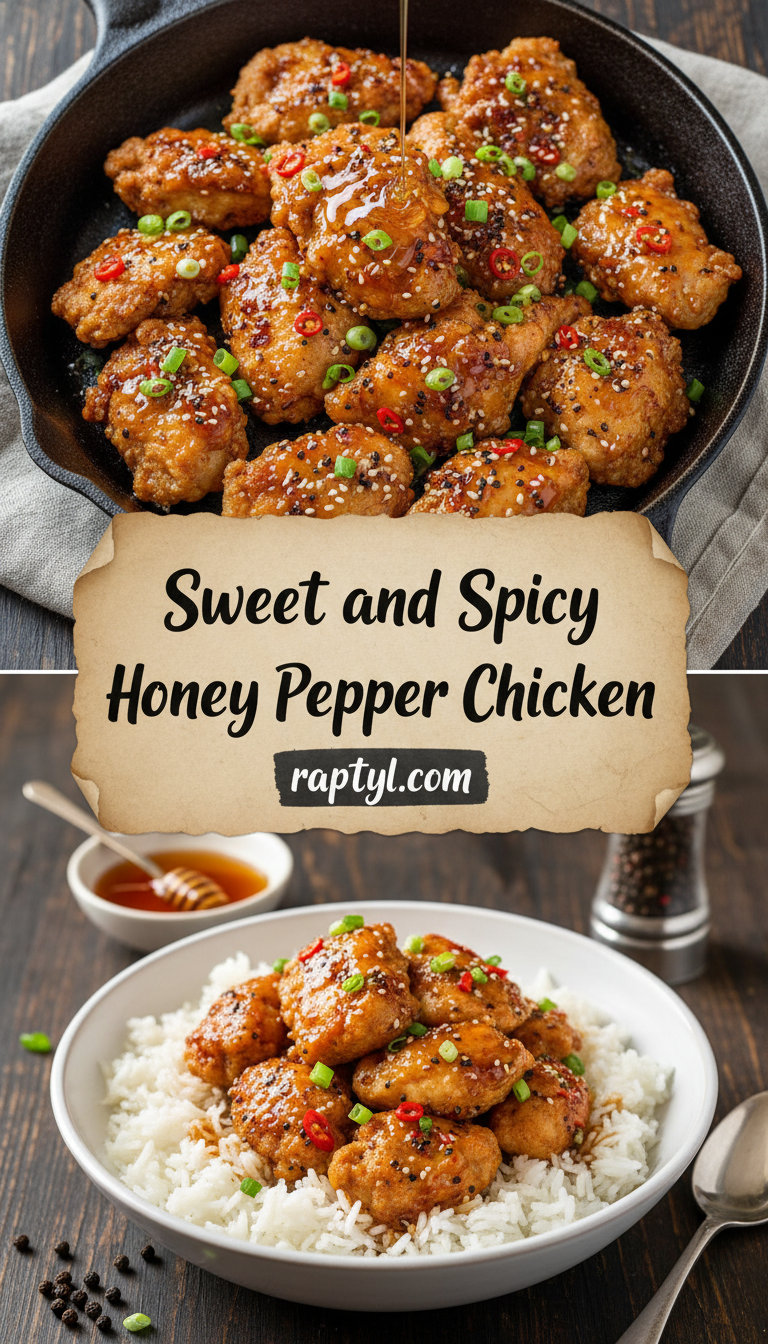
Quick Facts for the Busy Cook
Here’s the lowdown on how fast this magic happens:
Prep time: 15 minutes
Cooking time: 20 minutes
Total time: 35 minutes
Serving size: 4 happy people
Why You’ll Love This Recipe
This isn’t just another chicken recipe; it’s an experience!
- Flavor Explosion: The balance between the sweetness of honey and the subtle heat from chili flakes is truly addictive.
- Crispy Coating: We’re going to give these chicken pieces a light coating that gets beautifully golden and slightly crispy, even when tossed in the sauce.
- Budget-Friendly: Chicken thighs or breasts are inexpensive, making this a fantastic meal for the whole family without breaking the bank.
- One-Pan Wonder: Mostly, everything happens right in one skillet—less cleanup for me, less cleanup for you!
Gathering Your Goodies: Ingredients List
You’ll need two main groups of ingredients: for the chicken coating and for the incredible sauce.
For the Chicken:
- 1.5 lbs boneless, skinless chicken breasts or thighs, cut into 1-inch bite-sized pieces
- 1/4 cup all-purpose flour
- 2 tablespoons cornstarch (this is the secret to crispiness!)
- 1/2 teaspoon salt
- 1/4 teaspoon black pepper
- 1 tablespoon vegetable oil (for searing)
For the Sweet & Spicy Honey Pepper Sauce:
- 1/3 cup honey
- 1/4 cup low-sodium soy sauce
- 2 tablespoons rice vinegar (or apple cider vinegar in a pinch)
- 1 tablespoon finely grated fresh ginger
- 2 cloves garlic, minced
- 1 teaspoon red pepper flakes (adjust to your spice level!)
- 1/2 teaspoon black pepper
- 1 tablespoon cornstarch mixed with 2 tablespoons cold water (this is your slurry)
Step-by-Step Instructions: Let’s Make Magic!
Follow these simple steps, and get ready for applause!
Step 1: Prep the Chicken Coating
In a medium bowl, whisk together the flour, cornstarch, salt, and pepper. Toss the chicken pieces in this mixture until they are lightly and evenly coated. Don’t worry if it looks a little clumpy; that’s okay!
Step 2: Sear the Chicken
Heat the vegetable oil in a large skillet or wok over medium-high heat. Once the oil is shimmering, carefully add the coated chicken in a single layer (work in batches if necessary so you don’t overcrowd the pan). Cook for about 3-4 minutes per side until golden brown and cooked through. Remove the cooked chicken from the skillet and set it aside on a plate.
Step 3: Whisk Up the Sauce Base
Reduce the heat to medium. In the same skillet (no need to clean it!), pour in the honey, soy sauce, rice vinegar, grated ginger, minced garlic, red pepper flakes, and black pepper. Whisk everything together and let it bubble gently for about 1 minute until the raw garlic smell cooks off.
Step 4: Thicken the Deliciousness
Give your cornstarch and water slurry a quick stir (it settles fast!). Slowly pour the slurry into the simmering sauce while constantly whisking. The sauce should thicken up almost immediately into a beautiful, glossy glaze. If it seems too thick, add a teaspoon of water.
Step 5: The Grand Finale
Return the cooked chicken pieces to the skillet. Toss everything gently until every piece of chicken is beautifully coated in that sticky, sweet, and spicy honey pepper sauce. Cook for just 1 minute to ensure everything is piping hot.
Serve immediately!
Serving Suggestions
This chicken is bold, so you need some simple friends to balance it out!
- Classic Combo: Serve over fluffy white rice or brown rice to soak up every last drop of that glorious sauce.
- Veggie Power: Pair it with steamed broccoli, snap peas, or quick-sautéed bok choy.
- Noodle Night: It’s also fantastic tossed with cooked ramen or lo mein noodles!
Tips for Customization and Variations
Want to switch things up? I love experimenting!
- Add Some Crunch: Sprinkle toasted sesame seeds or chopped peanuts over the finished dish just before serving.
- Citrus Brightness: A squeeze of fresh lime juice right at the end brightens up all those rich flavors.
- Extra Heat: If you like it really fiery, toss in a finely chopped jalapeño along with the garlic and ginger.
- Use Different Protein: This sauce works wonderfully with shrimp or firm tofu cubes! Just adjust cooking times accordingly.
Nutritional Information (Estimated)
Please note these are rough estimates based on using boneless, skinless chicken breast and standard ingredient measurements. Serving size is 1/4 of the recipe.
Calories: Approx. 400-450 kcal
Protein: Approx. 40g
Fat: Approx. 10g
Carbohydrates: Approx. 45g (Mostly from honey and sauce)
Frequently Asked Questions (FAQs)
Q1: Can I make this gluten-free?
Yes, absolutely! To make this recipe gluten-free, substitute the regular soy sauce with tamari or a certified gluten-free soy sauce alternative. Everything else should be fine!
Q2: How do I keep the chicken crispy if I have leftovers?
The sauce will naturally soften the crispiness over time. If you are reheating leftovers, the best trick is to reheat the sauce separately in a pan, add the chicken, and toss just until warm, rather than microwaving the whole thing. For maximum crisp, you can quickly crisp the leftover chicken in an air fryer for 3-4 minutes before tossing it in the warmed sauce.
Q3: What kind of pepper works best for the spice?
Red pepper flakes are the easiest and most common. For a slightly different heat profile, you could try a pinch of cayenne pepper, or if you have Sriracha, you can substitute 1 teaspoon of it for the pepper flakes in the sauce.
Enjoy this incredibly flavorful meal, friends. Happy cooking! Let me know in the comments how you customized yours!