Hey there, fellow food lovers! Are you tired of running to the store for that magical, thick, sweet liquid that makes everything taste like heaven? Well, I have fantastic news for you! Today, we are demystifying the process of making sweetened condensed milk right in your own kitchen. Trust me, it’s ridiculously easy, and once you try this homemade version, you might never go back to the canned stuff. Get ready to unlock a whole new world of baking possibilities!
Quick Facts: Homemade Magic in Minutes
Here’s a quick rundown of what you need to know before we start stirring:
Prep time: 5 minutes
Cooking time: 30–40 minutes
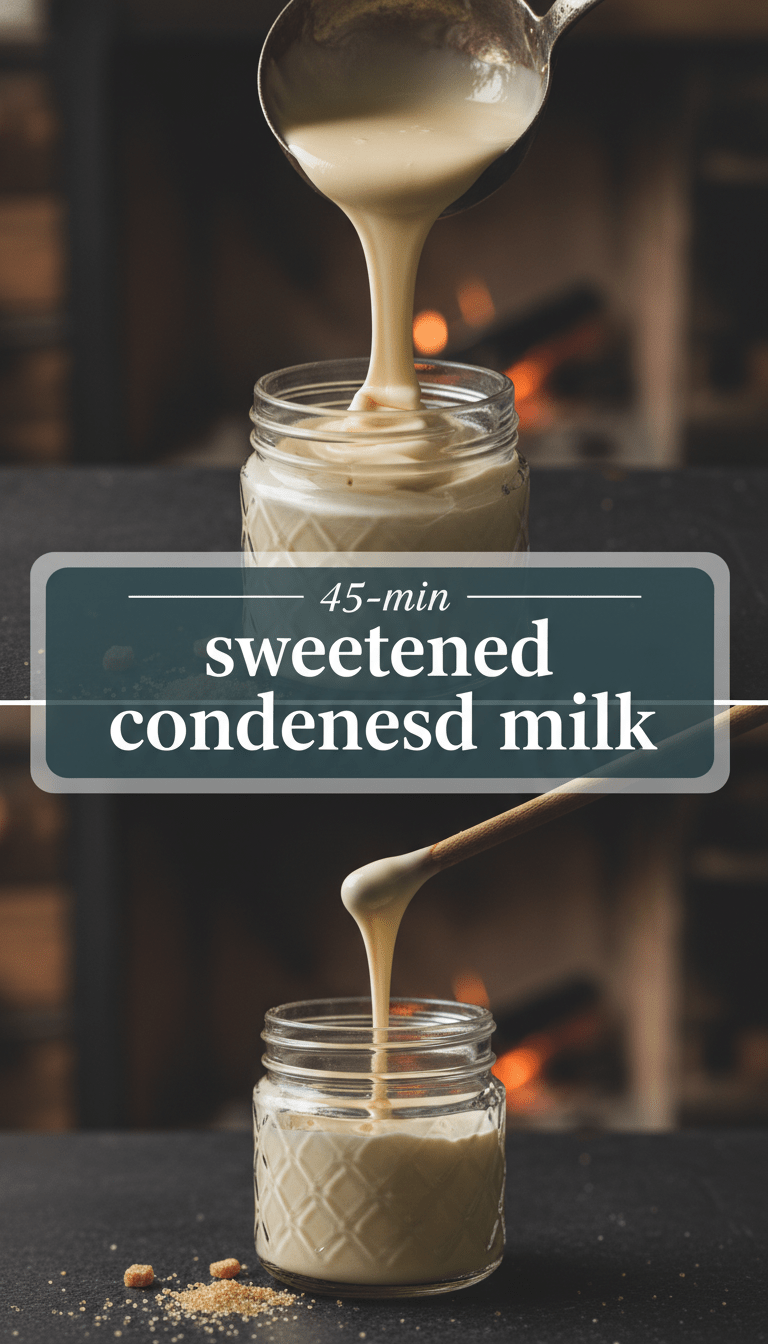
Total time: Approximately 35–45 minutes
Serving size: Yields about 1.5 cups
Why You’ll Love This Recipe
Honestly, what’s not to love? This homemade sweetened condensed milk is velvety smooth, intensely sweet, and requires only two humble ingredients. It’s perfect for last-minute cravings, gives you complete control over the quality of your dairy, and smells absolutely divine while it simmers. It’s the foundation for so many classic treats—think fudge, ice cream, and the best coffee topping ever!
Ingredients You’ll Need
You only need the basics for this creamy delight:
- 2 cups Whole Milk (full-fat works best for richness!)
- 2/3 cup Granulated Sugar (adjust slightly to your preferred sweetness)
Step-by-Step Instructions: Simmer to Sweetness
This process is all about patience and low heat. Don’t rush it!
Step 1: Combining the Basics
Pour the whole milk and the granulated sugar into a medium, heavy-bottomed saucepan. Using a heavy-bottomed pot is key because it helps distribute the heat evenly and prevents scorching on the bottom.
Step 2: The Initial Warm-Up
Place the saucepan over medium heat. Stir frequently until the sugar is completely dissolved. You don’t want any gritty sugar left at the bottom of your mixture. Once the sugar is dissolved, stop stirring temporarily.
Step 3: The Gentle Reduction
Bring the milk mixture to a gentle simmer. As soon as you see small bubbles forming around the edges, immediately reduce the heat to low—we want a very slow, lazy simmer. The key to making condensed milk is evaporating about half of the water content.
Step 4: The Long, Lovely Simmer
Let the mixture simmer uncovered for about 30 to 40 minutes. Stir every 5 to 7 minutes, gently scraping the bottom and sides of the pan to ensure nothing sticks or burns. You will notice the volume reducing significantly and the color changing from stark white to a beautiful, pale ivory or creamy beige.
Step 5: Checking for Perfection
The milk is ready when it coats the back of a spoon thickly and has reduced by almost half. When you run your finger across the back of the spoon, the line should hold clearly for a few seconds.
Step 6: Cooling and Thickening
Remove the saucepan from the heat immediately. Pour the hot condensed milk into a clean glass jar or heat-safe bowl. As it cools to room temperature, it will thicken considerably more. Don’t judge the consistency when it’s hot; it looks thinner than it will be when it’s done! Once completely cool, seal and store.
Serving Suggestions: Beyond the Can
Homemade condensed milk is incredibly versatile! Try drizzling it over:
- Fresh sliced strawberries or bananas.
- A strong, hot cup of coffee or espresso (Hello, homemade café con leche!).
- Pour it over pancakes or waffles for an extra-special breakfast.
- Use it immediately in no-bake pies or fudge recipes!
Tips for Customization and Variations
Want to jazz up your basic batch? Here are a few simple additions you can try during the last 10 minutes of simmering:
1. Vanilla Kiss: Add 1 teaspoon of pure vanilla extract right after you take the mixture off the heat.
2. Salted Caramel Vibes: Add a generous pinch of flaky sea salt just before cooling for a wonderful contrast.
3. Coconut Dream: Substitute half of the whole milk with canned full-fat coconut milk for a rich, tropical flavor.
Nutritional Information (Estimated per 2 Tbsp Serving)
Please remember these are estimates, as exact values depend on the milk fat content:
Calories: 140-160
Fat: 5g-7g
Sugars: 20g-24g
Protein: 3g
Frequently Asked Questions (FAQs)
Q1: Can I use low-fat or skim milk?
A1: While you can, I highly recommend using whole milk. The fat content is essential for achieving that rich, creamy texture without getting grainy or thin. Skim milk tends to result in a thinner product because there’s less fat to emulsify.
Q2: My milk started forming a skin on top while cooling. Is this normal?
A2: Yes, that’s perfectly normal due to the high sugar and dairy content. Just whisk it vigorously once it cools down a bit, and the skin will incorporate smoothly back into the mixture.
Q3: How long does homemade sweetened condensed milk last?
A3: Stored properly in an airtight container in the refrigerator, it should last for about 2 weeks. Since it doesn’t have the commercial stabilizers, it’s best enjoyed sooner rather than later!
Happy cooking, everyone! Go forth and condense some deliciousness!