Hello, fellow bakers! If you’re looking for a dessert that screams “love” (or maybe just “I really, really like chocolate”), then you’ve landed on the perfect recipe. Today, we’re diving into the world of Sweetheart Brownies. These aren’t just any brownies; they are intensely fudgy, perfectly rich, and just begging to be shared with someone special—or maybe just devoured by yourself (no judgment here!).
These brownies have a slightly softer, chewier edge than a standard cakey brownie, which is exactly what makes them irresistible. Ready to bake some magic? Let’s get started!
Quick Facts
Here’s the lowdown on how fast you can get these beauties on your cooling rack:
Prep time: 15 minutes
Cooking time: 30-35 minutes
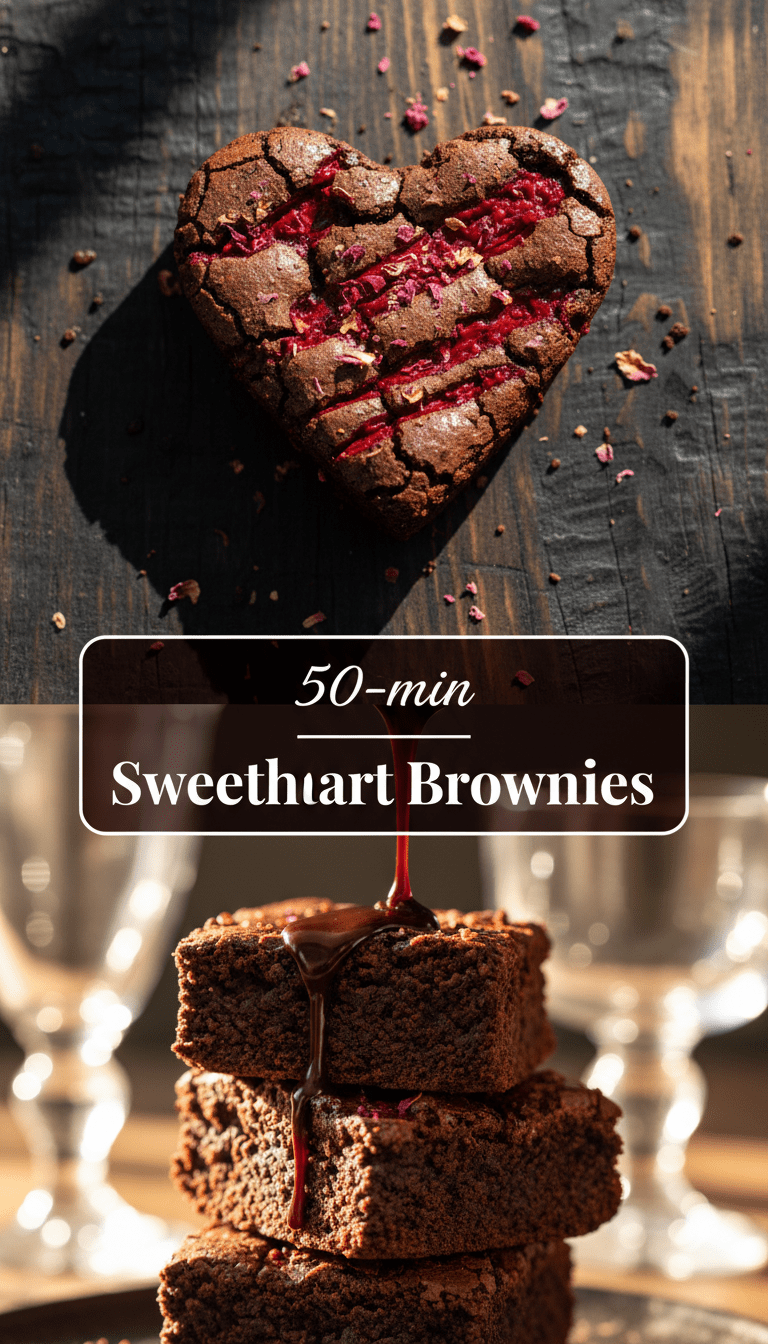
Total time: About 50 minutes (plus cooling time)
Serving size: 16 squares
Why You’ll Love This Recipe
Honestly, what’s not to love?
- Pure Fudginess: We achieve that perfect dense, moist texture that melts in your mouth.
- Simple Ingredients: Everything you need is likely already in your pantry. No complicated steps here!
- The Perfect Gift: They travel well and make fantastic homemade gifts for birthdays, holidays, or just a Tuesday afternoon pick-me-up.
- Deep Chocolate Flavor: We use both cocoa powder and melted chocolate for a truly intense experience.
Ingredients You’ll Need
Gather your chocolatey arsenal! This recipe uses standard 8×8 inch baking pan measurements.
- 1 cup (2 sticks or 226g) unsalted butter, melted
- 1 and 3/4 cups (350g) granulated sugar
- 3 large eggs
- 1 teaspoon vanilla extract
- 1/2 cup (50g) unsweetened cocoa powder (use high quality if you can!)
- 3/4 cup (90g) all-purpose flour
- 1/2 teaspoon salt
- 1 cup (170g) chocolate chips (semi-sweet or dark work best)
Baking Up Love: Step-by-Step Instructions
Follow these simple steps, and you’ll have the best brownies of your life.
Step 1: Prep Your Stage
Preheat your oven to 350°F (175°C). Lightly grease an 8×8 inch baking pan and line it with parchment paper, leaving an overhang on two sides. This overhang acts as “handles” later for easy removal.
Step 2: The Wet Mixture Magic
In a large bowl, combine the melted butter and sugar. Whisk them together until they are well combined and slightly glossy. Next, beat in the eggs one at a time, ensuring each is fully incorporated before adding the next. Stir in the vanilla extract.
Step 3: Bring in the Dry Goods
Sift the cocoa powder, flour, and salt directly over the wet ingredients. Sifting is key to avoiding lumps! Gently fold the dry ingredients into the wet ingredients using a spatula. Mix just until you no longer see streaks of flour. Do not overmix! Overmixing develops the gluten and makes brownies tough instead of fudgy.
Step 4: Fold in the Treasures
Gently fold in the chocolate chips. Reserve a small handful to sprinkle on top if you like that extra visual appeal.
Step 5: Bake It Right
Pour the batter into your prepared baking pan and spread it evenly. Sprinkle the reserved chocolate chips (if using) over the top.
Bake for 30 to 35 minutes. How do you know they are done? The edges should look set, and if you insert a toothpick into the center, it should come out with moist, fudgy crumbs clinging to it—not wet batter. If it comes out completely clean, they are probably overbaked!
Step 6: The Hardest Part—Waiting!
Let the brownies cool completely in the pan on a wire rack. This is crucial for achieving that perfect fudgy slice. Seriously, resist the urge to cut them warm! Once cool, use the parchment paper overhang to lift the whole block out, place it on a cutting board, and slice into 16 squares.
Serving Suggestions
These brownies are rich enough to stand on their own, but why stop there?
- Classic Perfection: A simple dusting of powdered sugar or a drizzle of melted chocolate.
- A la Mode: Serve warm (after cooling and setting, gently reheat individual squares) with a scoop of high-quality vanilla bean ice cream.
- Berry Bright: Add a side of fresh raspberries or strawberries to cut through the richness.
- Coffee Companion: They pair beautifully with a strong cup of black coffee or an iced latte.
Customization Corner
Feel free to personalize your Sweetheart Brownies!
1. Nuts About Them: Add 1/2 cup of chopped walnuts or pecans to the batter along with the chocolate chips for a nice crunch.
2. Minty Fresh: Substitute milk chocolate chips for mint chocolate chips, or add a 1/4 teaspoon of peppermint extract along with the vanilla.
3. Sea Salt Finish: Right after the brownies come out of the oven (while they are still hot), sprinkle a generous pinch of flaky sea salt over the top. This enhances the chocolate flavor beautifully!
Nutritional Information (Estimated)
Please note: This is a rough estimate per square (based on 16 servings) and will vary based on exact ingredients used.
Calories: 280-320
Fat: 16g
Carbohydrates: 35g
Sugar: 25g
Protein: 4g
These are definitely a treat, so enjoy them responsibly!
Frequently Asked Questions (FAQs)
Q: Can I make these ahead of time?
A: Absolutely! Brownies actually taste better the next day once the flavors have settled. Store them tightly wrapped at room temperature for up to 4 days.
Q: Why are my brownies cakey instead of fudgy?
A: There are usually two reasons: You either added too much flour (always measure flour by spooning it lightly into the cup, not scooping directly from the bag!) or you overmixed the batter after adding the flour. Keep mixing to a minimum!
Q: Can I use oil instead of butter?
A: While you can, I strongly recommend using melted butter. Butter provides a richness and flavor depth that oil just can’t replicate in a truly fudgy brownie.
Q: How do I get that beautiful shiny, crinkly top?
A: That shiny top is usually achieved by ensuring your sugar is completely dissolved in the melted butter and eggs. Whisk the butter and sugar vigorously until the mixture looks glossy before adding the cocoa and flour. A slightly higher oven temperature (375°F) can also help, but watch them closely as they will cook faster!
Happy Baking! Let me know in the comments if you try these Sweetheart Brownies—I can’t wait to hear how much you love them!