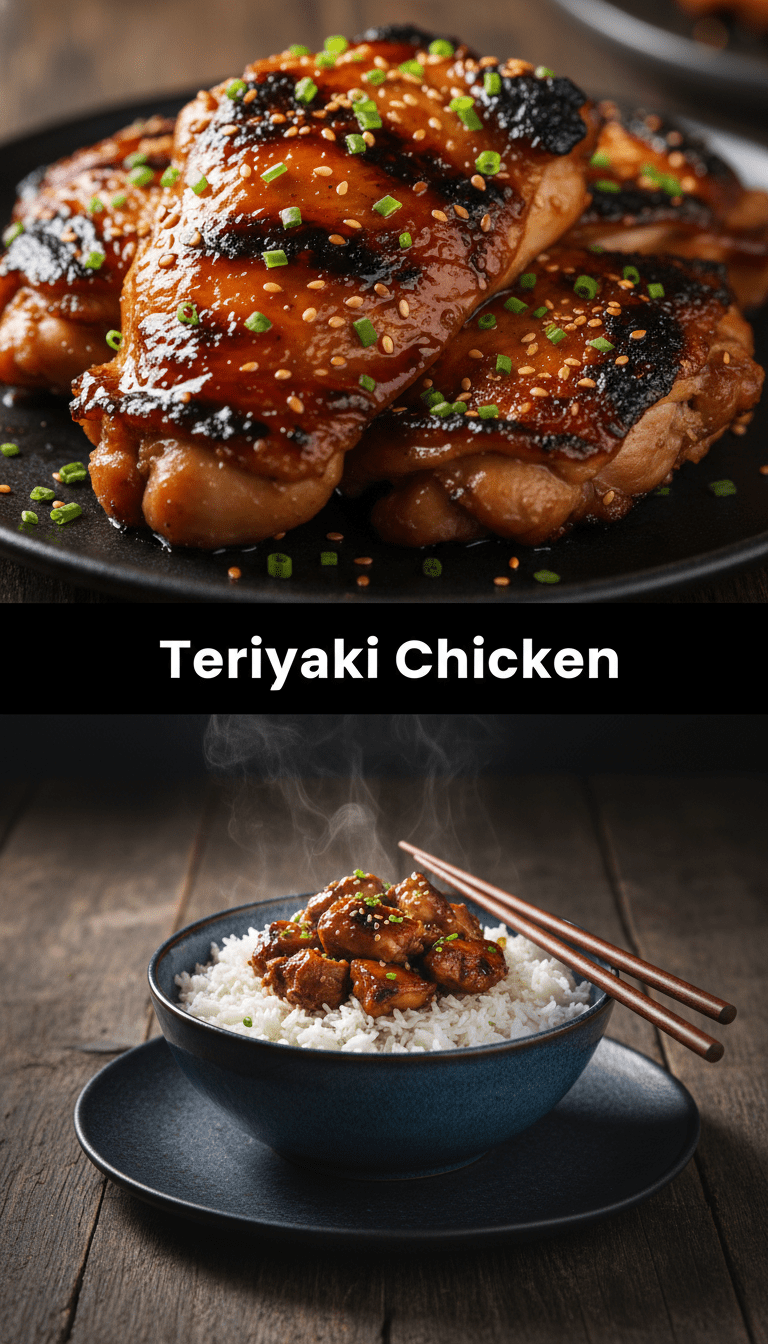
Hey everyone, and welcome back to my kitchen! Today, we are tackling an absolute classic, a takeout favorite that is so much better (and easier!) to make right at home: Teriyaki Chicken. Forget those overly sweet, gloopy bottles of sauce. We’re making a rich, sticky, perfectly balanced glaze that clings beautifully to tender chicken pieces. Seriously, if you’ve been intimidated by making authentic teriyaki, this recipe is your friendly guide. Let’s get cooking!
Quick Facts
Prep time: 15 minutes
Cooking time: 20 minutes
Total time: 35 minutes
Serving size: 4 hungry people
Why You’ll Love This Recipe
This isn’t just any teriyaki chicken; this is the one that makes people ask for the recipe!
- Ultimate Flavor Balance: It hits that perfect sweet, salty, and umami spot, thanks to a touch of fresh ginger and garlic.
- Incredibly Glossy Finish: The secret is letting the sauce reduce down until it’s thick and shiny—no more watery chicken!
- Weeknight Warrior: It comes together faster than you can decide what to watch on Netflix.
Ingredients You’ll Need
For the Chicken
- 1.5 lbs boneless, skinless chicken thighs or breasts, cut into 1-inch cubes (thighs stay juicier!)
- 1 tablespoon vegetable oil (or sesame oil for extra flavor)
- Pinch of salt and pepper
For the Glorious Teriyaki Sauce
- 1/2 cup soy sauce (low sodium is fine)
- 1/2 cup Mirin (Japanese sweet rice wine – crucial for authentic flavor!)
- 1/4 cup water
- 2 tablespoons packed brown sugar
- 1 tablespoon fresh ginger, grated
- 2 cloves garlic, minced
- 1 tablespoon cornstarch mixed with 2 tablespoons cold water (this is your slurry)
Step-by-Step Instructions
Follow these simple steps, and you’ll be plating glossy chicken in no time!
Step 1: Prep Your Sauce Base
In a medium bowl, whisk together the soy sauce, Mirin, water, brown sugar, grated ginger, and minced garlic. Set this aside. This is where the magic starts!
Step 2: Sear the Chicken
Heat the vegetable oil in a large skillet or wok over medium-high heat. Season your chicken cubes lightly with salt and pepper. Once the oil is shimmering, add the chicken to the pan in a single layer (work in batches if necessary to avoid overcrowding). Cook for about 5-7 minutes, turning occasionally, until the chicken is golden brown and cooked through. Remove the cooked chicken from the skillet and set it aside on a clean plate.
Step 3: Thicken the Glaze
Pour the prepared sauce mixture (from Step 1) into the same skillet, scraping up any browned bits from the bottom—that’s flavor! Bring the sauce to a gentle simmer over medium heat. Let it bubble gently for about 2 minutes.
Step 4: Achieve Peak Glossiness
Give your cornstarch slurry a quick stir (cornstarch settles fast!) and slowly pour it into the simmering sauce while whisking constantly. The sauce should thicken almost immediately. Keep stirring until it looks glossy and coats the back of a spoon.
Step 5: The Grand Finale
Return the cooked chicken to the skillet. Toss everything gently until every piece of chicken is beautifully coated in that thick, sticky teriyaki glaze. Cook for just 1 minute more to ensure the chicken is hot and perfectly glazed. Turn off the heat.
Serving Suggestions
The best part? How you dress up this gorgeous chicken!
- The Classic: Serve immediately over hot, fluffy steamed white rice to soak up all that extra sauce.
- Green Power: Add steamed or lightly sautéed broccoli florets or green beans mixed right into the pan at the end.
- Garnish Goals: Sprinkle generously with toasted sesame seeds and thinly sliced green onions (scallions).
Tips for Customization & Variations
This recipe is wonderfully flexible!
- Extra Heat: Add 1/2 teaspoon of red pepper flakes to the sauce mixture if you like a little kick.
- Vegetable Power: Throw in sliced mushrooms or bell peppers when you remove the chicken in Step 2, cook them until tender, and then return the chicken to the pan.
- Thighs vs. Breasts: I highly recommend chicken thighs. They have more fat and stay incredibly tender, even when glazed heavily. If using breasts, watch the cooking time closely so they don’t dry out!
Estimated Nutritional Information (Per Serving)
Please note: These are rough estimates and will vary based on specific cuts of meat and brands used.
Calories: 380-420 kcal
Protein: 35g
Fat: 10g
Carbohydrates: 40g (varies significantly based on sugar/Mirin content)
Frequently Asked Questions (FAQs)
Q1: Can I use honey instead of brown sugar?
A1: Yes, absolutely! Honey works wonderfully, but you might want to reduce the amount slightly (maybe 1.5 tablespoons instead of 2 tablespoons of brown sugar) as honey is naturally sweeter.
Q2: What is Mirin and can I skip it?
A2: Mirin is a sweet Japanese rice wine used for cooking. It adds a depth of flavor and that signature sheen to Japanese sauces that regular cooking wine cannot replicate. If you absolutely cannot find it, you can substitute it with dry sherry mixed with 1 teaspoon of sugar, but I highly recommend trying to source Mirin for the best results!
Q3: How long does leftover Teriyaki Chicken last?
A3: Stored in an airtight container in the refrigerator, this chicken is delicious for 3 to 4 days. Reheat gently on the stovetop or in the microwave, perhaps adding a splash of water or extra soy sauce if the glaze has gotten too thick upon cooling.
Happy cooking, everyone! Let me know in the comments how your glossy, homemade Teriyaki Chicken turns out!