Hello, fellow sweet-tooth adventurers! If there’s one ingredient that whispers tales of creamy luxury and pure indulgence, it has to be white chocolate. Forget those waxy, store-bought bars! Today, I’m sharing my absolute favorite, ridiculously simple recipe for making gorgeous, melt-in-your-mouth white chocolate right in your own kitchen. Whether you’re a seasoned baker or just starting out, this is your new go-to secret weapon. Get ready to impress everyone (including yourself!).
Quick Facts About This Dreamy Treat
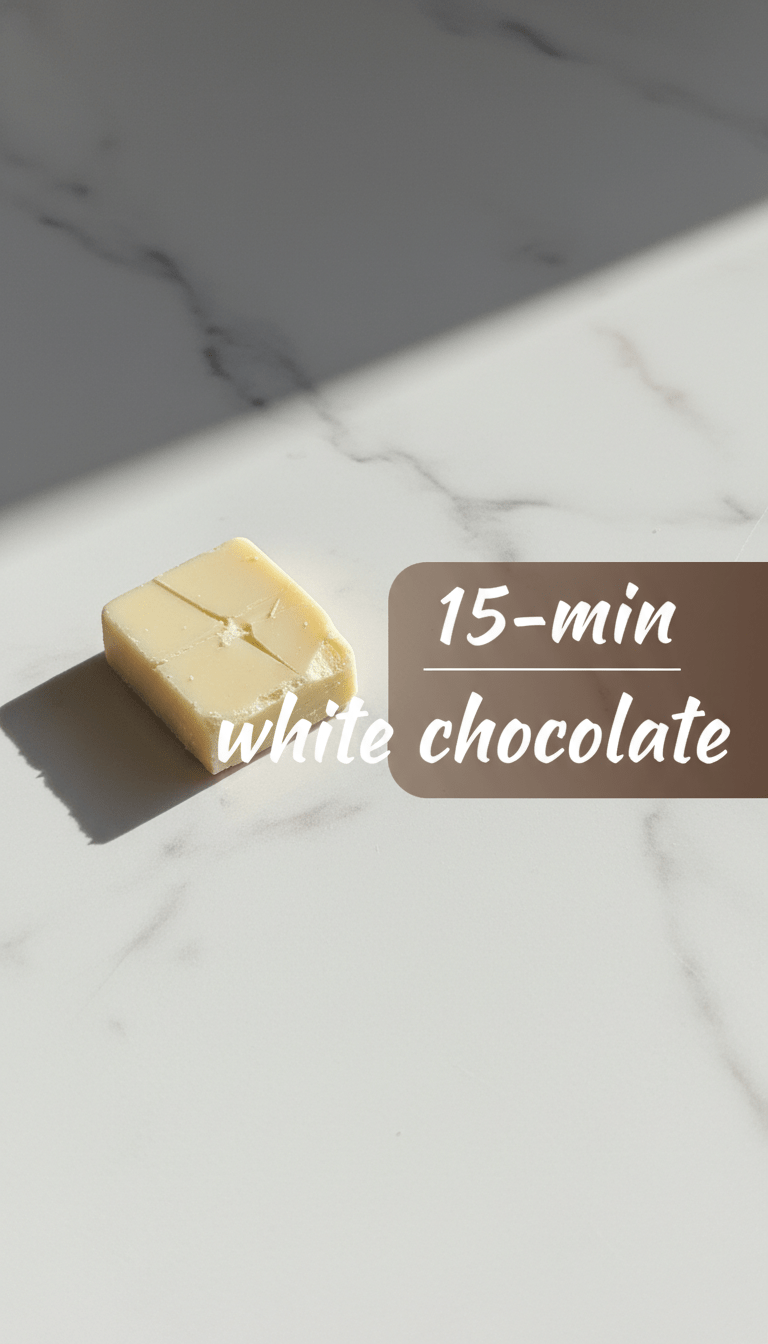
We know time is precious, so here’s the lowdown on how quickly you can whip up this magic:
Prep time: 10 minutes
Cooking time: 20 minutes (mostly inactive melting time)
Total time: 30 minutes (plus cooling time)
Serving size: Yields approximately 1 cup of melted white chocolate (great for dipping or making bark)
Why You’ll Love This Recipe
Honestly, what’s not to love? This isn’t just melting a bar; this is creating the real flavor profile of true white chocolate.
- Pure Creaminess: Because we use quality cocoa butter, the texture is unparalleled—silky smooth, never grainy.
- Customizable Sweetness: You control exactly how sweet you want your creation to be.
- Budget-Friendly Luxury: It costs far less than buying high-end white chocolate bars, but tastes like a million bucks!
- Beginner Approved: If you can stir, you can make this. Seriously!
Gather Your Treasures: Ingredients List
For the best results, try to find high-quality cocoa butter. You can usually find this in health food stores or online.
- 1 cup (about 200g) pure cocoa butter (ensure it’s natural, unsweetened cocoa butter)
- 1/2 cup (about 100g) powdered sugar (also called confectioners’ sugar)
- 1/4 cup (about 30g) whole milk powder (This is the secret ingredient for that milky flavor!)
- 1 teaspoon pure vanilla extract
- A tiny pinch of salt (enhances all the sweet flavors)
Step-by-Step Magic: Creating Your White Chocolate
We are going to use the double-boiler method. This gentle heating process prevents scorching, which is crucial for keeping white chocolate smooth.
Step 1: Prep Your Dry Ingredients
In a small bowl, whisk together the powdered sugar, milk powder, and salt until there are absolutely no lumps remaining. Trust me on this—lumps will ruin your silky texture later! Set this aside.
Step 2: Gently Melt the Cocoa Butter
Fill a small saucepan with about an inch or two of water and bring it to a gentle simmer over medium-low heat. You don’t want a rolling boil! Place a heat-safe glass bowl over the saucepan. The bottom of the bowl should not touch the water.
Add your cocoa butter chunks to the glass bowl. Let it melt slowly, stirring occasionally, until it is completely liquid and clear (about 5 to 8 minutes). Remove the bowl from the heat but keep it resting over the warm (turned off) water for residual warmth.
Step 3: Incorporate the Flavor Builders
Stir the vanilla extract into the melted cocoa butter.
Step 4: Whisk in the Dry Mix
This is the most important part for texture! Slowly start adding your sifted dry ingredients (sugar, milk powder, salt mixture) to the melted cocoa butter, whisking constantly. Add it in three additions, mixing well after each addition until everything is perfectly smooth. You want zero grains left.
Step 5: Cool and Set
If you made this to use as a melted topping, you’re done! If you want to make white chocolate chips or bark, you need to temper or set it.
Pour the mixture into silicone molds or onto a parchment-lined baking sheet (for bark). Let it cool on the counter for 30 minutes, then transfer it to the refrigerator for another hour until completely firm.
Serving Suggestions: Get Creative!
This homemade white chocolate is incredibly versatile.
- Dipping Delight: Melt it down again gently and use it to dip strawberries, pretzels, or dried apricots.
- Bark Bonanza: Spread it thinly on parchment paper, sprinkle with pistachios and dried cranberries, let it set, then break it into shards.
- Luxurious Hot Cocoa: Stir a few chunks into steamed milk for the richest white hot chocolate imaginable.
Tips for Customization and Variations
Want to jazz up your white chocolate? Here are my favorite additions (add these just before Step 5):
1. Citrus Zest: Add the finely grated zest of one lime or orange for a bright, unexpected flavor.
2. Spiced Chocolate: Mix in 1/2 teaspoon of ground cardamom or a pinch of cayenne pepper for a Mexican hot chocolate vibe.
3. Nutty Crunch: Fold in finely chopped toasted hazelnuts or macadamia nuts right before setting.
Nutritional Information (Estimated per 1/4 cup serving)
Disclaimer: This is a purely indulgent treat, and nutritional content varies based on the exact cocoa butter used.
Calories: Approximately 450-500
Total Fat: 50g (mostly saturated fats from cocoa butter)
Sugars: 30g
Frequently Asked Questions (FAQs)
Q1: Can I use regular sugar instead of powdered sugar?
A1: I strongly advise against it! Regular granulated sugar will not dissolve properly in the cocoa butter, leaving you with a gritty texture instead of the silky smoothness we are aiming for. Powdered sugar is key.
Q2: My chocolate seized up! What went wrong?
A2: White chocolate is very sensitive to water. If even a single drop of steam or water gets into your melting cocoa butter, it can “seize,” becoming thick and clumpy. Make sure your bowl is completely dry and positioned well above the simmering water. If it seizes, you can try stirring in a teaspoon of hot water or milk, but usually, it’s best to start over.
Q3: Where can I find cocoa butter?
A3: Look in the baking aisle for unsweetened cocoa butter blocks, or check the natural body care section—often the pure, food-grade butter is sold there for cosmetic use (just ensure the label confirms it’s 100% pure cocoa butter with no additives).
Happy melting, everyone! Let me know in the comments how your homemade white chocolate turns out!