Hey baking buddies! Are you ready to tackle a cake that looks like it came straight from a professional bakery but is secretly super achievable in your own kitchen? Today, we’re diving into the glorious world of the Chocolate Drip Cake.
Seriously, this cake is pure magic. It’s rich, it’s decadent, and that glossy chocolate drip cascading down the sides? Perfection. Whether you’re celebrating a birthday, an anniversary, or just having a really good Tuesday, this recipe is going to make you feel like a superstar baker. Let’s get messy and make something beautiful!
Quick Facts
Here’s the lowdown on how long this delicious adventure will take:
Prep time: 45 minutes (for leveling cakes and making buttercream)
Bake time: 30-35 minutes
Cooling & Assembly time: 2 hours (including chilling)
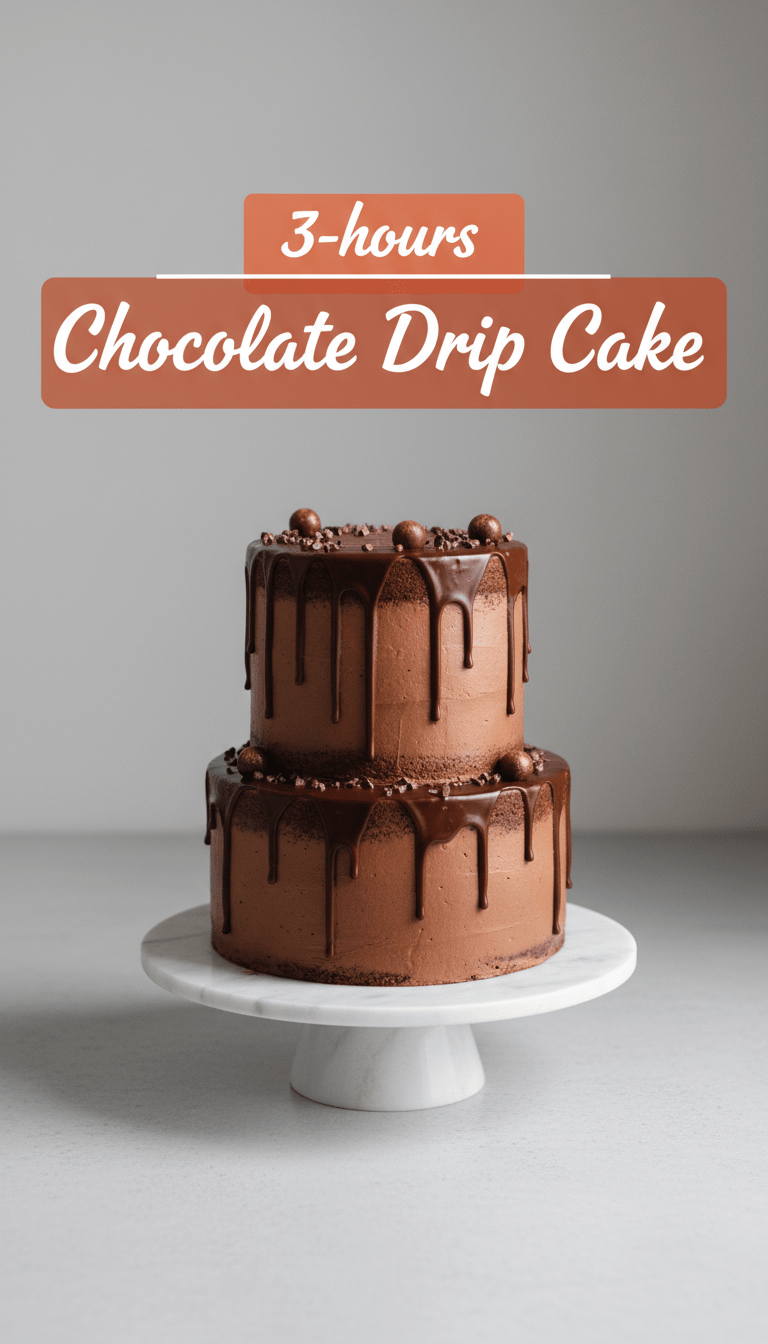
Total time: Approximately 3 hours 15 minutes
Serving size: 12-14 generous slices
Why You’ll Love This Recipe
This isn’t just another chocolate cake. Here’s why this version steals the show:
- Incredibly Moist: We’re using buttermilk and oil to guarantee a tender crumb that stays soft for days.
- Perfect Balance: The dark chocolate ganache drip cuts through the sweetness of the buttercream beautifully.
- Visually Stunning: The drip effect is easier than you think, and it instantly elevates your cake game. It’s that wow factor!
- Flexible Foundation: It works perfectly with a variety of fillings and frostings, but my classic chocolate buttercream is unbeatable.
Ingredients You’ll Need
We’re dividing this into three parts: The Cake, The Frosting, and The Drip.
For the Moist Chocolate Cake Layers (Two 8-inch rounds)
- 2 cups all-purpose flour
- 2 cups granulated sugar
- ¾ cup unsweetened cocoa powder (good quality makes a difference!)
- 2 teaspoons baking soda
- 1 teaspoon baking powder
- 1 teaspoon salt
- 1 cup buttermilk (or milk mixed with 1 tbsp lemon juice)
- ½ cup vegetable oil
- 2 large eggs
- 1 teaspoon vanilla extract
- 1 cup hot strong brewed coffee (or hot water)
For the Silky Chocolate Buttercream
- 1 cup (2 sticks) unsalted butter, softened
- 4 cups powdered sugar, sifted
- ¾ cup unsweetened cocoa powder, sifted
- ½ cup heavy cream (or milk)
- 1 teaspoon vanilla extract
- Pinch of salt
For the Glossy Chocolate Drip
- 4 ounces good quality semi-sweet chocolate chips or finely chopped chocolate
- ½ cup heavy cream
Step-by-Step Baking Bliss
Time to roll up those sleeves! Preheat your oven to 350°F (175°C) and grease and line two 8-inch round cake pans.
Part 1: Baking the Cake
1. Mix the Dry Stuff: In a large bowl, whisk together the flour, sugar, cocoa powder, baking soda, baking powder, and salt.
2. Add the Wet Stuff (Except Coffee): Add the buttermilk, oil, eggs, and vanilla extract to the dry ingredients. Beat with an electric mixer on medium speed for about 2 minutes until well combined. Scrape down the sides.
3. Introduce the Heat: Carefully pour the hot coffee (or hot water) into the batter. The batter will be very thin—don’t panic! Mix on low speed until just combined.
4. Bake: Divide the batter evenly between your prepared pans. Bake for 30-35 minutes, or until a toothpick inserted into the center comes out clean.
5. Cool Down: Let the cakes cool in the pans for 10 minutes before turning them out onto a wire rack to cool completely. Do not skip cooling! Warm cakes = melted frosting disaster.
Part 2: Making the Buttercream
1. Cream the Butter: In a large bowl, beat the softened butter until it’s light and fluffy (about 3 minutes).
2. Add Dry Ingredients: Gradually add the sifted powdered sugar and cocoa powder, mixing on low speed until incorporated.
3. Finish It Up: Pour in the heavy cream, vanilla, and salt. Beat on medium-high speed for 3-5 minutes until the frosting is incredibly smooth and spreadable.
Part 3: Assembly and The Drip Technique
1. Level and Stack: Once the cakes are completely cool, use a serrated knife to level the tops if they domed. Place one layer on your serving plate or cake stand. Spread a thick layer of buttercream over the top. Place the second layer on top.
2. Crumb Coat: Apply a very thin layer of buttercream all over the cake—this is the crumb coat, which traps all those pesky crumbs. Chill the cake in the refrigerator for 20 minutes until firm.
3. Final Frosting: Apply the remaining buttercream evenly around the sides and top of the cake. Smooth it out as best you can! Chill again for another 15 minutes while you make the ganache.
4. The Magic Drip: Place the chocolate chips (or chopped chocolate) in a heatproof bowl. Heat the heavy cream until it just begins to simmer. Pour the hot cream over the chocolate. Let it sit undisturbed for 5 minutes, then gently whisk until completely smooth and glossy. Let it cool slightly (it should still be pourable, but not piping hot).
5. Drip Time: Transfer the slightly cooled ganache to a piping bag (or a squeeze bottle if you have one) with a small round tip, or just use a spoon for a rustic look. Start piping small amounts onto the top edge of the chilled cake, gently pushing the tip just over the edge to encourage the drip to fall naturally. Work your way around the cake.
6. Top It Off: Pour the remaining ganache onto the center of the cake and use an offset spatula to spread it to the edges.
Serving Suggestions
This cake is rich enough on its own, but for an extra flourish:
- A sprinkle of flaky sea salt on top of the ganache enhances the chocolate flavor.
- Serve slices with a scoop of vanilla bean ice cream or a dollop of fresh whipped cream.
- Garnish the top border with chocolate shavings, fresh raspberries, or mini chocolate candies.
Customization and Variations
Want to switch things up? You absolutely can!
- Peanut Butter Lover: Swap half the buttercream butter for creamy peanut butter for a Reese’s inspired frosting.
- Mocha Madness: Add 1 teaspoon of instant espresso powder to the cake batter for a deeper, mocha flavor.
- White Chocolate Drip: If dark chocolate isn’t your jam, use white chocolate chips and regular cream (no cocoa powder needed!) for a stunning white drip effect.
Estimated Nutritional Information
Please note: This is a rich dessert. Serving size is based on 1/14th of the cake. Exact values vary based on specific ingredients used.
Calories: Approximately 550-650 per slice
Fat: High
Sugar: High
Frequently Asked Questions (FAQs)
Q1: My drip isn’t dripping! What went wrong?
A: The most common reason is that your cake was not cold enough, or your ganache was too thick. If the cake is room temperature, the ganache melts into the frosting instead of dripping down the side. If your ganache is too thick, microwave it for just 5-10 seconds and stir well before trying again.
Q2: Can I make this cake ahead of time?
A: Yes! The baked, unfrosted layers freeze beautifully wrapped tightly in plastic wrap. Once fully frosted, the cake is best eaten within 3 days, stored loosely covered at room temperature (if your kitchen isn’t too warm) or in the fridge. Bring it to room temperature for 30 minutes before serving for the best texture.
Q3: What if I don’t have buttermilk?
A: Easy fix! Measure 1 tablespoon of white vinegar or lemon juice into a measuring cup, then fill the rest of the way to the 1-cup line with regular milk. Let it sit for 5 minutes until it curdles slightly. That’s your substitute buttermilk!
Enjoy every gorgeous, chocolatey bite! Happy baking!